Completing the native fibre channel installation – Quantum Audio Tape Drive Scalar 50 User Manual
Page 14
Quantum Scalar 50 Tape Drive Installation Instructions
Document 81-81769-01 B01
September 2007
14
Completing the Native Fibre Channel Installation
6
To change a SCSI ID, enter the ID number in the field next to the device
and click
Apply
.
7
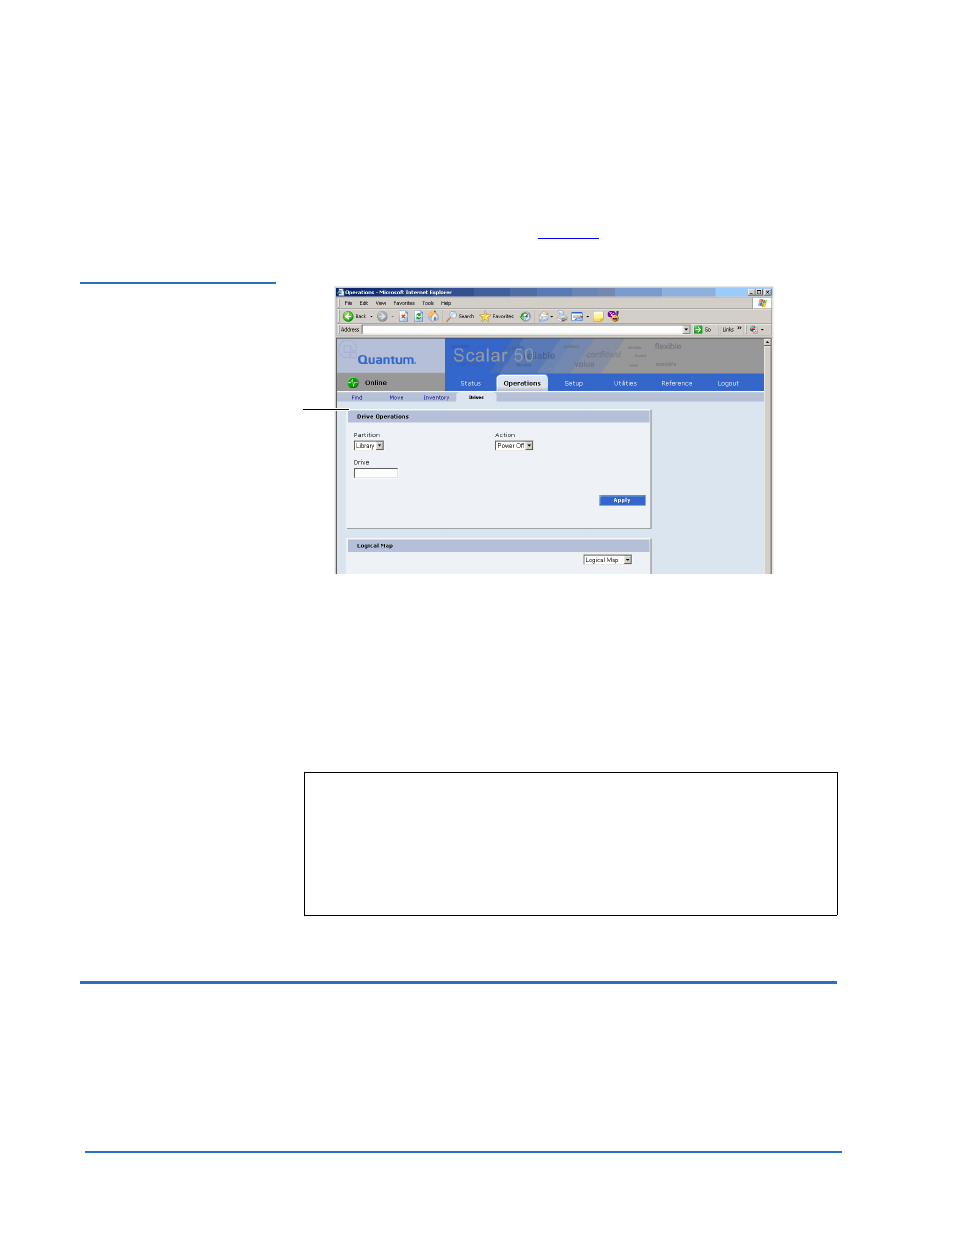
From the
Operations
page, click on the
Drives
tab.
The
Drives
page displays (see
Figure 15 Drives Page
8
Enter the new tape drive number
9
Select
shutdown
and click
Apply
.
The tape drive powers down.
10
Enter the new tape drive number
11
Select
Power on
and click
Apply
.
The tape drive powers on. The tape drive installation is complete.
Completing the Native Fibre Channel Installation
0
After native Fibre Channel tape drives are installed, additional information
must be gathered to complete the installation and verify connectivity.
Competing the native Fibre Channel tape drive installation consists of the
following steps:
Note:
The firmware revision on the new tape drive(s) must match the
firmware revision on the currently installed tape drives (of the
same tape drive type). If the new tape drive has a different
revision, you must download the appropriate tape drive firmware
from Quantum and update the drive. All tape drives in the library
must contain the same firmware revision. You can view the tape
drive firmware revision on the OCP under
Drive Operations
.
Drive operations