48 en – Olympus 9000 User Manual
Page 48
48 EN
6
Use mn to select an image.
7
Press k to make a [SINGLE
PRINT] reservation for the current
image.
Press l if you wish to adjust
detailed printer settings for the
current image.
To adjust detailed printer settings
1
Use klmn to adjust the detailed
printer settings, and press the
button.
1
PRINT INFO
SET
OK
DATE
FILE NAME
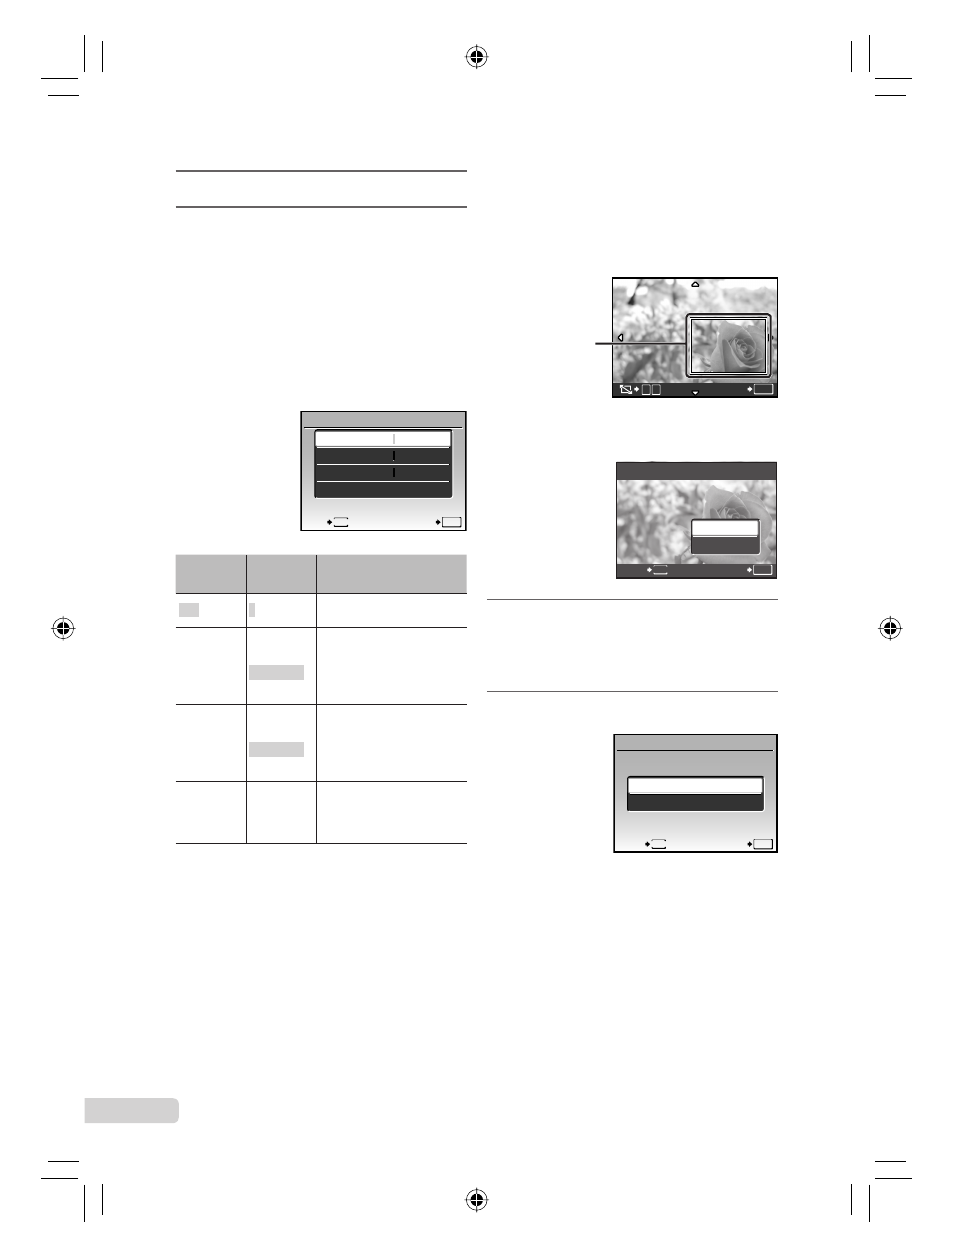
P WITHOUT EXIT MENU Submenu 5 Submenu 6 Application <× 0 to 10 This selects the number DATE WITH/ Selecting [WITH] prints the FILE NAME WITH/ Selecting [WITH] prints the P (Proceeds This selects a portion of To crop an image [ P] 1 Use the zoom lever to select the size of the cropping frame, use klmn button. Cropping frame T W SET OK 2 Use kl to select [OK], and press the button. P SET OK MENU BACK CANCEL OK 8 If necessary, repeat Steps 6 and 7 to select the image to be printed, 9 Press the button. PRINT SET OK MENU BACK PRINT CANCEL
WITHOUT
of prints.
WITHOUT
images with the date.
Selecting [WITHOUT]
prints the images without
the date.
WITHOUT
fi le name on the image.
Selecting [WITHOUT] does
not print any fi le name on
the image.
to the
setting
screen.)
the image for printing.
to move the frame, and then press the
make the detailed settings, and set
[SINGLEPRINT].