Cally, 23 ) or – Onkyo HT-RC260 User Manual
Page 23
23
En
Using Audyssey 2EQ
®
To create a listening environment in your home theater
that all listeners will enjoy, Audyssey 2EQ takes measure-
ments at up to three positions within the listening area.
Position the microphone at ear height of a seated listener
with the microphone tip pointed directly at the ceiling
using a tripod. Do not hold the microphone in your hand
during measurements as this will produce inaccurate
results.
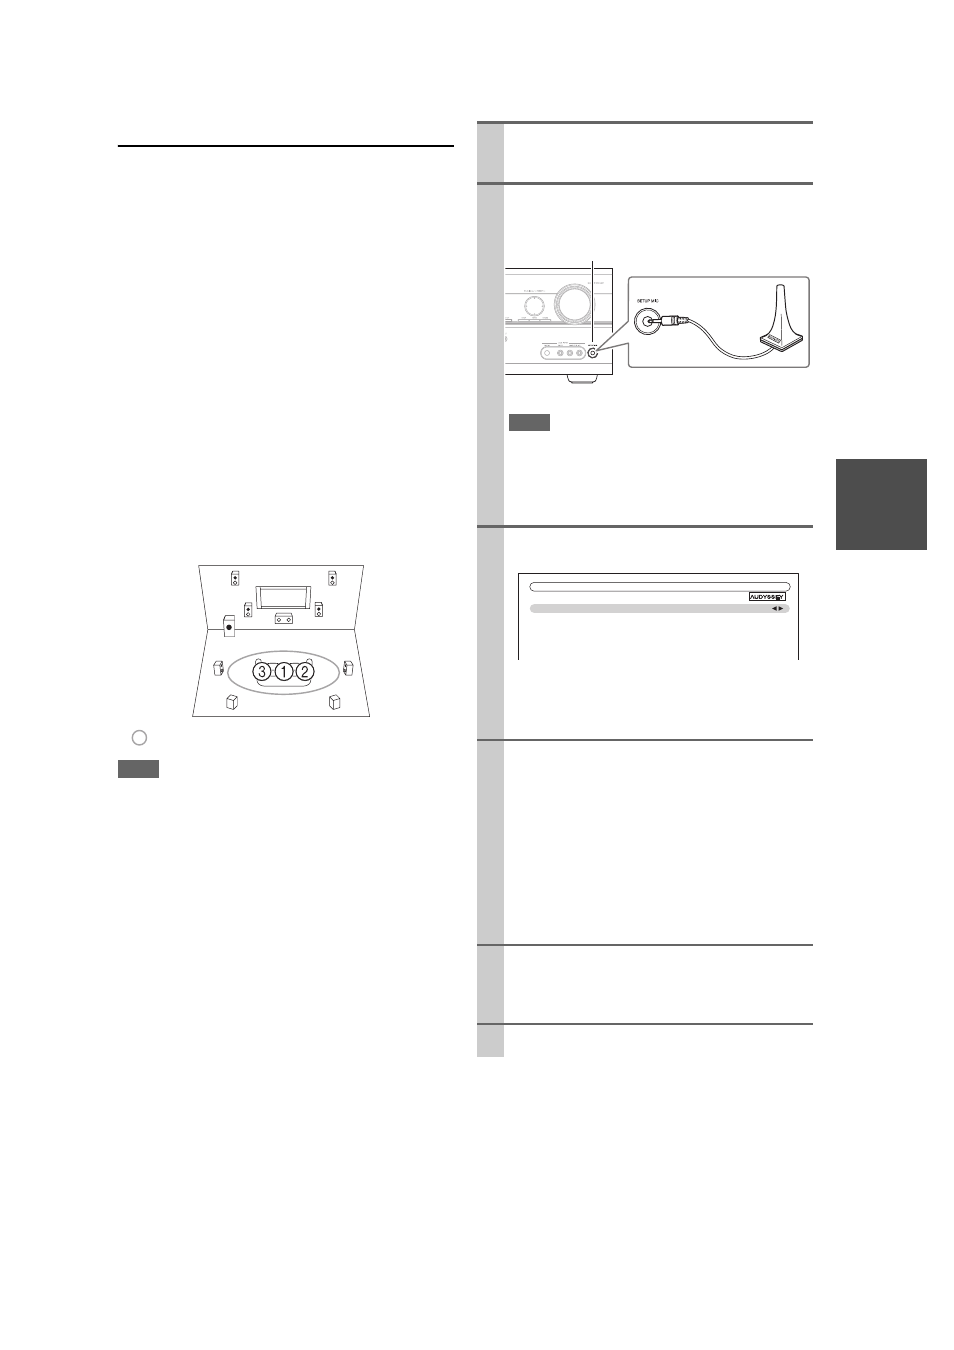
First measurement position
Also referred to as the Main Listening Position this
refers to the most central position where one would
normally sit within the listening environment. 2EQ
uses the measurements from this position to calculate
speaker distance, level, polarity, and the optimum
crossover value for the subwoofer.
Second measurement position
The right side of the listening area.
Third measurement position
The left side of the listening area.
The distances from position
to
and
to
must be
at least 1 meter.
Note
• Make the room as quiet as possible. Background noise and Radio
Frequency Interference (RFI) can disrupt the room measure-
ments. Close windows, televisions, radios, air conditioners, flu-
orescent lights, home appliances, light dimmers, or other
devices. Turn off the cell phone (even if it is not in use) or place
it away from all audio electronics.
• The microphone picks up test tones which played through each
speaker as Audyssey 2EQ Room Correction and Speaker Setup
run.
• Audyssey 2EQ Room Correction and Speaker Setup cannot be
performed while a pair of headphones is connected.
TV
: Listening area
to
: Listening position
1
Turn on the AV receiver and the connected TV.
On the TV, select the input to which the AV receiver
is connected.
2
Set the speaker setup microphone at the Main Lis-
tening Position 1, and connect it to the
SETUP
MIC jack.
The speaker setting menu appears.
Note
• The on-screen setup menus appear only on a TV that is
connected to the HDMI OUT. If your TV is connected to
the MONITOR OUT V or the COMPONENT VIDEO
OUT, use the AV receiver’s display when changing set-
tings.
3
When you’ve finished making the settings, press
ENTER.
If your front speakers are bi-amped, you must select
“Bi-Amp” in the “Speakers Type” setting (
For hookup information, see “Bi-amping the Front
Speakers” (
4
Press
ENTER.
Audyssey 2EQ Room Correction and Speaker Setup
starts.
Test tones are played through each speaker as
Audyssey 2EQ Room Correction and Speaker Setup
runs. This process takes a few minutes. Please
refrain from talking during measurements and do
not stand between speakers and the microphone.
Do not disconnect the speaker setup microphone
during Audyssey 2EQ Room Correction and
Speaker Setup, unless you want to cancel the setup.
5
Place the setup microphone at the next position,
and then press
ENTER.
Audyssey 2EQ performs more measurements. This
takes a few minutes.
6
When prompted, repeat step 5.
Speaker setup
microphone
SETUP MIC jack
2EQ: Auto Setup
Speakers Type
Speaker Terminal Assign
Front High/Front Wide/Zone2
SurrBack/Front High/Front Wide
Normal
Front High
Surr Back