Olivetti 145D User Manual
Page 56
5 4
5.
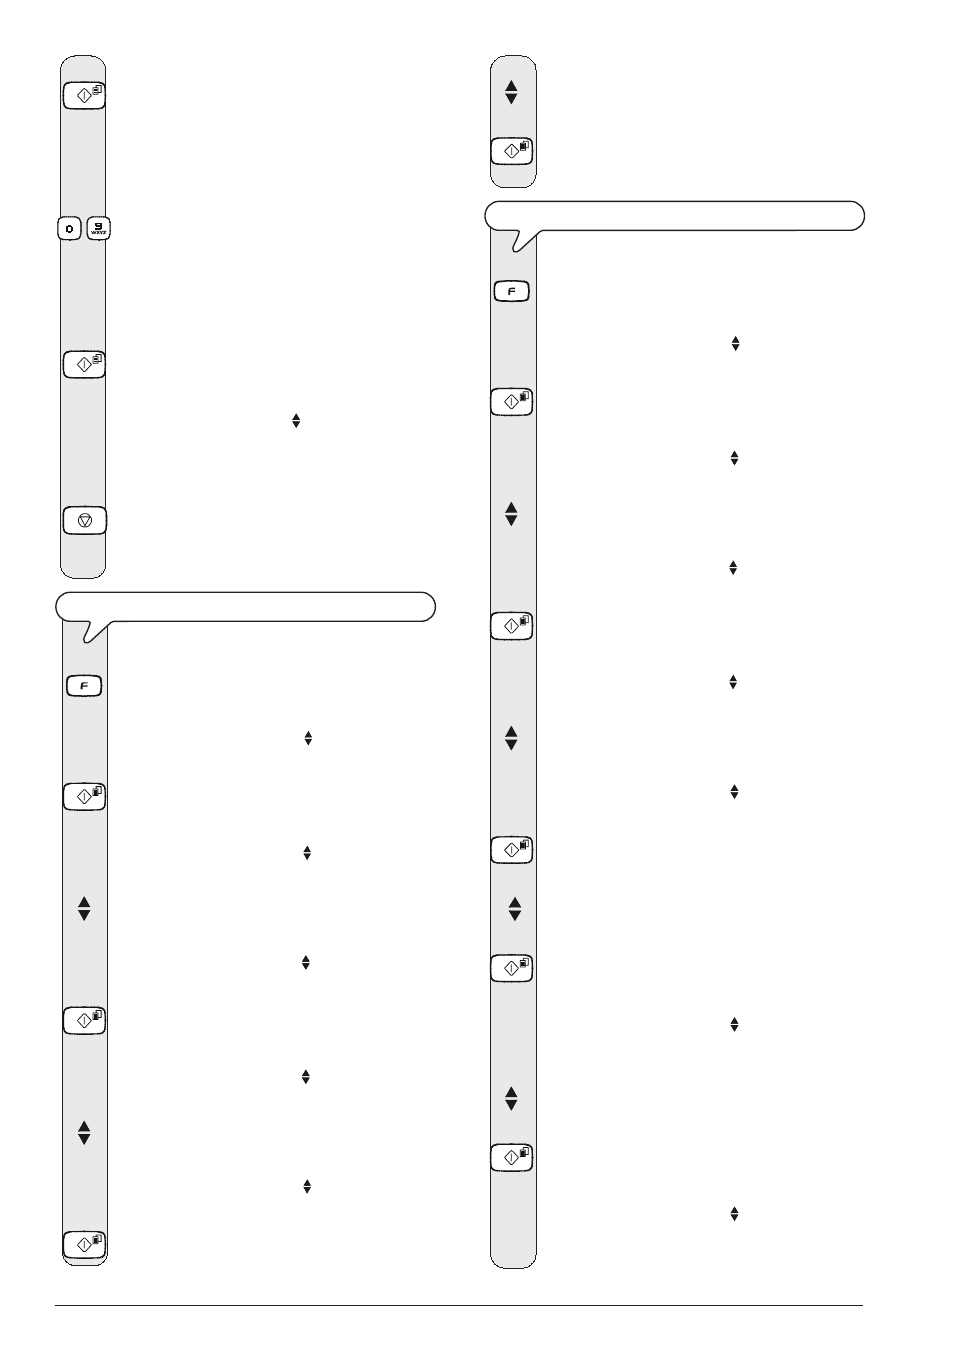
Press the key:
The display shows:
0:TYPE NUMBER
_
6.
Dial the fax number you wish to inhibit.
To do this, press the keys:
-
7.
To leave a space, to correct typing mistakes or to enter
characters or special symbols, proceed as explained in
"
All that is missing now is your name and fax
number
", chapter "
How to get started quickly
".
8.
To confirm the setting, press the key:
The display shows:
BLACK LIST
NEW NUMBER
At this point, you can abort the procedure or inhibit
another number.
9.
To abort the procedure, press the key:
10.
To block another number, repeat the procedure from
step
5
.
T
O
MODIFY
THE
BLACK
LIST
1.
Press the key:
The display shows:
MENU
RECEPT. SET-UP
2.
Press the key:
The display shows:
RECEPT. SET-UP
RECEPTION MODE
3.
Press the keys
until the display shows:
RECEPT. SET-UP
BLACK LIST
4.
Press the key:
The display shows:
BLACK LIST
NEW NUMBER
5.
Press the keys
until the display shows:
BLACK LIST
MODIFY NUMBER
6.
To confirm the setting, press the key:
The display shows the first number on the black list.
7.
To find the number you wish to modify, press the keys:
8.
To confirm the setting, press the key:
From this point on, to change the number, repeat the
"
To set the black list
" procedure from step
6
.
T
O
DELETE
THE
BLACK
LIST
1.
Press the key:
The display shows:
MENU
RECEPT. SET-UP
2.
Press the key:
The display shows:
RECEPT. SET-UP
RECEPTION MODE
3.
Press the keys
until the display shows:
RECEPT. SET-UP
BLACK LIST
4.
Press the key:
The display shows:
BLACK LIST
NEW NUMBER
5.
Press the keys
until the display shows:
BLACK LIST
DELETE NUMBER
6.
To confirm the setting, press the key:
The display shows the first number on the black list.
7.
To find the number you wish to delete, press the keys:
8.
To confirm the setting, press the key:
The display shows:
DELETE?
NO
9.
To view the other available option, "DELETE? - YES",
press the keys:
10.
To confirm the setting, press the key:
The display shows:
BLACK LIST
DELETE NUMBER
11.
From this point on, to delete other numbers from the list,
repeat the procedure from step
6
.