Drum/caddy assembly – RIDGID WD1850 User Manual
Page 7
If any parts are missing or damaged
contact Customer Service.
Do not assemble until you have all the
parts.
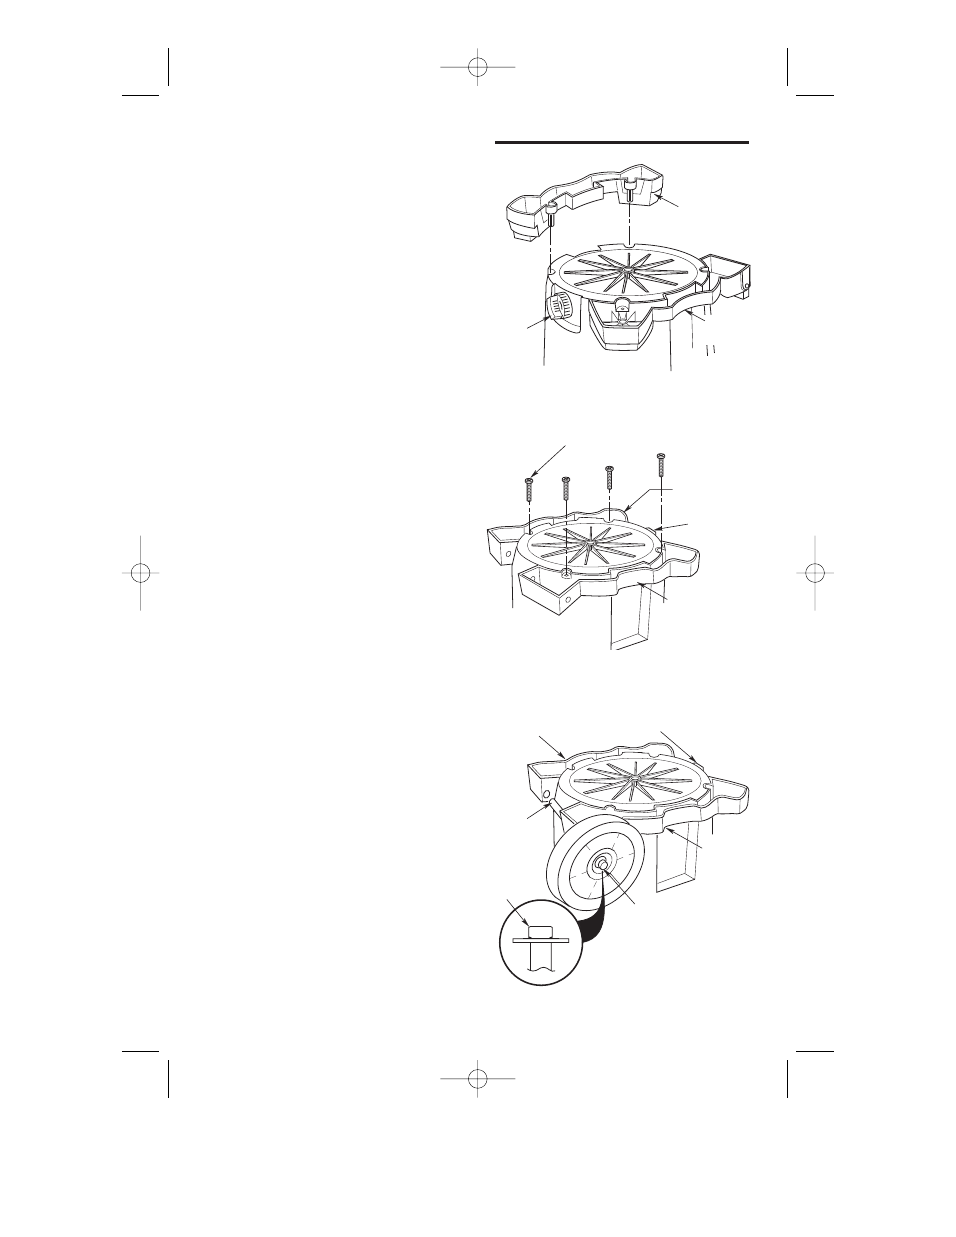
1. Insert caddy left and caddy right into the
bottom of drum as shown. Light taps
with a mallet or hammer may be needed
to fully seat both caddies.
2. Install (4) #10 x 1-3/4” screws into
matching holes on both right and left
side of caddy, securing them to the
bottom of the drum. Tighten screws until
just snug. Do not over tighten as this
may tend to deform the caddies.
3. Installing Cap Nut
a. Place cap nut on end of axle.
b. Tap gently with hammer until fully
seated.
c. Place wheel on the axle with smooth
portion of wheel facing outward.
Drum/Caddy Assembly
Caddy
Right
Drain
Caddy
Left
NOTE: Smooth side of the
wheel to the outside.
Caddy Left
Drain
Axle
w/Wheel
Caddy
Right
Open
End
Cap
Nut
Right
Caddy
Assembly
Left Caddy
Assembly
Drain
#10 x 1-3/4"
Screw (4)
7
SP6528-2 16Gallon.qxd 6/15/07 02:05 PM
Page 7