RIDGID Metal Detector User Manual
Page 25
Ridge Tool Company
23
the Watermark moves up accordingly to show the new
highest level graphically. The Watermark, like the high-
water ring in a bathtub, shows the highest level reached.
This provides an additional, visual way to track the max-
imum signal. The Watermark and Race Track are a single
option that is off by default but can be set on in the
Display Elements selection menu.
Figure 39 – Racetrack with Watermark and Pointer
No-Signal Icon
When the NaviTrack II is not receiving any meaningful sig-
nal on the selected frequency it will display the mode
sign with a line through it, indicating no signal is being de-
tected
(Figure 40). This reduces the confusion of trying to
interpret the random noise in the absence of a signal.
Figure 40 – "No-Signal" Display in Sonde Mode
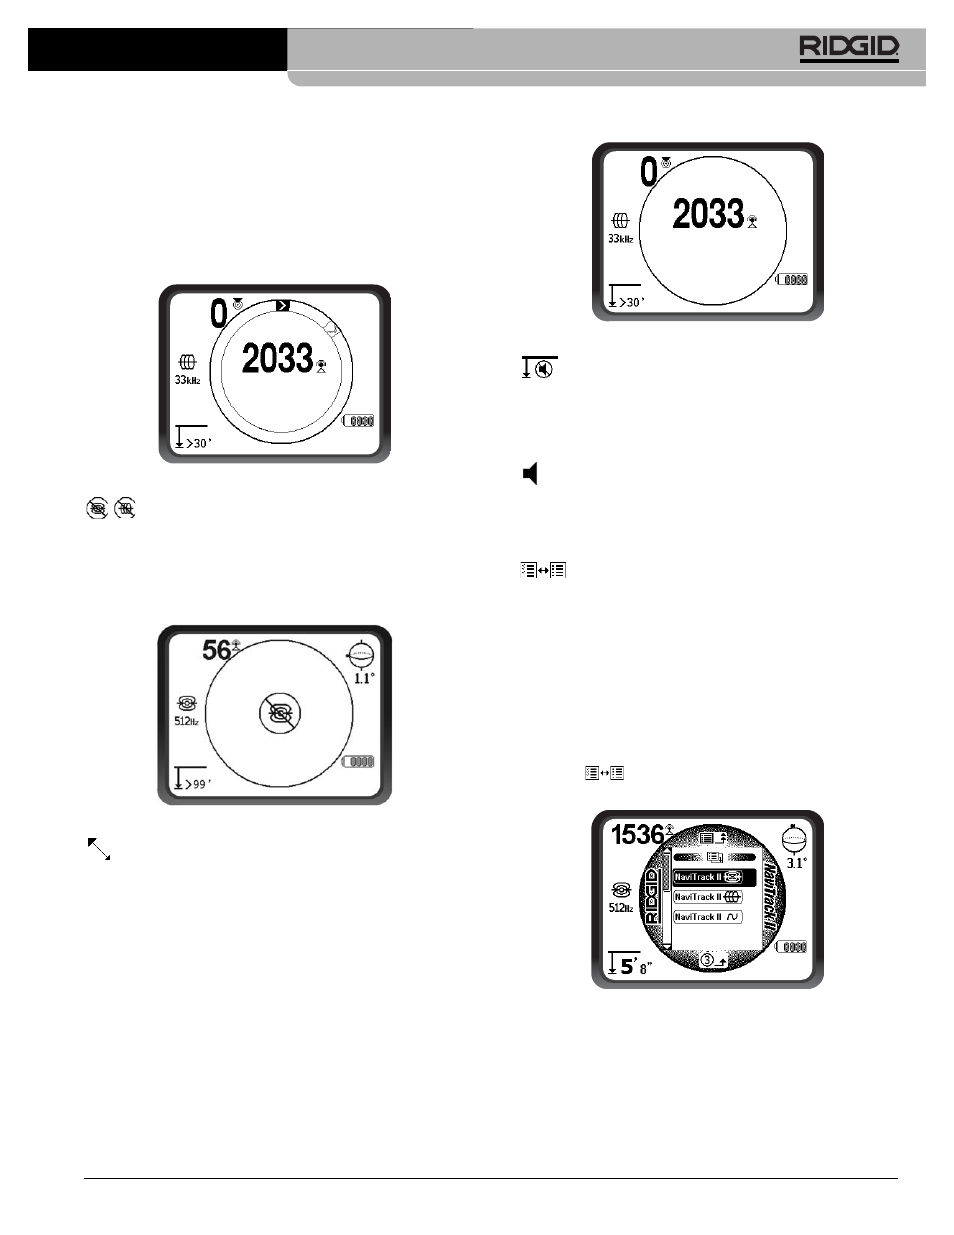
Center Signal Strength Option
Turning the option on in the Menu Selection screen will
force the number representing Signal Strength to be dis-
played in the center of the display area anytime when no
Proximity Signal is available
(Figure 41). This may occur
when the signal is weak. When a Proximity Signal again
becomes available, the Signal Strength number returns to
the lower right corner of the screen as usual. (Line Trace
Mode only).
Figure 41 – Signal Strength Centered
Sound Muting
This option enables the automatic muting of the sound
when the Measured Depth is greater than 99 feet. If it is
unchecked, the sound will not mute automatically. (Sonde
Mode only)
Sound Switching
When checked this will tie sound to the Signal Strength
when no Proximity Signal is available. (Trace Modes
only)
Frequencies Selection Control
Additional available frequencies can be added to the list
of Main Menu currently available frequencies by going to
the Frequency Select Sub-menu and selecting the desired
mode
(Figure 43). Checked frequencies are already “cur-
rently available” – that is, selected to appear in the Main
Menu. From there, they can be set to “Checked-Active”
status to make them available by use of the Frequency
Key.
To select additional frequencies go down to the Frequency
Selection sub-menu, and highlight the category of
the desired frequency
(Figure 42).
Figure 42 – Selecting a Frequency Category
NaviTrack
®
II