NHT Evolution System User Manual
Page 20
Step 8: Connecting the Monitor Connection
Harness to the Monitor
Loosen the nuts on the binding post terminals
enough to allow the spade terminals on the
Harness to fit under them. Make sure you
match wire colors for proper polarity, (red to red,
black to black). The cable should lay flat against
the back of the monitor. Tighten the terminal
nuts using the NHT wrench.
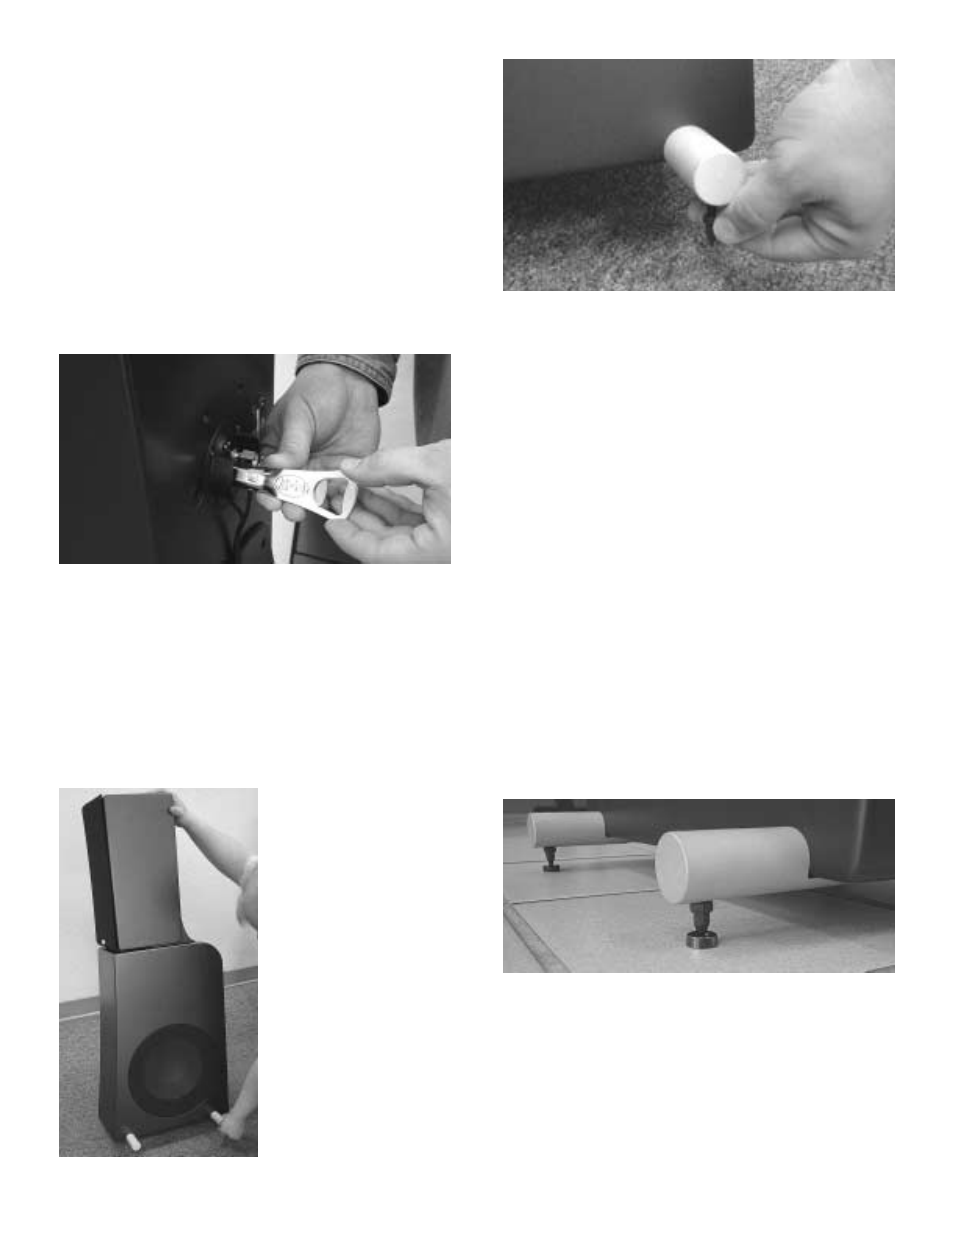
Step 9: Install spikes (optional)
Spikes couple the speaker to the floor, improv-
ing the performance of the system.
Note: Position the speakers in their permanent
location before installing the spikes. It is very dif-
ficult to move the
assembled speakers
once the spikes are in
place. We suggest
two people for this
operation, one to hold
the speaker and the
other to install and
adjust the spikes.
Install the locking nuts
on the threaded
spikes and screw
them all the way down
the shaft until they
stop. Carefully tilt the tower speaker to one side
and screw the metal spikes into the bottom of
the front and rear aluminum stabilizer bars (at
least 3/8”) to the desired height. Hand tighten
the nut to lock it in position. When both sides
are installed, check to ensure that the speaker
does not rock. If necessary, tilt the speaker,
loosen the nut and adjust the height until the
speaker rests firmly on all four spikes. You can
use a small wrench to further tighten the nuts.
Be aware that wood or tile floors can be dam-
aged by the spike’s sharp tip. Four small metal
cups are included with the tower assembly kit to
fit under each spike and protect your floors.
Once the spikes have been mounted to the sta-
bilizer bar, slip a cup under each spike as you
gently lower the tower to the floor.