Selecting an antenna, Installing an antenna – Navman 5605 User Manual
Page 56
TRACKER 5505/5505i/5605 Installation and Operation Manual
56
NAVMAN
Selecting an antenna
Fit one of these GPS antennas:
•
Normally use the internal GPS antenna
(TRACKER5505i) or the GPS antenna
supplied (TRACKER 5505, TRACKER 5605).
•
An optional differential beacon DGPS
antenna to give enhanced accuracy within
range of land based differential beacons
in areas where WAAS or EGNOS are not
available. Such a DGPS antenna has both
a GPS receiver and a beacon receiver,
and it automatically applies the beacon
correction to the GPS position.
•
A compatible GPS or DGPS instrument or
antenna connected by NavBus (see section
15-9) or NMEA (see section 15-10). In this
case, the TRACKER does not need its own
antenna.
Note:
•
The TRACKER can apply the WAAS and
EGNOS DGPS correntions to any GPS
antenna.
•
To configure the TRACKER for different
antenna options, see section 14-3.
For more information, contact your NAVMAN
dealer.
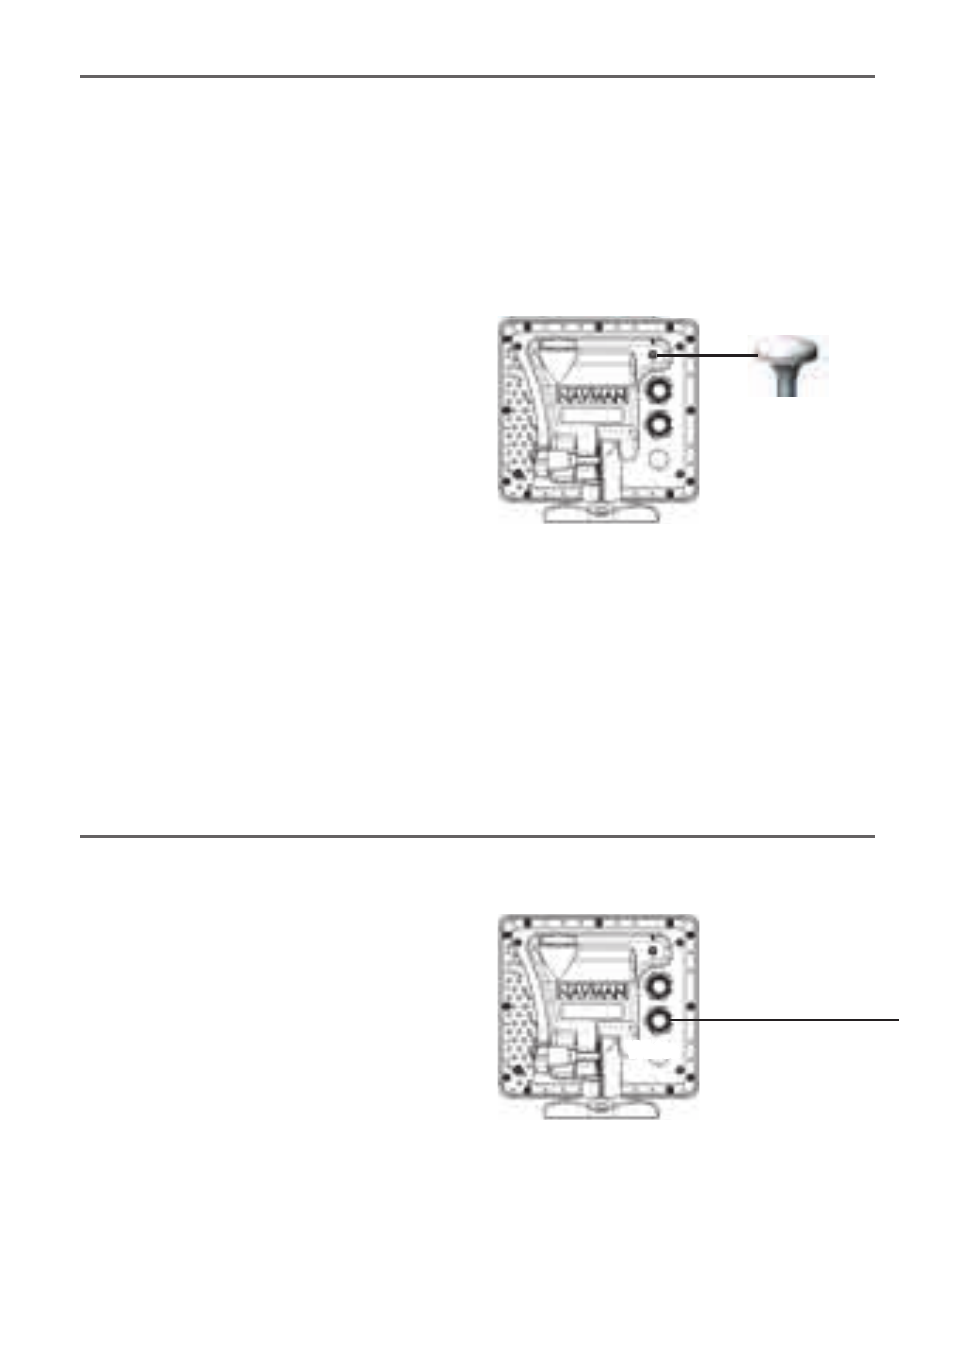
Installing an antenna
If an external antenna is required, install the
antenna and fit the antenna cable back to
the display unit. Follow the instructions in
the manual supplied with the antenna. Fit an
optional Navman extension cable if required.
Connect the TRACKER external antenna to the
gold TRACKER connector:
During setup, configure the TRACKER for the
chosen antenna, see section 14-3.
Fit the optional petrol/gasoline fuel kit
following the instructions supplied with the kit.
Note:
•
Fit one kit for each engine, up to two
engines.
•
SmartCraft engines have fuel flow sensors,
therefore Navman fuel sensors are not
required as well.
•
Wire for auto power (see section 15-4).
During setup enter fuel setup data
(see section 14-4)
Fuel sensor cable
White
15-5 Installation: GPS antenna
15-6 Installation: NAVMAN petrol/gasoline sensors
www.Busse-Yachtshop.de email: [email protected]