Making the dip switch settings – NEC 42/50PD1 User Manual
Page 17
17
Setting details
On-off switching of on-screen display (OSM)
On-off switching of wireless remote control
Setting when shipped
On
On
Switch position
ON
ON
OFF
OFF
Sync control mode
Automatic selection
PIn No.
1
2
3
4
Automatic
Manual 1 (Composite)
Manual 2 (Sync-on-green)
No.4
OFF
ON
OFF
Sync control setting
No.3
OFF
OFF
ON
Switch position
Making the DIP Switch Settings
Before connections are made, the DIP switch should be set to suit the application and
the system structure.
* DIP switches are moved up or down with something fine and pointed such as a
miniature screwdriver or the tip of a ballpoint pen.
Note: Be sure to switch off the main power before making settings.
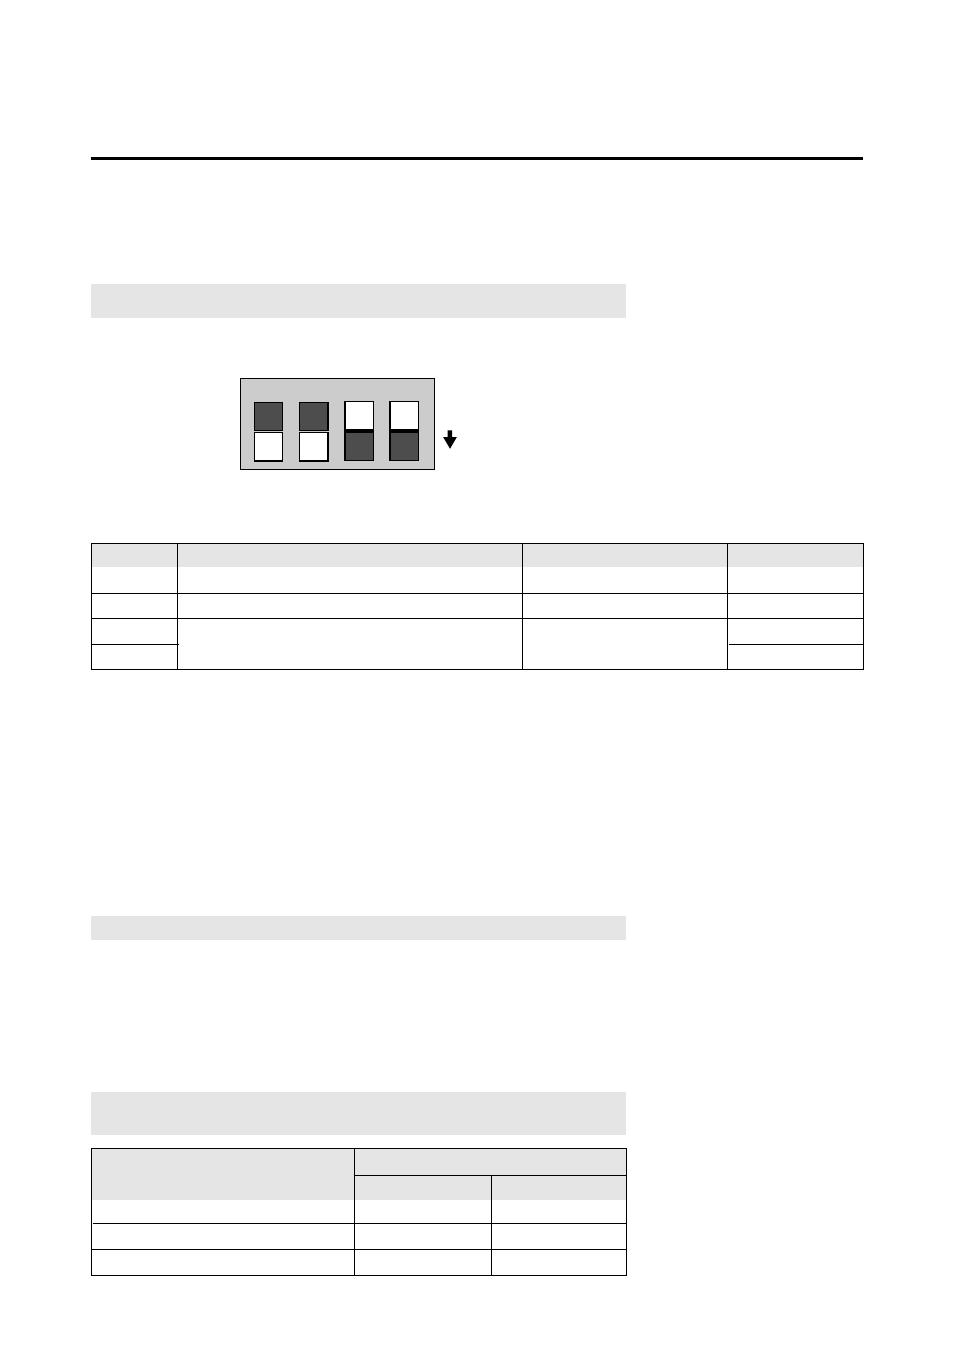
1
2
3
4
ON
DIP Switch Functions and Settings
Factory Default Settings
No. 1: On/off switching of on-screen display (OSM)
* Set to “ON” when performing adjustments and viewing displays with the on-screen
display.
Set to “OFF” when displays are not desired.
No. 2: On/off switching of wireless remote control
* When using multiple units under wireless remote control operation, the remote
control signal also enters other monitors and may control them at the same time.
Monitors for which the reception of the wireless remote control signal is not desired
should be set to “OFF.”
* Be sure to switch the units on when the wireless remote control is to be used.
Note: that use of the wired remote control is not related to this setting.
Pin Nos. 3 and 4 Sync Control Settings
* These are settings of the input sync signals.
* When this unit is set to automatic, it automatically detects the separate sync,
composite sync, and green sync (sync-on-green).
Separate sync should be recognized automatically.
Note: When both pins No. 1 and No. 2 are set “ON” the synchronization may be
disturbed. Do not set both these pins “ON.”