1 radio setup menu (radio setup) – Navman VHF 7200 User Manual
Page 20
20
VHF 7200 US and 7200 EU Operation Manual
NAVMAN
Chapter 3 - Radio Setup Menu (RADIO SETUP)
3.2 Channel Names (CH NAME)
The channel charts are listed in Appendix C with their default name tags. CH NAME gives you
the option to edit or delete the channel name tags displayed on the screen.
1. Select RADIO SETUP, then CH NAME.
2. Scroll through the channels with their name tags until you see the channel name tag you want
to change, then press ENT. In this example, the channel name TELEPHONE associated with
channel 01 is being changed to PHONE1.
RADIO SETUP
>CH NAME
RING VOLUME
BEEP VOLUME
CH NAME
TELEPHONE
01
TELEPHONE
>EDIT
DELETE
EDIT CH NAME
TELEPHONE
EDIT CH NAME
PHONE1
>YES
NO
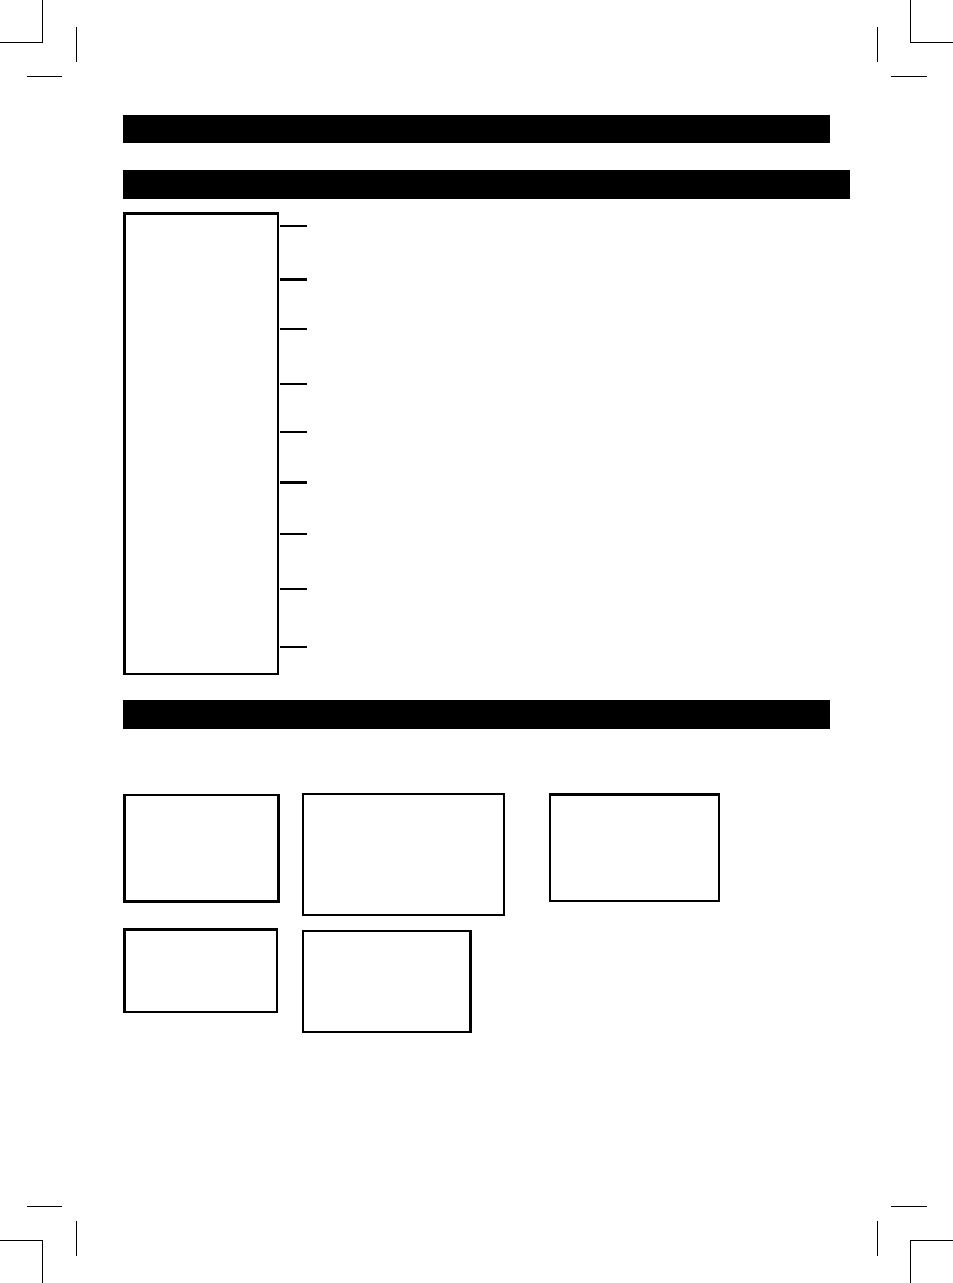
3.1 Radio Setup Menu (RADIO SETUP)
and change data.
CH NAME
RING VOLUME
BEEP VOLUME
INT SPEAKER
WATCH MODE
WX ALERT
COM PORT
BARO
TEMP
Edit or delete channel names.
See Section 3.2.
Set the WX Alert scanning mode on/off (ON/OFF). (7200 US only.) See
section 3.6.
Selects the operation of Dual or Tri watch scanning.
See section 3.5.
Switch on/off (ON/OFF) the radio’s internal speakers. See section
3.4.
Select NMEA or NAVBUS protocol for communications between the
radio and other instruments. See section 3.7.
Set the volume level of the beeps.
See section 3.3.
Set the volume level of the incoming call notifi cation beeps. See section
3.3.
Select the temperature units. See section 3.9.
Select the barometric display units, calibrate the sensor, and switch the
barometric display on/off (ON/OFF). See section 3.8.