Introduction, Connecting the smartnode to your laptop pc, Connecting the smartnode to your laptop pc – Patton electronic 4630 Series User Manual
Page 28
Introduction
28
SmartNode 4630 Getting Started Guide
4 • Initial configuration
Introduction
This chapter leads you through the basic steps to set up a new SmartNode and to download a configuration.
Setting up a new SmartNode consists of the following main steps:
Note
If you haven’t already installed the SmartNode, refer to chapter 3,
•
Connecting the SmartNode to your laptop PC
•
Configuring the desired IP address
•
Connecting the SmartNode to the network
•
Loading the configuration (optional)
Note
The SmartNode CD-ROM contains a collection of third party software
tools (including TFTP servers and Telnet utilities) to help you configure,
operate and monitor the SmartNode device.
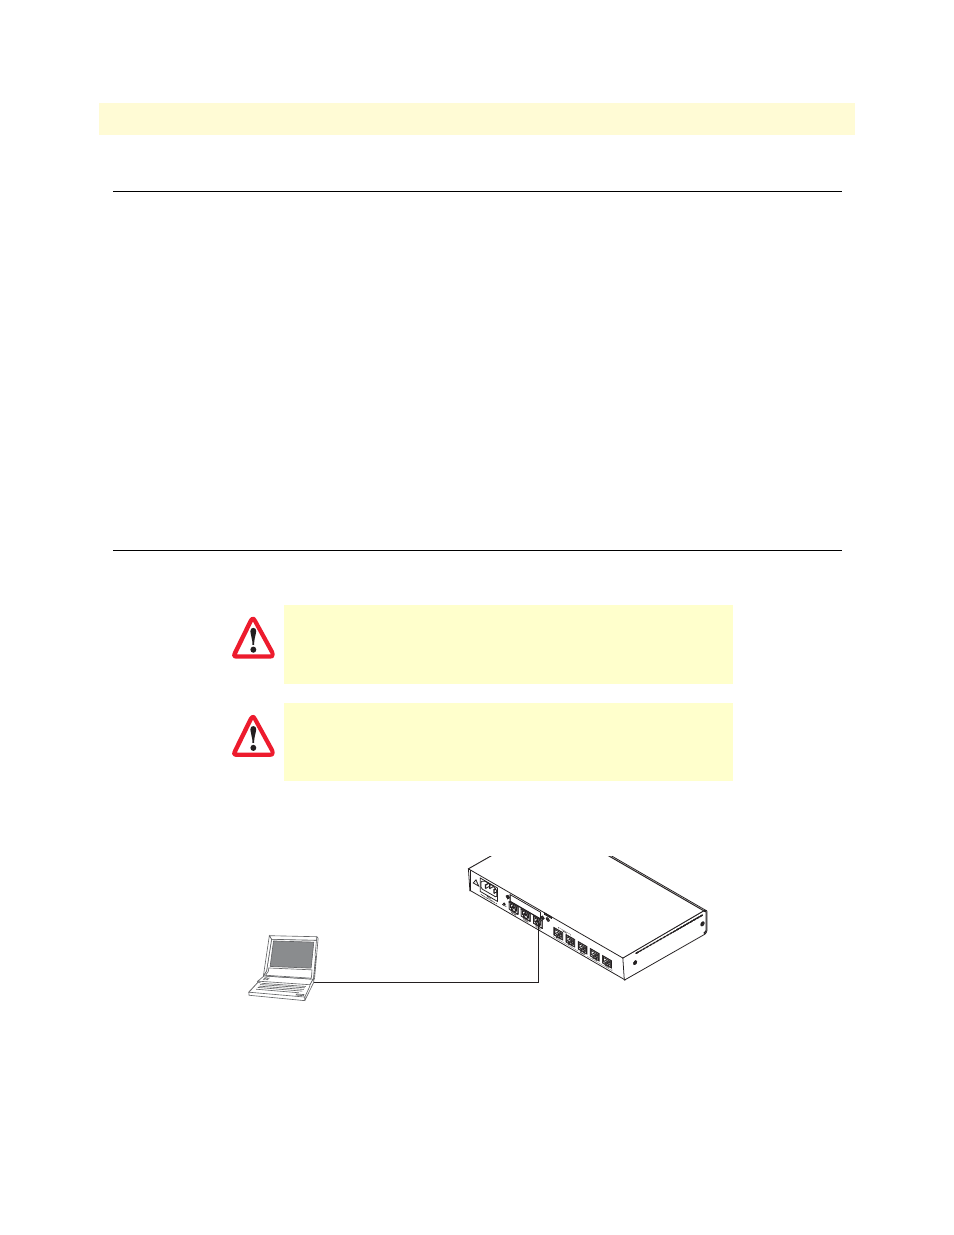
Connecting the SmartNode to your laptop PC
First the SmartNode must be connected to the mains power supply with the power cable. Wait until the Power
LED stops blinking and stays lit constantly. Now the SmartNode is ready.
The SmartNode 4630 Series is equipped with Auto-MDX Ethernet ports, so you can use straight-through
cables for host or hub/switch connections (see
Figure 7. Connecting the SmartNode to your laptop PC
The SmartNode comes with a built-in DHCP server to simplify configuration. Therefore, to automatically
configure the PC for IP connectivity to the SmartNode, the laptop PC must be configured for DHCP. The
The interconnecting cables shall be acceptable for external use
and shall be rated for the proper application with respect to volt-
age, current, anticipated temperature, flammability, and
mechanical serviceability.
When this device is used in North America, it shall be connected
to a Network Termination Device and not connected directly to
an outside POTS line.
CAUTION
CAUTION
Straight-through wired cable
LAN (ETH 0/1)
Laptop PC