Setting up – Panasonic AG-1340P User Manual
Page 13
13
Setting Up
AUTO CHANNEL SET
PROCEEDING
END
: MENU
2
AUTO TUNING IS
COMPLETED.
END: MENU
Disappears
2
3 Select a program number on the TV which
you wish to use as the video viewing
channel. Then tune in the TV to the picture
from the screen being auto tuned or the
screen selected with the
I and J buttons
of the VCR.
– During Auto Tuning, the TV program
screen does not appear, and the Auto
Tuning screen appears instead.
To Cancel Auto Tuning Mid-
Operation
Press [MENU]
during Auto Tuning. Auto Tuning
is cancelled.
To Restart Plug in Auto Tuning
1 Press [EJECT] and remove the video
cassette.
2 Keep the
I and J buttons on the VCR
pressed simultaneously for 3 seconds or
more during the VCR on.
– The channel displayed on the VCR display
disappears for a moment then changes to
2.
3 Disconnect the mains lead and then
reconnect it.
4 Turn off the VCR and then turn it on.
Press [VCR/TV] to select the VCR mode.
– Auto Tuning commences.
If Auto Tuning stops halfway by turning the
VCR off, playback or a power failure:
1 Disconnect the mains lead and then
reconnect it.
2 Turn off the VCR and then turn it on.
– Auto Tuning commences.
To Change the RF Output
Channel
In some rare cases after tuning the TV to your
VCR, interference may be visible on the
picture. To get rid of this interference, you can
manually adjust the RF output channel a few
channels up and down from the current setting.
The procedure is described below.
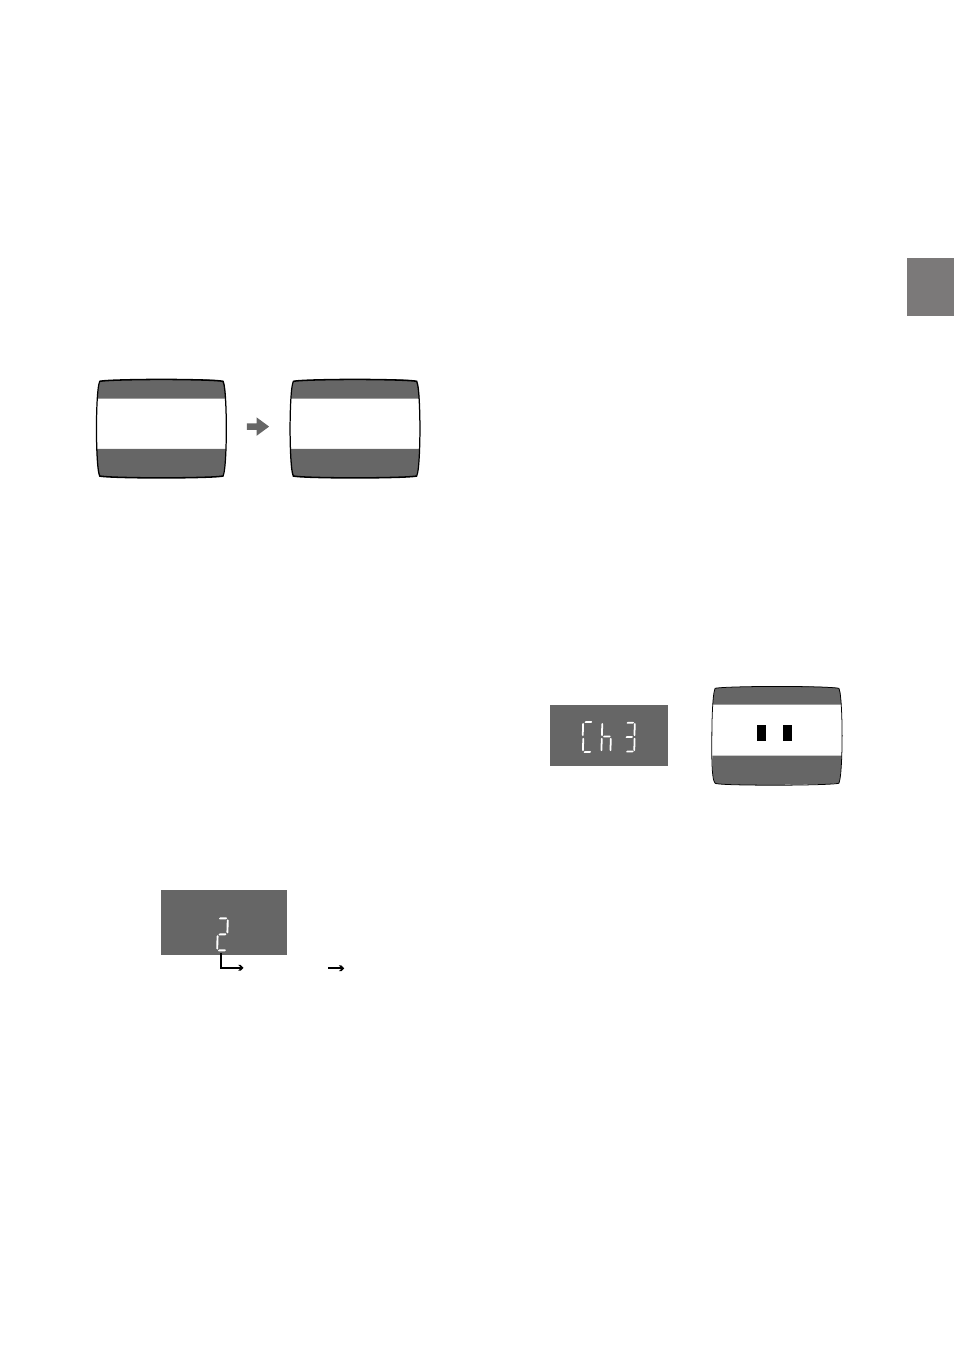
1 Hold down [MENU] for 5 seconds or more.
– The VCR display changes as shown below
and the VCR picture on the TV displays
this pattern.
2 Enter the desired channel number (US3 or
US4) by the
I and J buttons.
3
()4
3 Press [MENU] to finish the setting mode.
4 Retune your TV to the new RF channel for
the VCR.
Note:
– Even if the RF output channel has been
changed, it is not necessary to perform Auto
Tuning.
Panasonic VCR
END: MENU