Checking the version information 166, Selecting the video for, Rear display” 166 – Pioneer SUPER TUNER 3 D AVIC-Z120BT User Manual
Page 166: Selecting the video for “rear display, 31 customizing preferences, Checking the version information
= For details, refer to Creating a user-de-
fined color and storing it to memory on
this page.
! Scan: Shifts between the eight default col-
ors in sequence gradually.
! Eco: The colors change in the order of
white, red, amber, yellow, green, and blue
as the number of points in the
“Eco Score”
increases.
p The illumination lights in white when
“Eco Score” is set to “Off” or when no
route is set.
Creating a user-defined color and
storing it to memory
You can create a user-defined color and set it
as the illumination color.
1
Display the
“System Settings” screen.
= For details, refer to Displaying the “System
2
Touch [Illumi Color].
The
“Illumination Color” screen appears.
3
Touch [Custom].
The
“Illumination Color” screen appears.
p If [Scan] is set, [Custom] cannot be se-
lected.
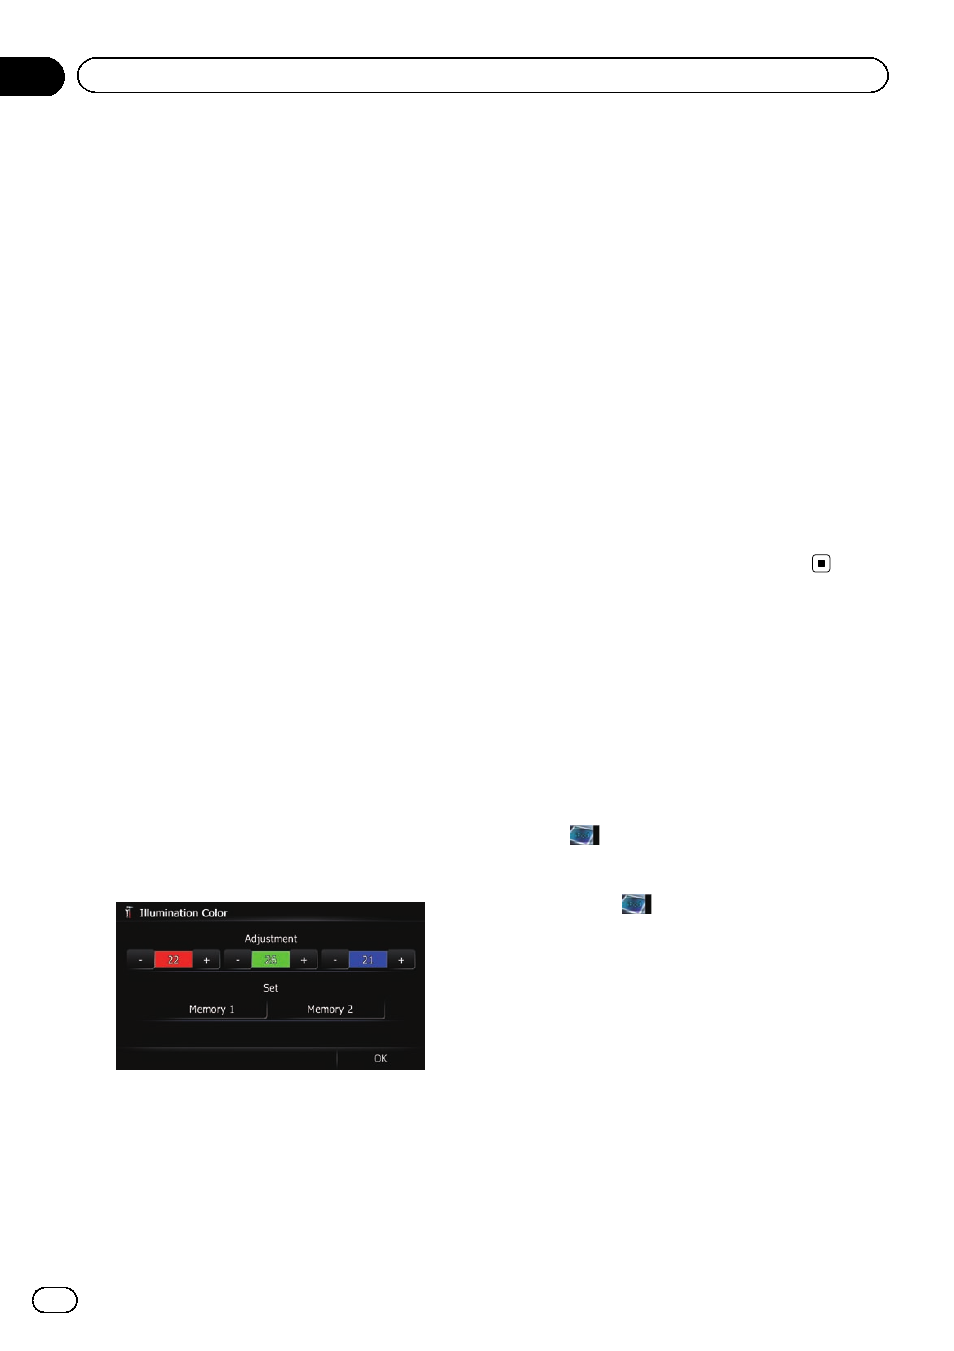
4
Touch [+] or [
–] to adjust the values for
Red, Green and Blue to create a favorite
color.
Watch the illumination of hardware keys while
adjusting the color.
Each time you touch [
+] or [
–] increases or de-
creases the value of the selected item.
+31 to
+00 is displayed as the value is increased or
decreased.
p An entry cannot be stored with all of the va-
lues set to
“+00”.
5
Touch [Memory 1] or [Memory 2] to
store the illumination color.
6
Touch [OK] to return to the previous
screen.
Checking the version information
1
Display the
“System Settings” screen.
= For details, refer to Displaying the “System
2
Touch [Service Information].
The
“Service Information Screen” screen ap-
pears.
3
Check the version information.
Selecting the video for
“Rear display”
p This function is available for AVIC-Z120BT
only.
You can choose either to show the same
image as the front screen or to show the se-
lected source on the
“Rear display”.
% Tap
on the left edge of the screen.
p The appearance of this key changes accord-
ing to the current setting.
Each touch of
changes the settings as fol-
lows:
! Mirror AV: The video on the front screen of
the navigation unit is output to the
“Rear
display
”
! DISC: The video and sound of the DVDs are
output to the
“Rear display”
! iPod: The video and sound of the iPod or
Pandora are output to the
“Rear display”
! AV1: The video and sound of AV1 are out-
put to the
“Rear display”
! AV2: The video and sound of AV2 are out-
put to the
“Rear display”
p When “Mirror AV” is selected, the following
restrictions are applied to
“Rear display”.
En
166
Chapter
31
Customizing preferences