Setup the remote, Charge the remote, Step 1 – Plantronics CT10 User Manual
Page 12
7
ENGLISH
FRANÇAIS ESP
AN
˜
OL POR
TUGUE
ˆS
KOREAN JAP
ANESE CHINESE
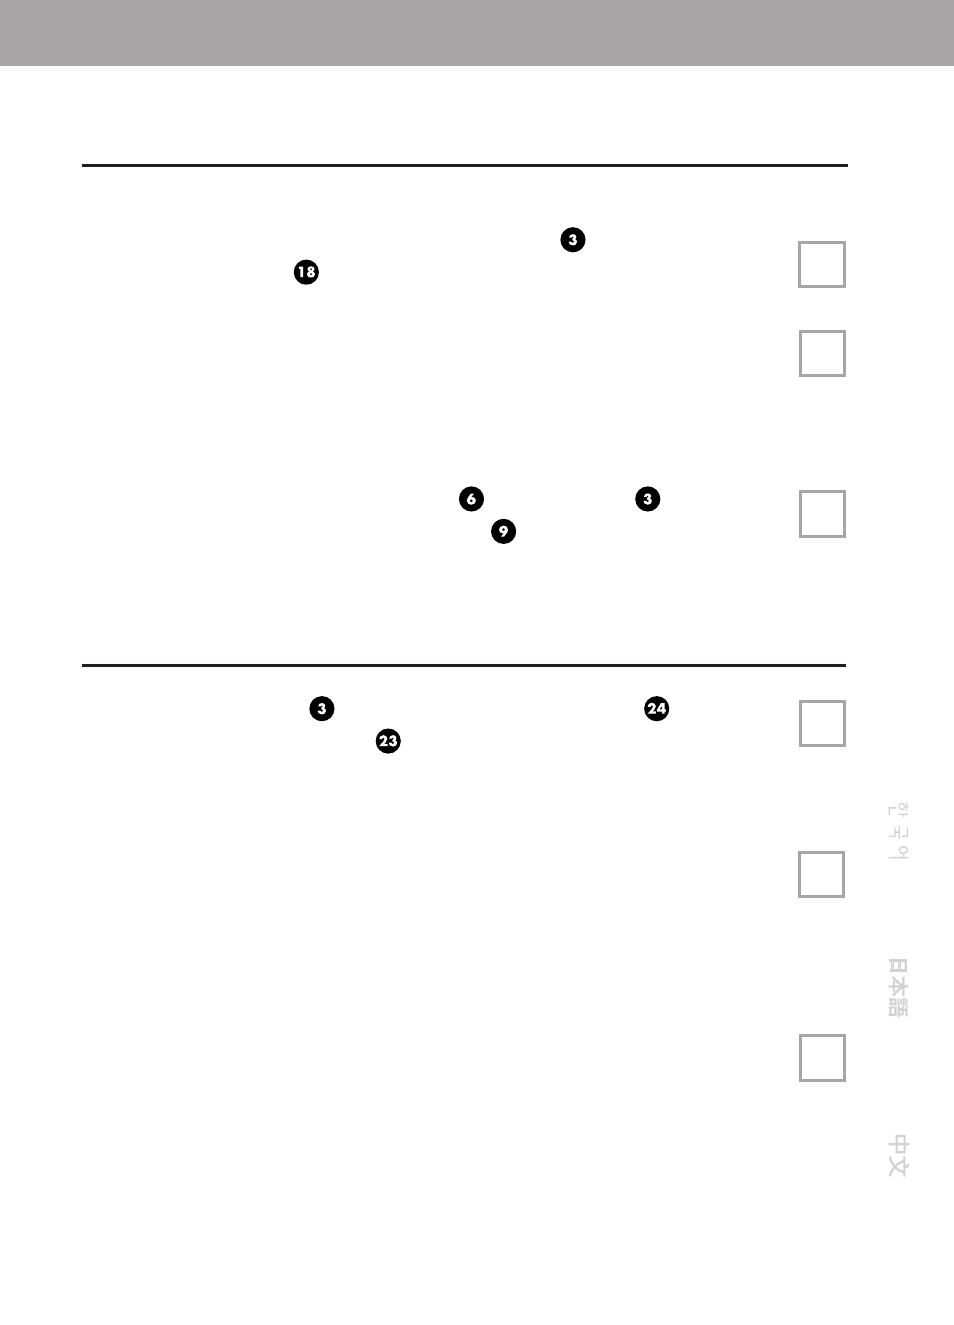
STEP 1
SETUP THE REMOTE
PREPARING THE REMOTE FOR USE
Remove the paper separator between the Remote
and the
Rechargeable Battery
by pulling it out.
Note: If the paper rips before coming out. The Remote and the
Rechargeable Battery Pack can be separated by sliding the Remote up
and the Battery Pack down. They can be reassembled by reversing this
action.
Plug the Headset into the Headset Jack
on the Remote
and snap
the Cable into the Headset Cable Retainer .
CHARGE THE REMOTE
Firmly slide the Remote
into the Remote Charging Well
until the
Battery Charge Indicator Light
flashes.
The Battery Charge Indicator Light will go off
when the battery is fully charged.
(It’s important to make good contact in the
charging well to properly charge the battery.)
The Remote may be operated while in its Charging Well after gaining
5 seconds of orientation. The Charge Indicator Light will stop flickering
when orientation is attained.
Once charged, the Remote can be operated away from the Base.
B
E
E
D
G
C