Configuring the system clocking parameters, Ip routing information window – Patton electronic 2616RC User Manual
Page 41
Using a browser to complete Model 2616RC configuration
41
Model 2616RC T-DAC User Manual
3 • Configuring the T-DAC for operation
5. In the Gateway box, type your default gateway IP address for the 2616RC.
6. Click the Add Route button to save your configuration.
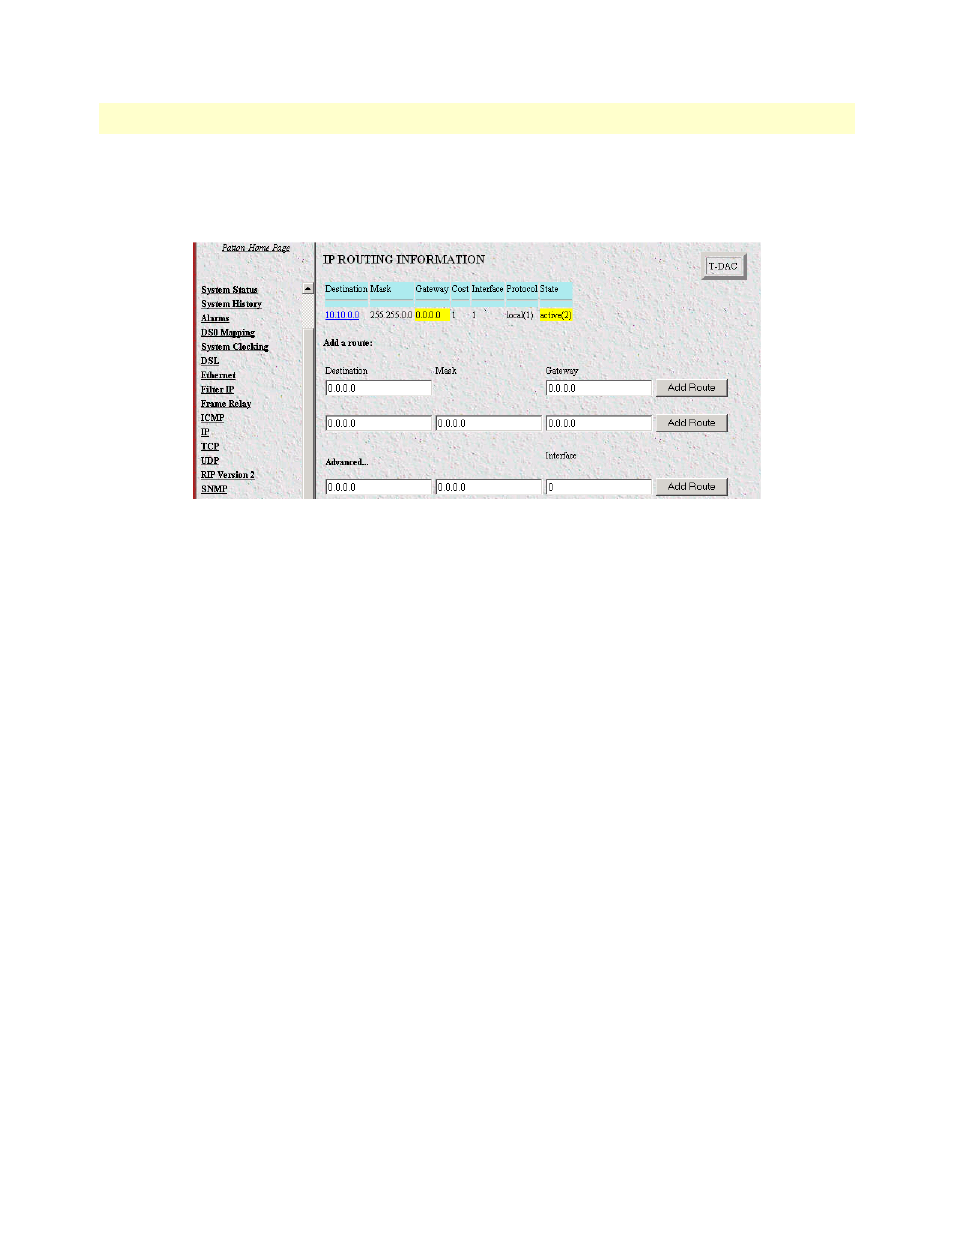
Figure 28. IP Routing Information window
7. The route which you already see in the table appeared upon the configuration of the LAN IP address.
8. To enter the default gateway, use the first Add Route line. The Destination shall remain as 0.0.0.0. There is
no mask to enter.
9. Enter the IP address in the Gateway box. This is the default gateway.
10. Click on the
Add Route
button.
Configuring the system clocking parameters
In this section you will define clocking sources for the main reference and fallback reference on the 2616RC T-
DAC. Clocking source selection will depend on the clocking role you assign to the blade: master(1), second-
ary(2), or slave(3). The master will drive the main reference clock for the chassis. Should the master fail, the
secondary will drive the main reference. Slaves will not drive any clock reference. Most often the 2616RC will
be configured as slave(3), with another blade (such as the Patton Model 6511) configured as the master(1).
You can choose any one of the WAN ports, an internal oscillator, or system clock (provided by the ForeFront
chassis). Unless it fails or becomes disconnected, the main reference provides the system clock for the 2616RC.
Should this failure occur, the fallback reference will be the clocking source for the 2616RC’s system clock.
Example 1
Your 2616RC is the only blade in the chassis and must be configured as the system clocking master. This exam-
ple assumes you will use T1/E1 port #1 as the main reference
and T1/E1 port #2 as the fallback reference
.
To
define the clocking source, do the following:
1. Connect a T1/E1 WAN line to WAN port #1 through the 2616RC’s WAN port cable.
2. Connect a T1/E1 WAN line to WAN port #2 through the 2616RC’s WAN port cable.