3 get started, 3�1 position the tv, 3�2 wall mount the tv – Philips 20HFL3330D/10 User Manual
Page 19
EN-7
EN
3 Get started
This section helps you position and install the
TV and supplements the information provided
in the Quick Start Guide.
Note:
D
Refer to the Quick Start Guide for
stand mounting instructions.
3�1 Position the TV
In addition to reading and understanding the
safety instructions in Section 1.1, consider the
following before positioning your TV:
The ideal viewing distance for watching TV
•
is three times its screen size.
Position the TV where light does not fall on
•
the screen.
Connect your devices before you position
•
your TV.
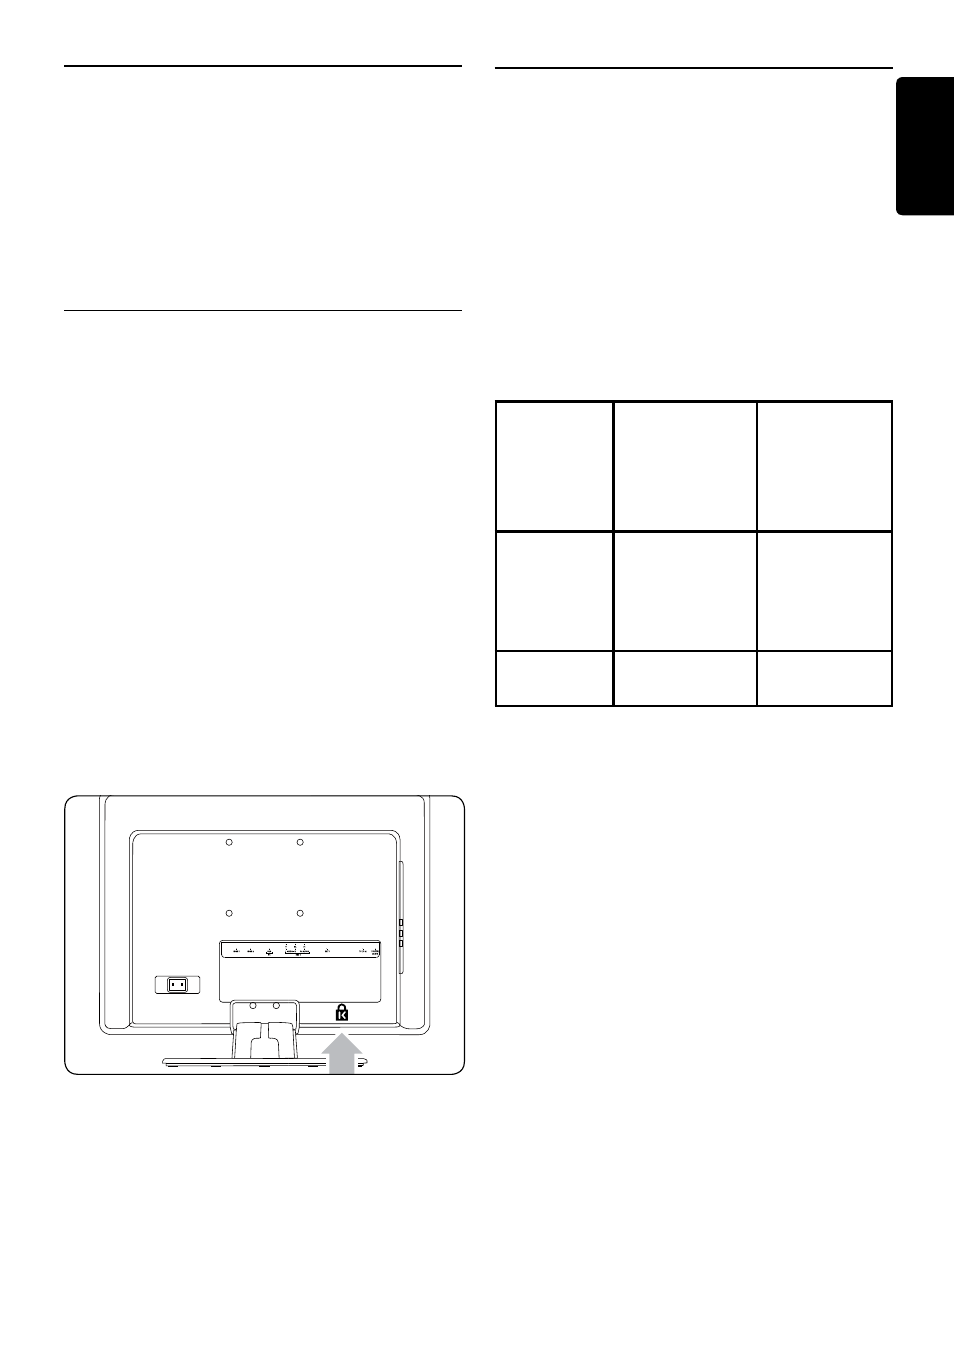
• Your TV is equipped with a Kensington
Security Slot at the back of the TV. If
connecting an anti-theft Kensington lock
(not supplied), position the TV within reach
of a permanent object (such as a table) that
can be easily attached to the lock
3�2 Wall mount the TV
WARNING: Wall mounting of the
B
TV should only be performed by
qualified installers. Koninklijke
Philips Electronics N�V� bears no
responsibility for improper mounting
that results in accident or injury.
Step 1 Purchase a
B
VESA-compatible
wall bracket
Depending on the size of your TV screen,
purchase one of the following wall brackets:
TV screen
size
(inches/
cm)
VESA-
compatible
wall bracket
type
(millimeters)
Special
instructions
19”/48cm
20”/51cm
22”/56cm
Adjustable
100 x 100
None
26”/66cm
Adjustable
100 x 200
Step 2 Connect cables
Connect the antenna cable, mains cord and
all other devices to the back of the TV as
described in the following sections.
Step 3 Secure the VESA-compatible wall
bracket to the TV
WARNING: Only use the bolts (M4
B
for all models) and spacers (4cm)
to secure the VESA-compatible wall
bracket to your TV�
The bolts are designed to match
the weight of your TV; spacers are
designed for easy cable management�
Note:
D
Depending on your VESA-compatible
wall bracket, you may need to separate the
mounting plate from the wall bracket for
easier installation. Refer to your VESA-
compatible wall bracket documentation for
instructions.