Tabletop installation, Connection to ims-4000 host or node, Operation – Phonetics IMS-4000 User Manual
Page 95: Plugging in equipment
95
1) Attach the optional wall mount brackets to the sides of the IMS-4301 using the eight black
#6-32 screws. A Phillips screwdriver will be required. (Order part # IMS-4501 Universal
Wall Mount Kit)
2) Attach the unit to the wall using two screws per side. Tighten the screws with a Phillips
screwdriver.
3) Plug the power cord into a 120VAC outlet.
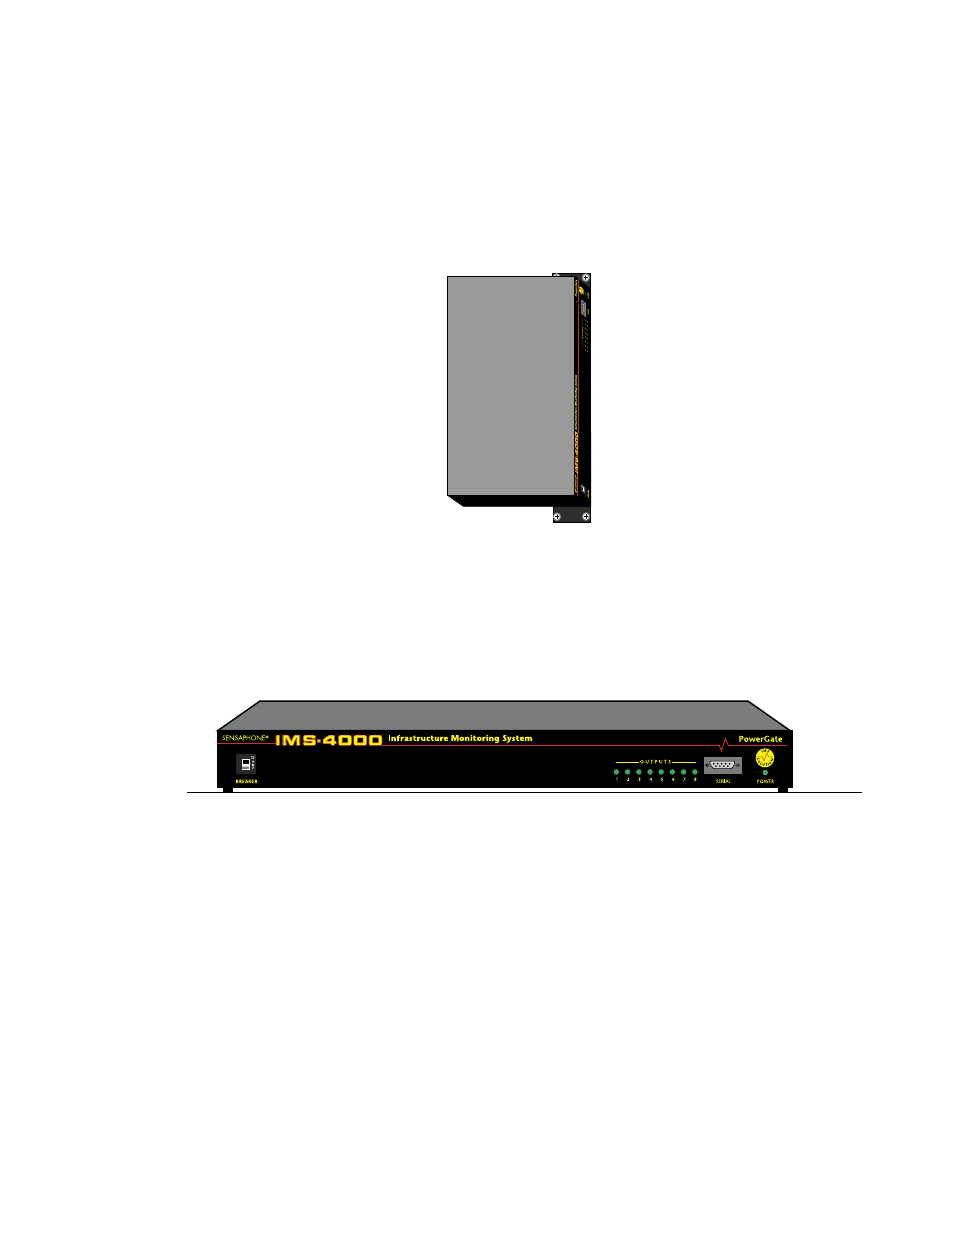
Figure 4: Wall-mounted PowerGate Unit
Tabletop Installation
The IMS-4301 PowerGate can be installed on a tabletop or shelf. Follow the steps below:
1) Attach the four self-adhesive rubber feet to the four corners on the bottom of the IMS-4301.
2) Place the unit on a tabletop or shelf and connect the power cord into a 120VAC outlet.
Figure 5: Tabletop-mounted PowerGate Unit
Connection to IMS-4000 Host or Node
The PowerGate connects to an IMS-4000 Host or Node using the 9-pin null modem cable (includ-
ed). Connect the cable to the RS-232 port on the PowerGate and connect the other end to the RS-
232 port on the Host or Node. The PowerGate will automatically be recognized by the system and
appear in the IMS-4000 ConsoleView software.
Operation
Plugging In Equipment
Attach the power cord from each device to be switched into one of the outlets on the back of the
PowerGate. Be sure to support heavy cables with tie wraps or some other method to prevent the
unit from bending down (See the figure below). Too much weight in the rear may cause permanent
damage to the enclosure.
Chapter 5: PowerGate