Sorting and deleting tv channels manually, Setting the language, Additional installation features – Philips HDRW 720/00-02 User Manual
Page 28: 26 sorting and deleting tv channels manually
26
Sorting and deleting TV channels
manually
With this function you can rearrange the TV channels already stored or
to delete TV channels you don't want or those with poor reception.
Preparation:
•) The TV set is switched on, and if necessary, the programme number for the
DVD recorder has been selected.
•) the DVD recorder is switched on.
1 Press the BROWSER HDD button and then the SYSTEM
MENU button on the remote control.
P
The 'SYSTEM MENU' appears.
2 Select 'Set up' using B .
3 Press C to select 'System'.
4 Select the line 'Installation' using B and confirm with C .
P
A message appears on the screen that this setting will flush the
'Time Shift Buffer'.
O
If the 'Time Shift Buffer ' contains important recordings, save
them with the REC/OTR
n button first. Read additional
information to the 'Time Shift Buffer' in the chapter 'The Time
Shift Buffer'.
5 Select 'Yes' with D and confirm with OK .
O
If the message window was closed, confirm the line with
C again.
6 Select 'Sort TV channels' using B or A and confirm with C .
Installation
Sort TV channels
...
•
P01
BBC1
P02
BBC2
P03
ITV
P04
P05
P06
...
To sort
Press ›
To exit press
SYSTEM MENU
7 Using B or A select the TV channel that you want to delete or
whose order you want to change.
8 Confirm with C .
O
Deleting TV channels
Unwanted channels or those with poor reception can be
deleted using the red function button.
9 Using B or A , shift the TV channel to the desired position and
press the
D button.
P
The DVD recorder will insert the TV channel.
0 Repeat steps
7
to
9
until you have resorted/deleted all the TV
channels you want.
A To store, press OK .
B To end, press SYSTEM MENU .
a
'Switch off recorder, new preset' appears on the screen
b
In order to transfer the new TV channel order to the GUIDE Plus+
®
system, it is necessary to switch off the DVD recorder
( STANDBY
m ). Wait for approx. 4 minutes before you switch
the DVD recorder on again.
b
If this message reappears after you switch on the DVD recorder, it
was not possible to complete the transfer process.
Switch off the DVD recorder using STANDBY
m .
Setting the language
For the basic setting of DVD playback, you can select the language for
the subtitles and the audio language.
Please note that with some DVDs the audio language and/or subtitle
language can be changed only via the DVD menu.
For bilingual shows, you can also select the sound channel of the TV
station via the internal tuner ( TUNER button) for recording or
playback.
Preparation:
•) The TV set is switched on, and if necessary, the programme number for the
DVD recorder has been selected.
•) the DVD recorder is switched on.
1 Press the BROWSER HDD button and then the SYSTEM
MENU button on the remote control.
P
The menu bar appears.
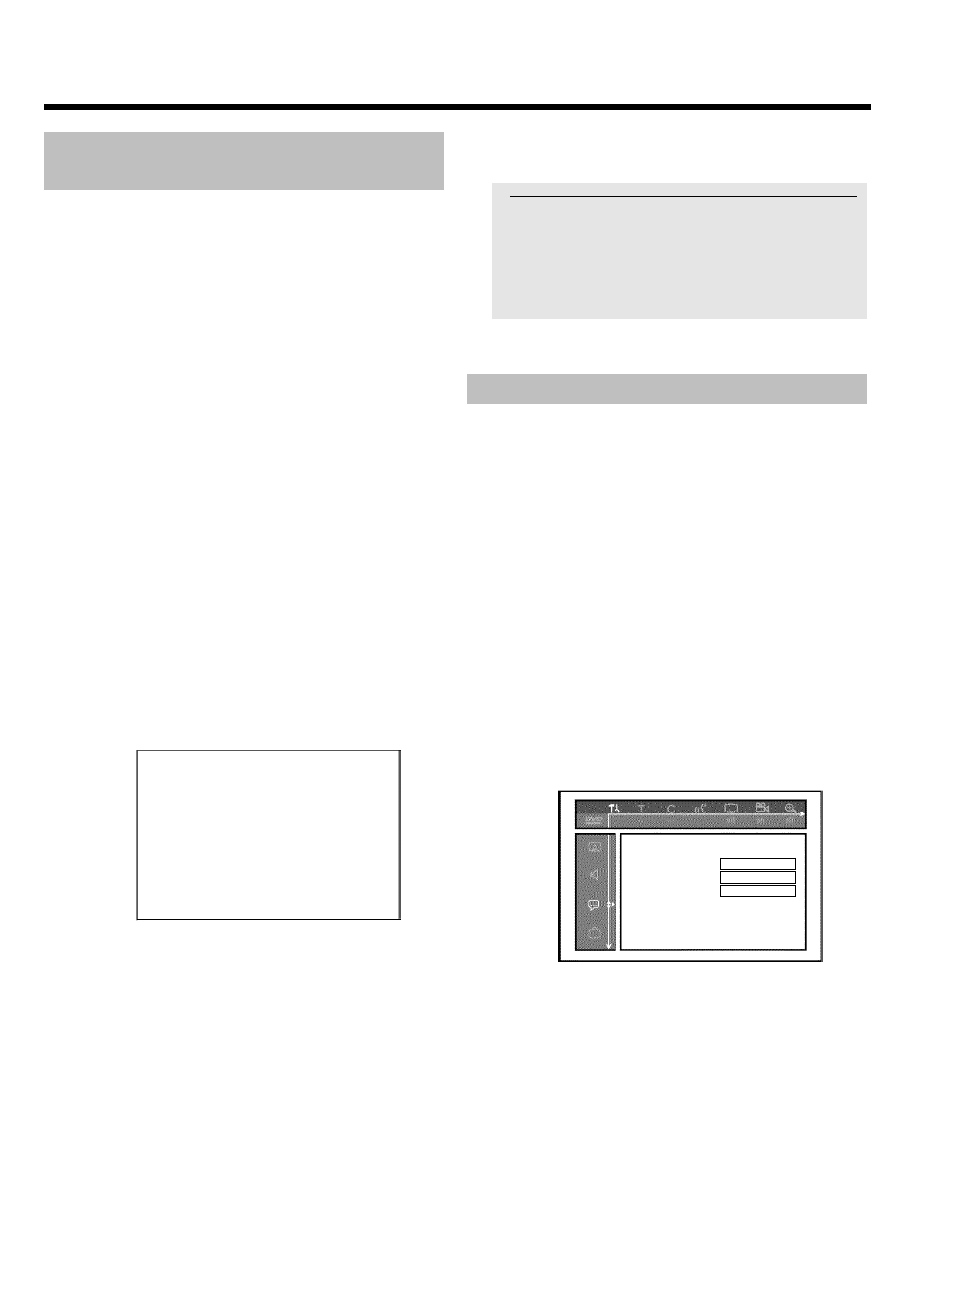
2 Select '
A
' symbol with
D or C .
3 Select line '
u
' with
B or A and confirm with the C button.
Language
Audio Language
English
Subtitle
English
Menu
English
4 Select the appropriate line and confirm with C .
O
Audio Language
The DVD will play back in the language you have chosen.
O
'
Subtitle'
Subtitle language
O
'
Menu'
You have the option of setting one of the displayed languages
for the on-screen menu (OSD). However, the DVD recorder
display will only display English text regardless of this setting.
The language can also be set in the installation menu from the
GUIDE Plus+
®
system.
Additional installation features