Section 3: operating instructions, Pre-start checklist, Tractor & cutter inspection – Land Pride RC5020 User Manual
Page 25: Blade operation inspection, Danger, Warning, Table of contents pre-start checklist
23
Section 3: Operating Instructions
5/29/13
RC5020 (540 RPM) and RCM5020 (1000 RPM) Rotary Cutters 318-474M
Pre-Start Checklist
Hazard control and accident prevention are dependent
upon the awareness, concern, prudence, and proper
training involved in the operation, transport, storage, and
maintenance of the Rotary Cutter. Therefore, it is
absolutely essential that no one operates the cutter
without first having read, fully understood, and become
totally familiar with the Operator’s Manual. Make sure the
operator has paid particular attention to:
•
Important Safety Information, pages 1 to 9
•
Section 1: Assembly & Set-up, page 11
•
Section 2: Adjustments, page 21
•
Section 3: Operating Instructions, page 23
•
Section 4: Options & Accessories, page 29
•
Section 5: Maintenance & Lubrication, page 32
Also make sure the operator has completed the
Operating Checklist below before using the cutter.
Tractor & Cutter Inspection
Make the following inspections with cutter attached to a
tractor, tractor and cutter parked on a level surface, PTO
disengaged, and cutter blades completely stopped.
1.
Inspect tractor safety equipment to make sure it is in
good working condition.
2.
Inspect cutter safety equipment to make sure it is
installed and in good working condition.
3.
Check driveline to make certain it is securely
connected to the tractor PTO shaft and cutter
gearbox shaft. Also, make certain that the guards are
in good working condition and in place.
4.
Carefully raise and lower implement to ensure that
the drawbar, tires, and other equipment on the tractor
do not contact cutter frame or driveline.
5.
Remove 3-Point lower arms or secure them so they
do not interfere with driveline, hoses, or hitch.
6.
Check all hoses and wires to be sure that they will not
pinch or come in contact with rotating driveline.
7.
Raise center deck fully up and place sturdy support
blocks or jack stands under the four deck corners.
Lower center deck down onto the supports.
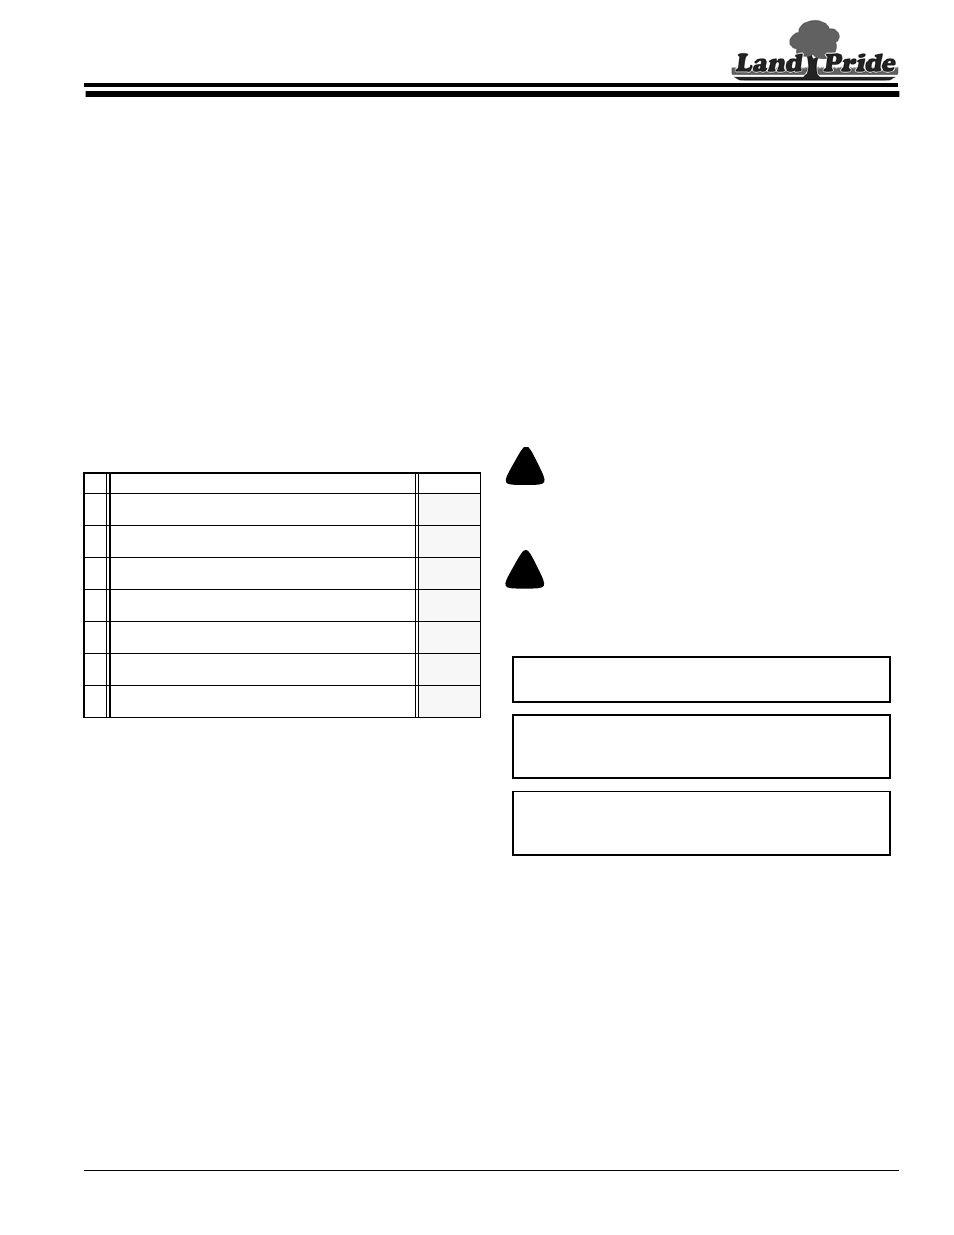
Operating Checklist
✔ Check
Page No.
Make sure all guards and shields are in place and in good
working condition. Refer to “Important Safety Information”.
Follow hook-up & driveline installation instructions. Refer to
“Section 1: Assembly & Set-up”.
Make all required adjustments.
Refer to “Section 2: Adjustments”.
Preform all required maintenance.
Refer to “Section 5: Maintenance & Lubrication”.
Lubricate cutter and driveline as needed.
Refer to “Lubrication Points”.
Lubricate all gearboxes and replace oil plugs properly.
Refer to Gearbox lubrication.
Check cutter initially and periodically for loose bolts and
pins. Refer to “Torque Values Chart”.
8.
Place gear selector in park, shut tractor engine off,
remove switch key, and dismount from tractor.
9.
With cutter resting on solid supports, PTO
disengaged, and blade rotation completely stopped:
•
Check for and remove foreign objects wrapped
around blade spindles.
•
Check for nicked, bent, broken, and worn cutting
blades. Replace or sharpen blades as required.
Refer to “Cutter Blade Maintenance” on page 32.
10. Inspect Hydraulic hoses for wear, damage, and
hydraulic leaks. See “Avoid High Pressure Fluids
Hazard” on page 3. Replace damaged and worn
hoses with genuine Land Pride parts.
11. Make repairs to cutter and tractor.
12. Continue with “Blade Operation Inspection” below.
Blade Operation Inspection
!
DANGER
Tractor PTO shield, gearbox shaft shield and driveline shields
must be secured in place when operating cutter to avoid injury
or death from entanglement in driveline!
!
WARNING
Always disengage PTO, place tractor in park or set park
brake, shut tractor engine off, remove switch key, and wait for
blades to stop before dismounting from tractor.
1.
Make sure cutter blades are not locked against each
other. See “Field Set-up” on page 27.
2.
Remove deck supports, set transport locks for field
operations, lower wings and center deck down until
cutter blades are about 2" off the ground.
3.
Start tractor and set throttle speed just above idle.
Use tractor’s PTO soft start option if available. Slowly
engage PTO to get blades rotating. (Also see
“Engage Blades” instructions on page 27.)
4.
Initial start-up vibration is normal and should stop
after a few revolutions. Stop PTO rotation
immediately if vibration continues.
5.
Once cutter is running smoothly, increase throttle to
full PTO speed. If cutter vibrates excessively for 3
seconds at full speed then immediately disengage
PTO, shut tractor down, and remove switch key.
IMPORTANT: Read all “Safety Information”
starting on page 24 before operating the cutter.
IMPORTANT: Stop PTO immediately if vibration
continues after a few revolutions during start-up and
anytime it occurs thereafter.
IMPORTANT: Do not exceed cutter’s rated PTO
speed (540 or 1000 RPM). Excessive PTO speed
will cause damage to the power train components.
Section 3: Operating Instructions