Starting up – AIRLESSCO Spray & Stripe 3600 User Manual
Page 13
11
Starting Up
4. Adjusting the Pressure
a. Turn the Pressure Control Knob Clockwise to
increase pressure and counterclockwise to decrease
pressure.
b. Always use the lowest pressure necessary to
completely atomize the material.
Note: Operating the sprayer at higher pressure
than needed, wastes material, causes early tip
wear, and shortens sprayer life.
c. If more coverage is needed, use a larger tip rather
than increasing the pressure.
d. Check the spray pattern. The tip size and angle
determines the pattern width and flow rate.
When you spray into the paint bucket,
always use the lowest spray pressure
and maintain firm metal to metal contact
between gun and container.
To stop the unit in an emergency, turn the
engine off. Then relieve the fluid pressure
in the pump and hose as instructed in the
Pressure Relief Procedure.
Follow the "Pressure Relief Procedure".
To reduce the risk of injection, never hold
your hand, body, fingers or hand in a rag
in front of the spray tip when cleaning
or checking for a cleared tip. Always
point the gun toward the ground or into a
waste container when checking to see if
the tip is cleared or when using a
self-cleaning tip.
1. Learn the Functions
of the Controls.
2. Prepare the Material
a. Prepare the material according to the material
manufacturer's recommendations.
b. Place the suction tube into the material
container.
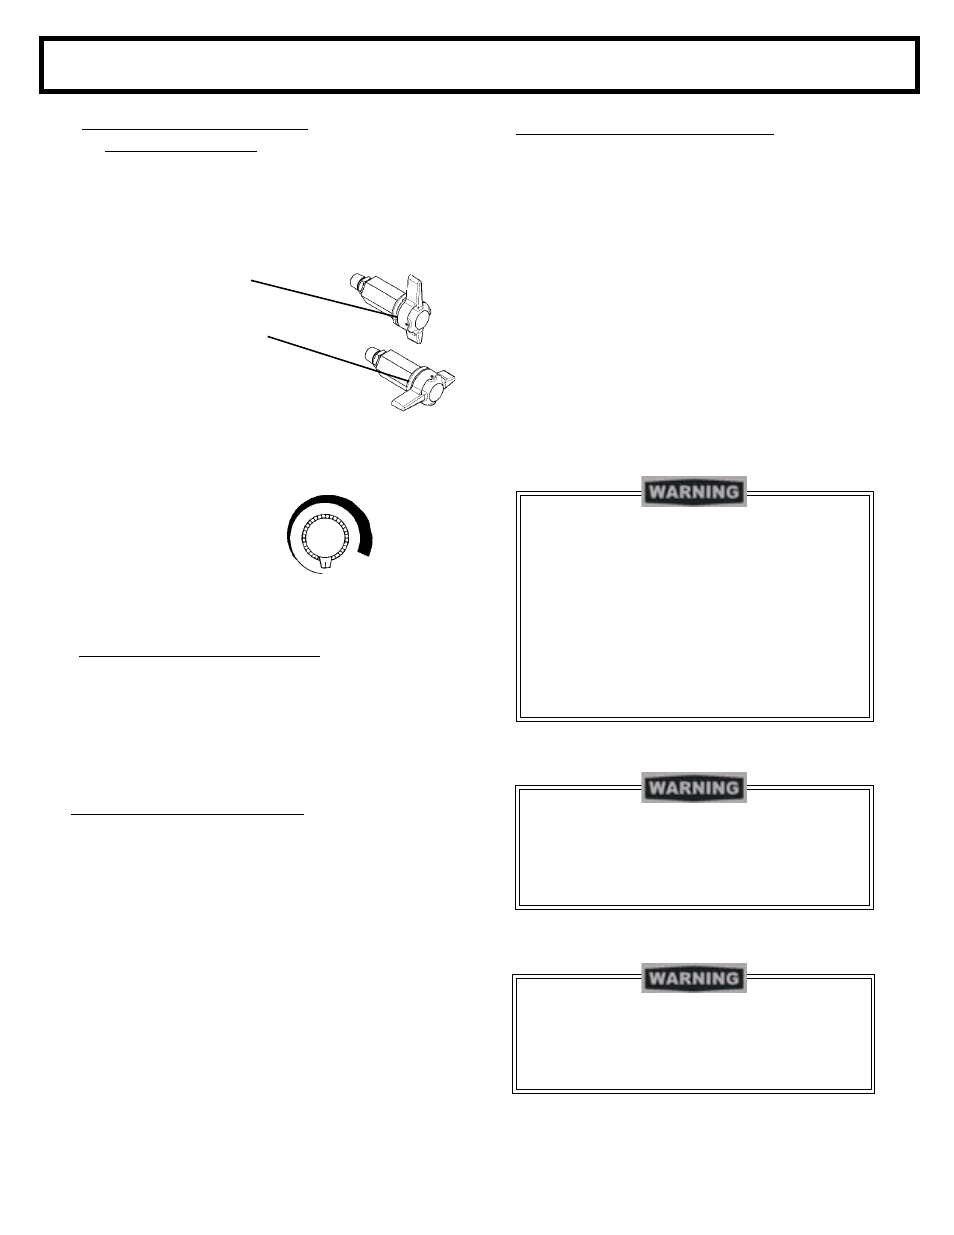
PRESSURE CONTROL KNOB is used to adjust
pressure. Turn clockwise (CW) to increase pressure
and counterclockwise (CCW) to
decrease pressure.
PRIME/PRESSURE (PR) RELIEF VALVE is used to
prime pump and to relieve pressure from gun, hose and tip.
Prime/Pressure Relief Valve
(Prime/PR Valve)
Used to relieve pressure from gun, hose & tip and to prime
the unit when in OPEN position. (It is in open position
when there is a wider gap
between valve handle and
cam body)
When in CLOSED position,
there is only a very slight gap
between handle & body.
When closed the system is
pressurized. Handle as a loaded firearm!
3. Starting the Sprayer
a. Prime/PR Valve must be "OPEN" in the priming
position.
b. When you have ensured that the gun safety latch
is engaged, attach tip and safety guard.
c. Turn the engine ON/OFF switch to the "ON"
position. Pull rope vigorously until engine
starts.
d. Turn Pressure Control Knob clockwise to prime
the pump.
e. After the pump is primed, turn Prime/PR Valve to
the "Closed" position.
f. Turn Pressure Control Knob to the desired spray
pressure.
g. Disengage the gun safety latch and you are
ready to spray.