Configuring email alerts – LOREX Technology LH330 EDGE2 User Manual
Page 67
49
Using the Main Menu
NOTE: If the Domain name/URL
request is
tomsmith
, the
address to access your video will
be
tomsmith.lorexddns.net
using Client Software, or
http://
tomsmith.lorexddns.net:80
using a compatible Internet
browser.
6
Right-click repeatedly to save your
changes and exit all menus.
Configuring Email Alerts
You can configure email notifications
when an event occurs (for example,
when motion is detected by one of your
cameras). You must enable motion
detection on your cameras to receive
email alerts. For instructions, see
“Enabling / Disabling Motion Detection”
on page 40.
To configure email alerts:
1
From the LAN Menu, click Advanced. Then
select Mail Setup.
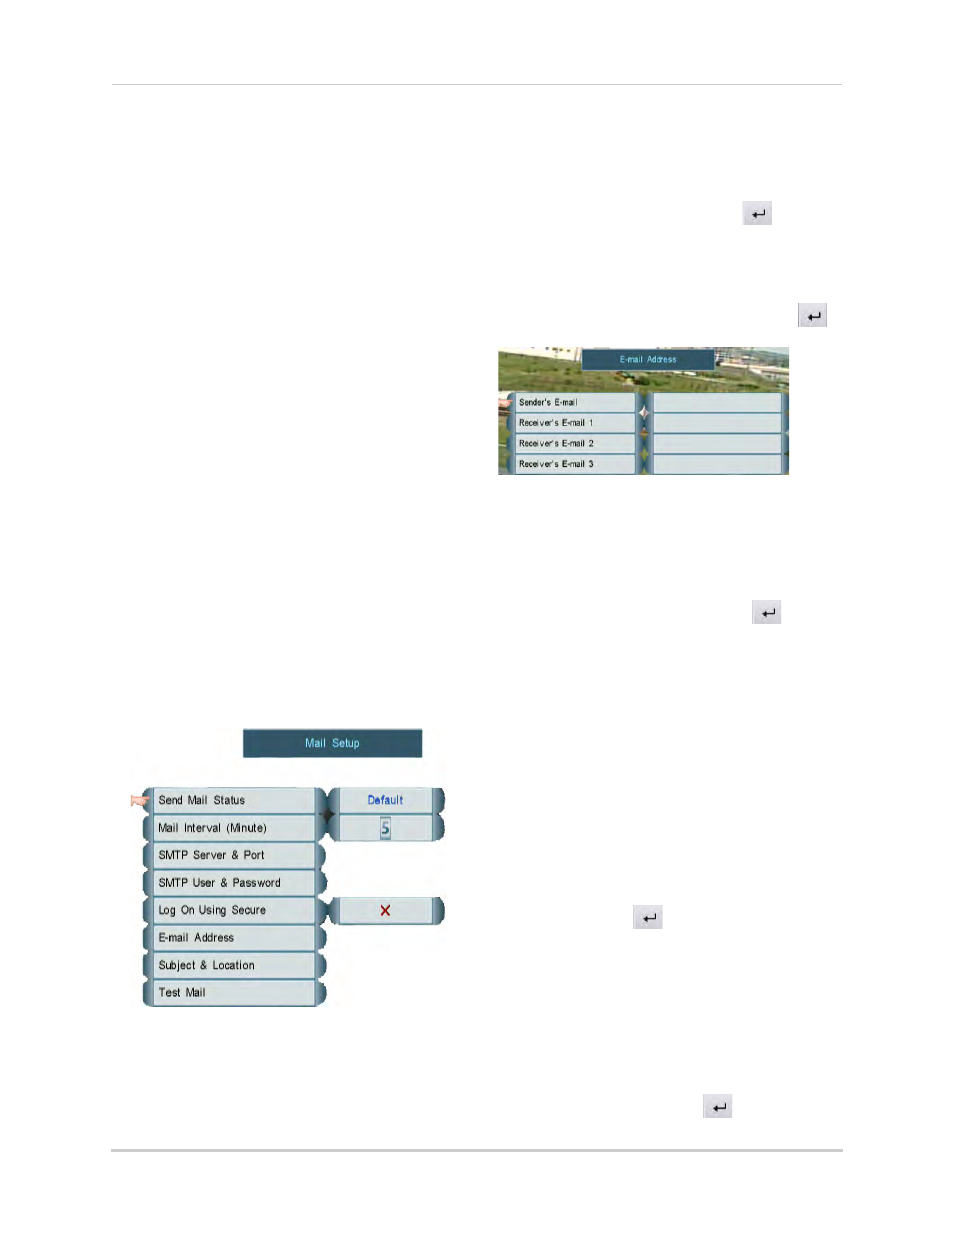
2
Under Send Mail Status, select Default
(recommended) to use the Lorex email
server or select On to use a custom email
server. See the instructions below
depending on your selection.
Select Default under Send Mail Status to use
Lorex’s email server (recommended)
To use the Lorex email server
(recommended):
1
Click E-mail Address.
2
Click Sender’s E-mail and use the
on-screen keyboard to enter the sender’s
email address. This can be any email
address of your choice. Click
to
confirm.
3
Under Receiver’s Email, enter up to 3
email addresses to receive notifications
using the on-screen keyboard. Click
to confirm each entry.
Enter the Sender’s email address and up to 3 receivers
.
4
Right-click to return to Mail Setup.
5
(Optional) Click Subject & Location. Enter
a custom email subject and location using
the on-screen keyboard. Click
to
confirm each entry. Right-click to return to
Mail Setup.
6
Click Test Mail to send a test notification.
7
Right-click repeatedly to save your
changes.
To use a custom email server:
1
Under Send Mail Status, select On.
2
Click SMTP Server & Port.
3
Click SMTP Server and use the on-screen
keyboard to enter the email server
address. Click
to confirm.
4
Click SMTP Port and select the email
server port number.
5
Right-click to return to Mail Setup.
6
Click SMTP User & Password.
7
Click SMTP User Name and enter the
SMTP user name. Click
to confirm.