Installation, Accessories, Installation procedure – Kenwood KRC-709 User Manual
Page 30
English
— 30 —
Do not use any accessories other than those provided with your
unit. If you use other accessories, you may damage the unit.
2CAUTION
1. To prevent a short circuit, remove the key from the ignition and
disconnect the - battery.
2. Make the proper input and output wire connections for each unit.
3. Connect the speaker wires of the wiring harness.
4. Connect the wiring harness wires in the following order: ground,
battery, ignition.
5. Connect the wiring harness connector to the unit.
6. Install the unit in your car.
7. Reconnect the - battery.
8. Press the left part at the upper side of the faceplate once to
make the faceplate control panel appear.
• If your car's ignition does not have an ACC position, connect
the ignition wires to a power source that can be turned on and
off with the ignition key. If you connect the ignition wire to a
power source with a constant voltage supply, as with battery
wires, the battery may die.
• If the console has a lid, make sure to install the unit so that the
faceplate will not hit the lid when closing and opening.
• If the fuse blows, first make sure the wires aren’t touching to
cause a short circuit, then replace the old fuse with one with
the same rating.
• Do not let unconnected wires or terminals touch metal on the
car or anything else conducting electricity. To prevent a short
circuit, do not remove the caps on the ends of the
unconnected wires or the terminals.
• Connect the speaker wires correctly to the terminals to which
they correspond. The unit may be damaged or fail to work if
you share the - wires or ground them to any metal part in the
car.
• After the unit is installed, check whether the brake lamps,
blinkers, wipers, etc. on the car are working properly.
• Insulate unconnected wires with vinyl tape or other similar
material.
• Some disc changers need conversion cords for connection. See
the section on "Safety Precautions" for details.
2CAUTION
Installation Procedure
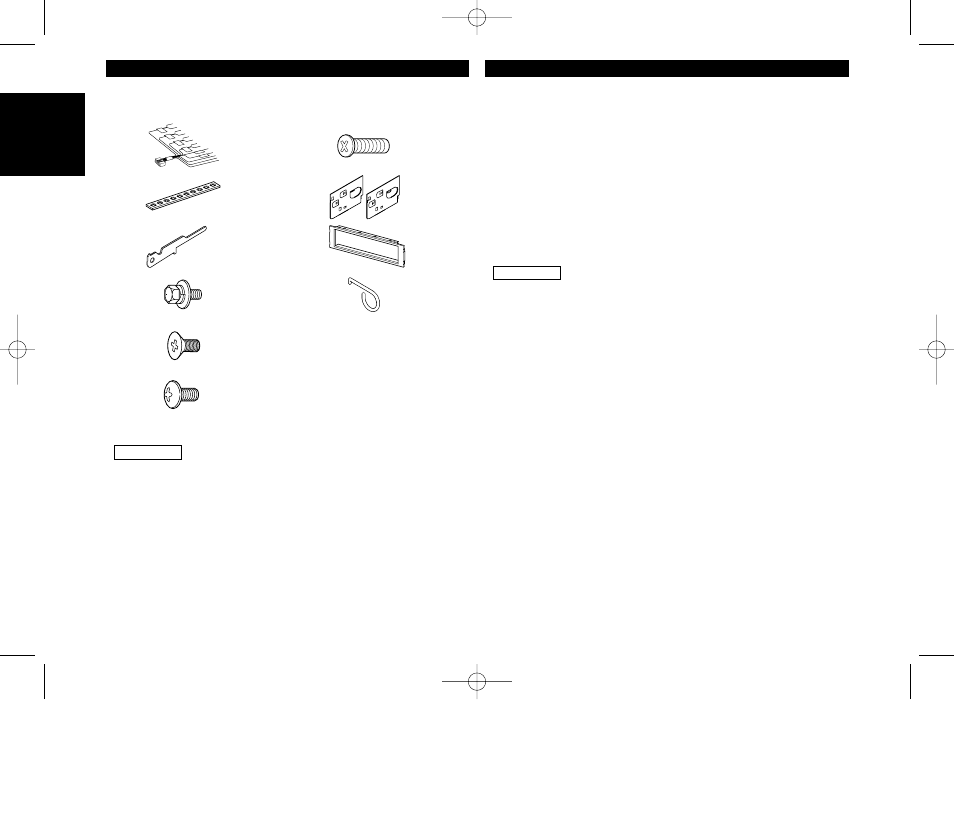
Accessories
.........1
1
.........1
2
.........1
4
.........2
5
.........2
6
.........1
8
.........1
9
External view
......... Number of items
.........1
0
External view
......... Number of items
.........1
7
.........2
3
KRC-709_U.S_m2 00.12.26 3:30 PM Page 30