Playback and edit with programmed recordings – Symphonic CHSP80G User Manual
Page 33
DVR (Recording)
Recording & Playback Navigator (Cont’d)
Programming a Recording with
the Recording & Playback
Navigator
1
Press PROGRAM RECORDINGS.
The Programmed Recordings Screen will appear.
2
Using
/
/
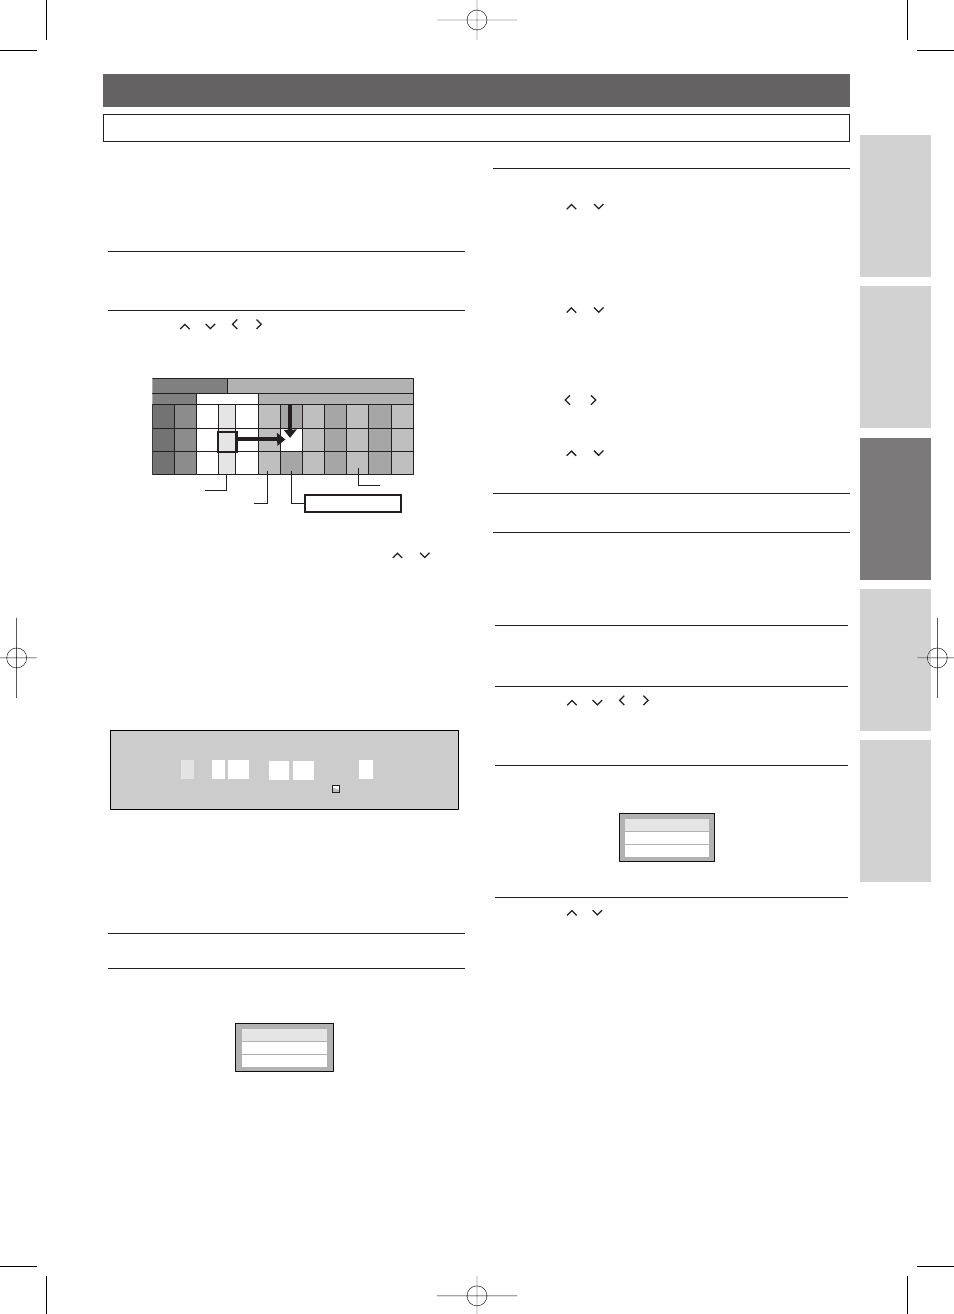
/ , select the desired cell.
• For example, to record from 4:00 pm in two days
from the present day, choose the cell as follows.
There are two ways to program a recording.
1) Direct Program---Press CHANNEL
/ or
the Number Buttons to select a channel. Press
ENTER.The cell turns pink indicating that the
timer programming is now set in that cell.
Press PROGRAM RECORDINGS to exit.
2) Detailed Program---Press ENTER
“New Program” will appear.With “New
Program” selected, press ENTER again.
Timer Programming Window will appear.
Enter the necessary information by following the
instructions described in ‘Timer Recording’ on pages
28-3
1.
3
9
00
10
00
8
End Time
AM
Date
DVR 29:06
Fri
FEB /
AM
:
:
CH
Start Time
3
4
5
PM
ordings
Scheduled Recordings
THU
FRI
SUN MON
TUE WED THU
FRI
TODAY
SAT
Present day
Tomorrow
Day after tomorrow
Cell
To Change or Cancel the
Program
1
Repeat steps
1-2 above.
2
Press ENTER to call up the menu window.
Prog
Program Change
am Change
Timer Prog
Timer Program
am
Ne
New Prog
w Program
am
Playback and Edit with
Programmed Recordings
1
Press PROGRAM RECORDINGS.
The Programmed Recordings Screen will appear.
2
Using
/
/
/ , select the recorded program.
The recorded program plays back in the preview
window.
3
Press ENTER to call up the menu window.
4
Using / , select
“Play From Start”.
Press ENTER.
The recorded program is played back.
If you want to resume playback from the last
viewed point:
Select “Resume Play”.
Refer to ‘Resume Playback’ on page 37.
To display a Title List:
Select “Previous Recordings”.
Refer to ‘Playback from the Title List’ on page 37.
Pla
Play F
y From Star
rom Start
Resume Pla
Resume Play
Pre
Previous Recordings
vious Recordings
3
To change the program
Using / , select
“Program Change”, then
press ENTER.
Timer Programming Window will appear.
Correct the information, then press ENTER.
To cancel the program
Using / , select
“Timer Program”, then
press ENTER.
Timer Programming List will appear.
Press CLEAR .
Confirmation window will appear. Select “Yes”,
using / and
press
ENTER.
To program a new Timer Recording
Using / , select
“New Program”, then
press ENTER.
4
Press TIMER PROG. to exit.
EN
Connections
DV
R
DV
D
Others
Bef
o
re
Y
ou
Star
t
33
E41A1CD(26-35).qx3 06.3.2 11:24 AM Page 33