Dvd recording without the timer, Dvd recording without the timer 1, Press dvd to operate the dvd recorder – Sony 3-213-480-12(1) User Manual
Page 50: Press z to close the disc tray, Press z rec
50
DVD Recording Without the
Timer
1
Press DVD to operate the DVD recorder.
2
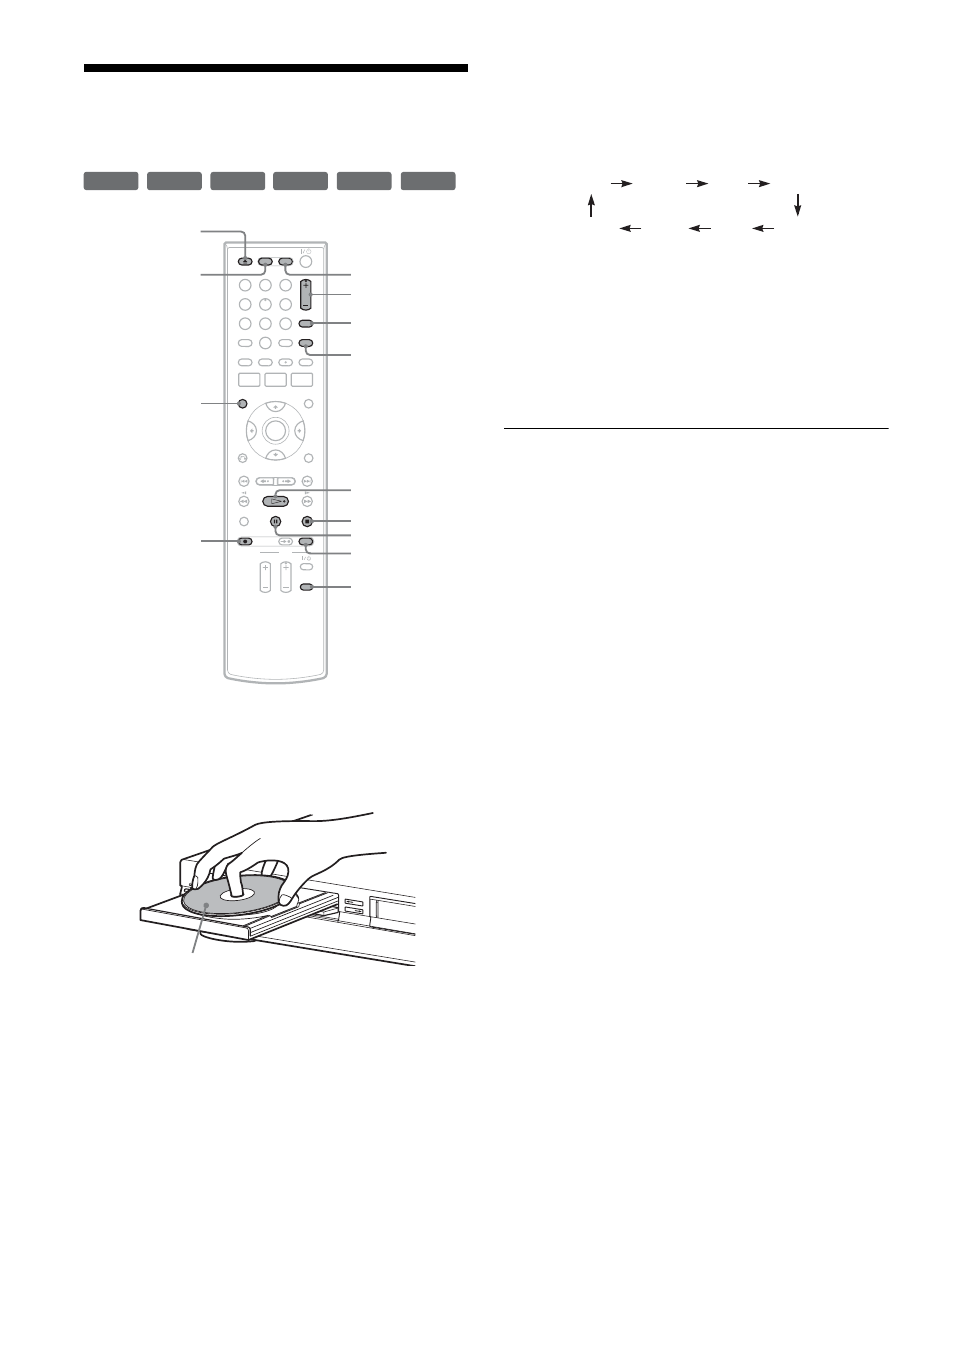
Press Z (open/close), and place a
recordable disc on the disc tray.
3
Press Z to close the disc tray.
Wait until “LOAD” disappears from the front
panel display.
Unused discs are automatically formatted. For
the DVD-RW/DVD-R’s recording format
(VR mode or Video mode), see “Formatting a
new disc” on page 49.
4
Press PROG +/– or INPUT repeatedly to
select the programme position or input
source you want to record.
5
Press REC MODE repeatedly to select the
recording mode.
The display changes on the TV screen as
follows:
For details about the recording mode, see
page 48.
6
Press z REC.
Recording starts.
Recording continues until you stop the
recording or the disc is full.
To stop recording
Press x.
Note that it may take a few seconds for the
recorder to stop recording.
To pause recording
Press X.
To restart recording, press X again.
To watch a VHS tape while recording
Press VIDEO to operate the VCR, insert a tape,
then press H.
To watch another TV programme while
recording
If your TV is connected to the i LINE 1 - TV
jack, set your TV to the TV input using the TV/
VIDEO button and select the programme you
want to watch.
If your TV is connected to the LINE 2 OUT, S
VIDEO OUT, HDMI OUT, or COMPONENT
VIDEO OUT jacks, set the TV to TV input using
the TV t button (page 21).
z
Hints
• To play a disc recorded with this recorder on other
equipment, finalise the disc (page 93).
• To select a programme position, you can use the
number buttons (page 23).
• You can select a video source from the LINE jacks
using the INPUT button.
• You can turn off the TV during recording. If you are
using a satellite or digital tuner, make sure to leave it
on.
+
RW
+
R
-RW
VR
-RW
Video
-R
VR
-R
Video
1
1
2
2
3
3
4
4
5
5
6
6
7
7
8
8
0
0
9
9
X
x
PROG +/–
z REC
Z
H
VIDEO
DVD
DISPLAY
INPUT
TV/VIDEO
REC MODE
TV t
Recording side facing down
HQ
SP
HSP
LSP
SLP
LP
EP
ESP