Schumacher Automatic SP1 User Manual
Page 10
•9•
ASSEMBLY iNSTRUCTiONS
10.
Remove all cord wraps and uncoil the cables prior to using the battery
charger.
CONTROL PANEL
11.
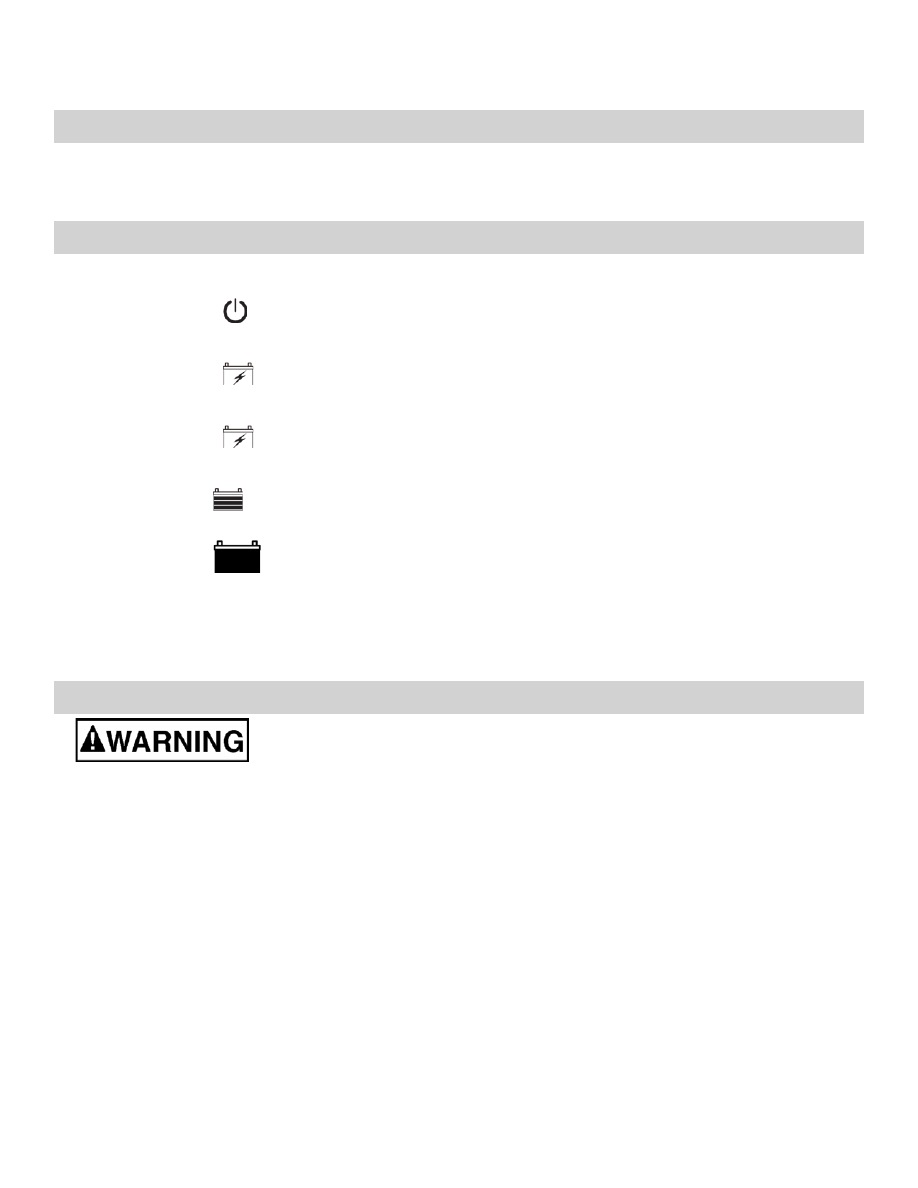
LEd indicators
AC POWER (red) LEd lit: Indicates that there is AC power
supplied to the battery charger.
CHARGiNG (yellow) LEd lit: Indicates the charger has detected
a battery and is charging it.
CHARGiNG (yellow) LED flashing: Indicates the charger is in
abort mode.
CHARGEd (green) LEd lit: Indicates the battery is fully charged
and the charger is in maintain mode
.
CHARGEd
(green) LED flashing: Indicates the battery is 80%
charged.
NOTE: See the Operating Instructions section for a complete
description of the charger modes.
OPERATiNG iNSTRUCTiONS
12.
This battery charger must be properly assembled in
accordance with the assembly instructions before it is used.
Charging
Ensure that all of the charger components are in place and in
1.
good working condition, for example, the plastic boots on the
battery clips.
Connect the battery following the precautions listed in sections
2.
6 and 7.
Connect the AC power following the precautions listed in section
3.
8. Make sure to place the charger on a dry, non-flammable
surface like metal or concrete.
To disconnect, reverse the procedure.
4.