User config menu – Sony LMD-1950MD User Manual
Page 22
Adjustment Using the Menus
22
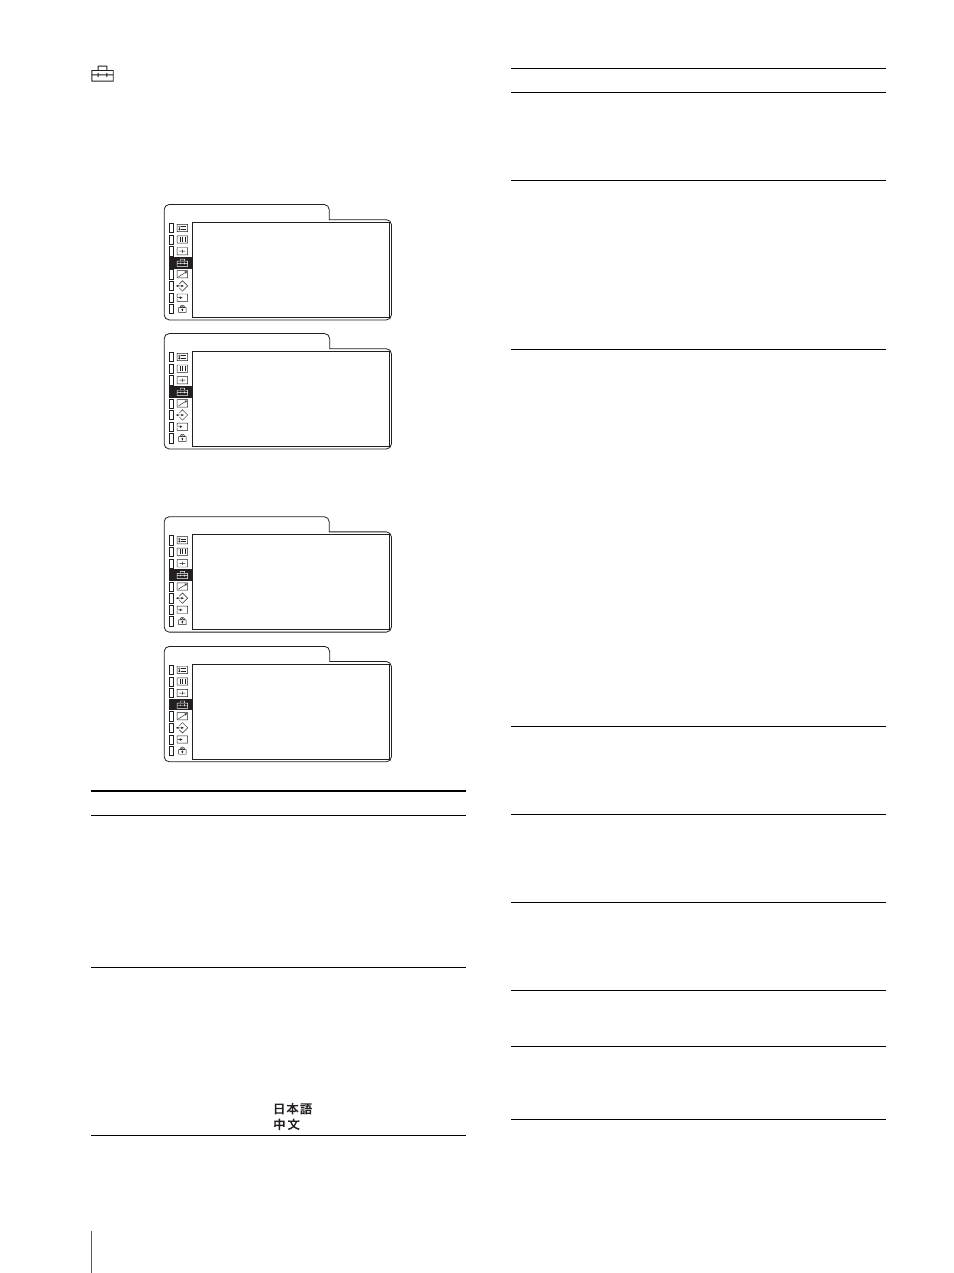
USER CONFIG menu
You can select a language, etc.
The item that cannot be accessed according to the input
signal is displayed in blue.
For the video input
For the DVI/HD15 input
Submenu
Setting
SYNC
Select the sync signal.
• EXT: Select to operate the unit
on an external sync signal.
When the RGB signal is
input, “EXT” is the default
setting.
• INT: Select to operate the unit on
the sync signal included in
the monitored signal.
LANGUAGE
You can select the menu or message
language from among seven
languages.
• ENGLISH: English
• DEUTSCH: German
• FRANÇAIS: French
• ITALIANO: Italian
• ESPAÑOL: Spanish
•
: Japanese
•
: Chinese
· S Y N C
xxx
xL A N G U A G E
xxxxxxx
· P O W E R S AV I N G
xxx
· C O M P U T E R D E T E C T · · ·
A U T O C H R O M A / P H A S E
· A U T O A D J VA L U E
xxx
· S TA R T · · ·
U S E R C O N F I G ( 1 / 2 )
R r
xS H I F T H
x
· S H I F T V
x
· R E S E T
U S E R C O N F I G ( 2 / 2 )
R r
· S Y N C
xxx
xL A N G U A G E
xxxxxxx
· P O W E R S AV I N G
xxx
· C O M P U T E R D E T E C T · · ·
A U T O C H R O M A / P H A S E
· A U T O A D J VA L U E
xxx
· S TA R T · · ·
U S E R C O N F I G ( 1 / 2 )
R r
xS I Z E H
xxx
· S I Z E V
x
· S H I F T H
x
· S H I F T V
x
· D O T P H A S E
xx
· P I T C H
xx
· R E S E T
U S E R C O N F I G ( 2 / 2 )
R r
POWER SAVING
Sets the power saving mode “ON”
or “OFF”. When set to “ON”, the
monitor goes into power saving
mode if no signal is input for about
one minute.
COMPUTER DETECT
The appropriate preset memory is
set for the signal from DVI and
HD15 input connector. Select
“PRESET1” for the standard PC
signal. Select “PRESET2”,
“PRESET3”, “PRESET4” or
“PRESET5” when the PC signal is
not standard (on page 30).
The preset memory is set for each
input connector of DVI and HD15.
AUTO CHROMA/
PHASE
Adjusts color intensity (CHROMA)
and tones (PHASE).
• AUTO ADJ VALUE: Selects
“ON” or “OFF” of the Auto
adjustment. When set to
“OFF”, this parameter is
reset to the factory setting.
When set to “ON” the
automatically adjusted value
is enabled.
• START: Display the color bar
signals (Full/SMPTE/EIA)
on the screen and press the
ENTER key. The auto
adjustment function starts.
After the adjustment is done
correctly, the AUTO ADJ
VALUE is automatically set
to ON.
The auto adjustment is
stopped by pressing the
MENU key during the auto
adjustment operation.
SIZE H
Adjusts the horizontal size of the
picture. The higher the setting, the
larger the width of the picture.
The lower the setting, the narrower
the width of the picture.
SIZE V
Adjusts the vertical size of the
picture. The higher the setting, the
larger the height of the picture. The
lower the setting, the smaller the
height of the picture.
SHIFT H
Adjusts the position of the picture.
As the setting increases, the picture
moves to the right, and as the
setting decreases, the picture moves
to the left.
SHIFT V
As the setting increases, the picture
moves up, and as the setting
decreases, the picture moves down.
DOT PHASE
Adjusts the dot phase. Adjust the
picture further for a finer picture
after the picture is adjusted by
pressing the APA key.
Submenu
Setting