Checking/changing/ cancelling timer settings, Changing timer settings, Checking/changing/cancelling timer settings – Sony RDR-HXD1065 User Manual
Page 87
87
T
ime
r R
e
co
rd
in
g
(
F
o
r s
a
te
ll
ite
, c
a
b
le
, t
e
rr
e
st
ria
l
u
se
rs
o
n
ly
)
Checking/Changing/
Cancelling Timer
Settings
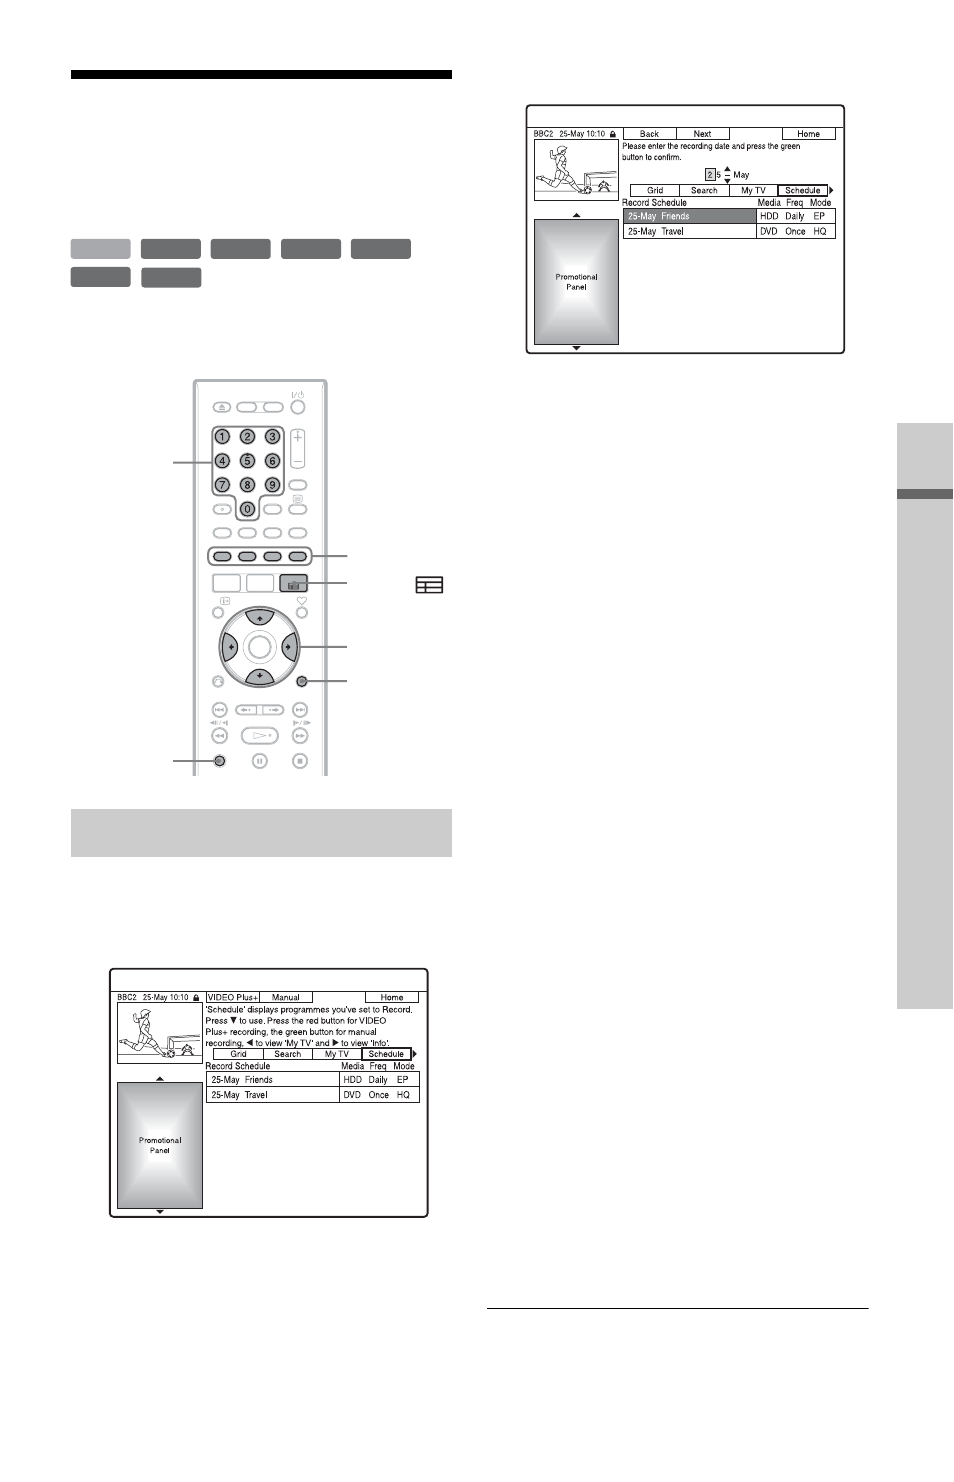
You can change or cancel timer settings using
the SCHEDULE list.
1
With the GUIDE Plus+ system turned
off, press [TIMER].
The SCHEDULE list appears.
2
Select the timer setting you want to
change using M/m.
3
Press the green button (“Edit”).
4
In the left column, select an item
using the red button (“Back”) or the
green button (“Next”), and adjust
using the number buttons or </M/m/
,.
You can change the date, start time, stop
time, programme position, or input
source.
The cursor moves to the right column.
5
Press the corresponding colour button
repeatedly to change settings.
• Red button (“Media”): Sets the
recording destination to either HDD or
DVD.
• Green button (“Frequency”): Selects
the recording pattern. The item changes
as follows:
Once
t Daily t Mon-Fri (Monday
to Friday)
t Mon-Sat (Monday to
Saturday)
t Sun (every Sunday) t
......
t Sat (every Saturday) t Once
• Yellow button (“Rec Mode”): Selects
the recording mode (page 79).
6
Press , to display “Extend Time.”
7
Press the yellow button (“Extend
Time”) repeatedly to select the
duration time or to set the PDC/VPS
function.
The item changes as follows:
+0 Minutes
t +10 Minutes t
+30 Minutes
t +60 Minutes t VPS /
PDC
t +0 Minutes
See “About the PDC/VPS function”
below.
Changing timer settings
+
RW
-RW
VR
-RW
Video
-R
VR
+
R
HDD
-R
Video
Colour
buttons
OPTIONS
Number
buttons
[TIMER]
GUIDE
,continued