Access main menu screen, Access vhs mode set screen, Select digital r3 set mode – JVC SR-VS10U User Manual
Page 31: Return to normal screen, Digital r, Vhs deck only)
EN
31
Digital R
3
(VHS deck only)
Digital R
3
picture system applies edge correction to the luminance
signal to enhance detail.
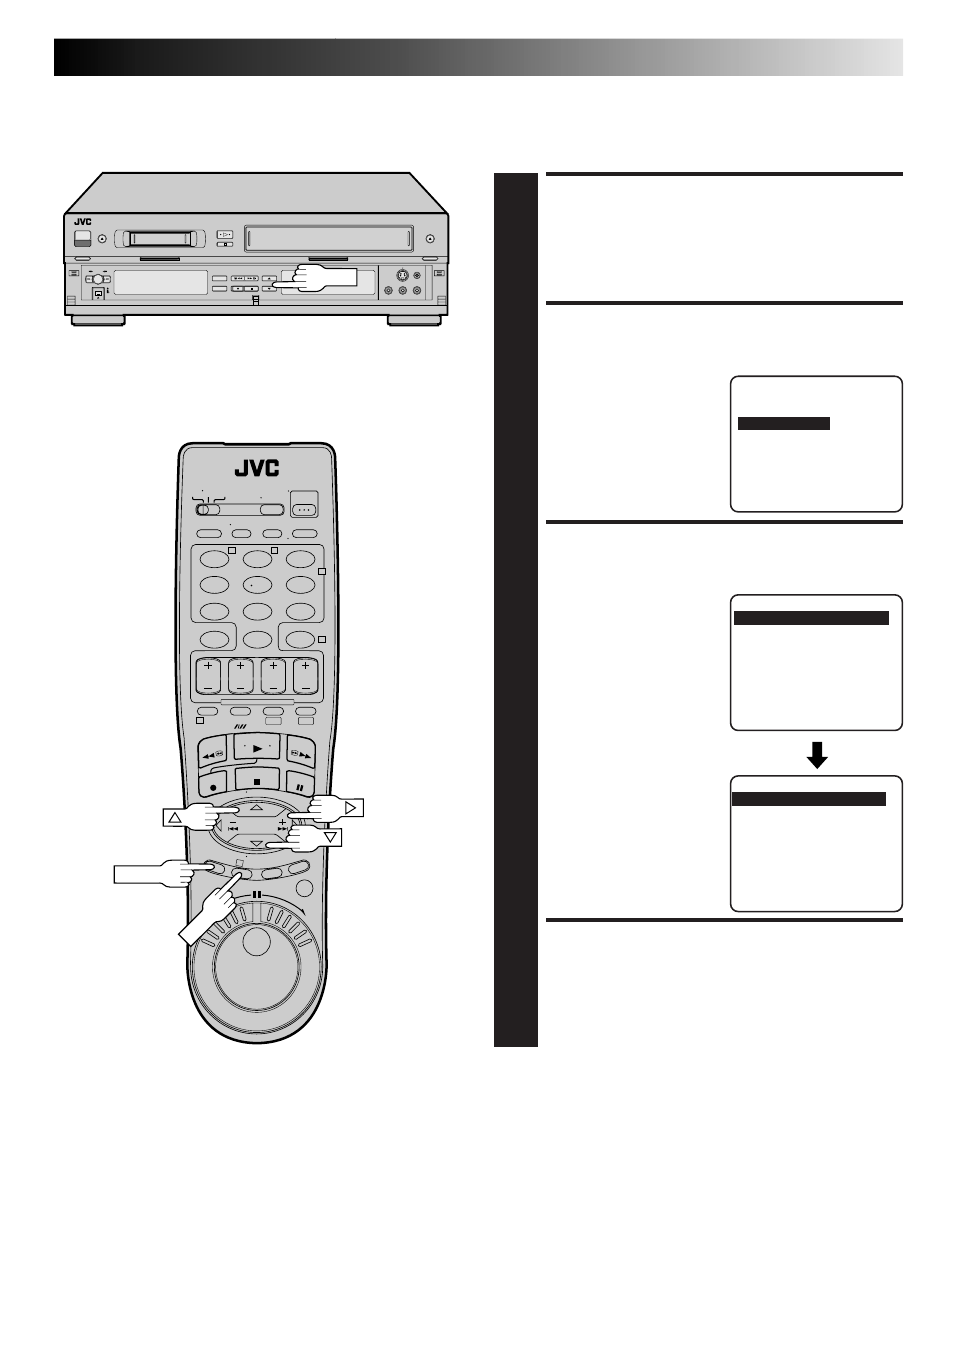
ACCESS MAIN MENU
SCREEN
1
Press MENU.
ACCESS VHS MODE SET
SCREEN
2
Move the highlight bar
(arrow) to "VHS MODE
SET" by pressing CH
5∞ or
%fi, then press OK or
#
.
SELECT DIGITAL R3 SET
MODE
3
Move the highlight bar
(arrow) to "DIGITAL R3" by
pressing CH
5∞ or %fi,
then press OK or
#
to set
to "ON".
RETURN TO NORMAL
SCREEN
4
Press MENU.
NOTES:
●
Normally it is recommendable to keep "DIGITAL R3" set to
"ON".
●
Depending on the type of tape being used, picture quality
may be better with "DIGITAL R3" set to "OFF".
●
If you use this VCR as the player for editing, be sure to set
"DIGITAL R3" to "OFF" before starting.
MAIN MENU
MODE SET
=VHS MODE SET
DV MODE SET
TUNER SET
INITIAL SET
PRESS (
5,∞), THEN (OK)
PRESS (MENU) TO END
VHS MODE SET
= S-VHS ET
OFF
S-VHS MODE
ON
VIDEO CALIBRATION
ON
PICTURE CONTROL
AUTO
DIGITAL TBC/NR
ON
VIDEO STABILIZER
OFF
NEXT PAGE
SELECT WITH (
5,∞) AND (OK)
PRESS (MENU) TO END
PREVIOUS PAGE
=DIGITAL R3
ON
AUTO SP
=EP TIMER
OFF
SELECT WITH (
5,∞) AND (OK)
PRESS (MENU) TO END
1
2
3
4
5
6
7
8
9
0
2
4
1
3
T
W
DV
VHS
CH
MENU
OK