English, Turning analog direct on and off, Making sounds natural – JVC RX-7030VBK User Manual
Page 82: Changing the source name
21
English
Turning Analog Direct On and Off
You can enjoy the sound closer to the original source by overriding
the sound adjustments such as speaker output level adjustments (see
page 32), Digital Equalization (see page 32), Surround and DSP
modes (see pages 34 to 39), Bass Boost (see page 22) and Midnight
Mode (see page 20). You can only adjust the volume level while
Analog Direct is in use.
• Once you have made adjustment, it is memorized for each analog
source.
Press ANALOG DIRECT so that “A DIRECT” appears on the
display.
The lamp on the button also lights up.
• Each time you press the button, Analog Direct turns on and off.
Notes:
• When digital input mode is in use, Analog Direct is not available.
• Turning on Surround or DSP mode cancels Analog Direct and
previously selected sound adjustments are recalled.
• If Analog Direct is in use, Midnight Mode is temporarily canceled.
• Turning on Analog Direct cancels Input Attenuator (page 20) (and
CC Converter for RX-8030VBK: below).
Making Sounds Natural
JVC’s CC (Compensative Compression) Converter eliminates jitter
and ripples, achieving a drastic reduction in digital distortion by
processing the digital music data in 24 bit–quantization and by
expanding the sampling frequency to 128 kHz (for fs 32 kHz
signals)/176.4 kHz (for fs 44.1 kHz signals)/192 kHz (for fs 48 kHz
signals).
By using CC Converter, you can obtain a natural sound field from
both digital and analog sources.
Press CC CONVERTER so that the lamp on the button lights
up.
• Each time you press the button, CC Converter turns on and off (the
lamp goes off) alternately.
Note:
You cannot use this function while Analog Direct is in use. If you turn
on Analog Direct while this function is in use, this function will be
canceled.
Changing the Source Name
When you have connected an MD recorder to the TAPE/MD jacks
or a DBS tuner to the TV SOUND/DBS jacks on the rear panel,
change the source name which will be shown on the display.
When changing the source name from “TV” to “DBS”:
1. Press TV SOUND/DBS.
• Make sure “TV” appears on the display.
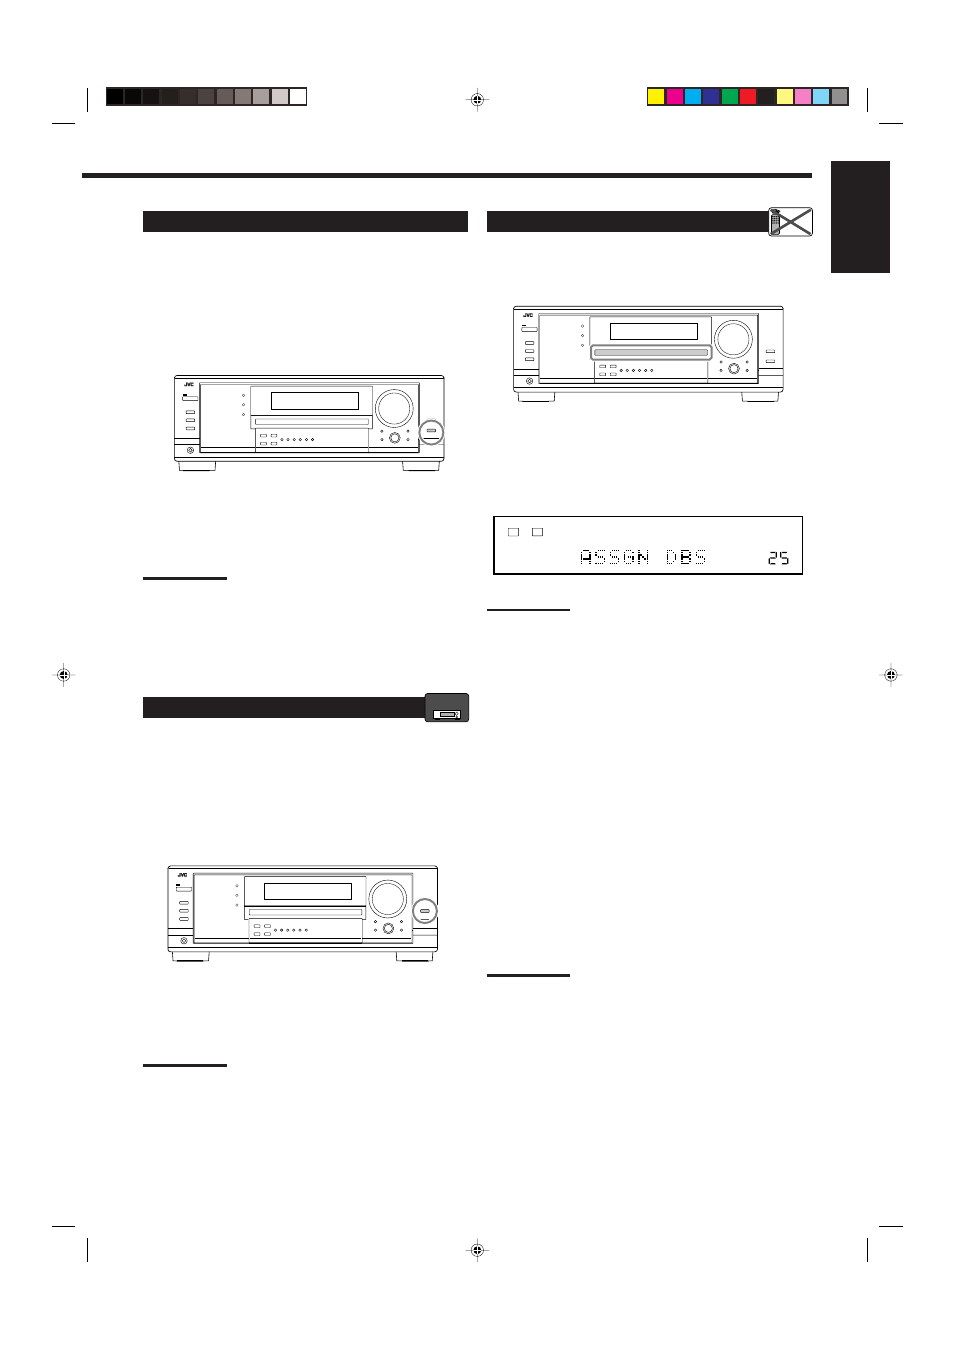
2. Press and hold TV SOUND/DBS until “ASSGN DBS”
appears on the display.
Note:
When connecting a DBS tuner to the TV SOUND/DBS IN jacks,
change the source name to “DBS,” which will be shown on the display
when selected as the source. Otherwise you cannot view any picture
from DBS tuner.
For RX-8030VBK:
When changing the source name from “TAPE” to “MD”:
1. Press TAPE/MD.
• Make sure “TAPE” appears on the display.
2. Press and hold TAPE/MD until “ASSGN MD” appears on
the display.
For RX-7030VBK:
When changing the source name from “TAPE” to “CDR”:
1. Press TAPE/CDR.
• Make sure “TAPE” appears on the display.
2. Press and hold TAPE/CDR until “ASSGN CDR” appears on
the display.
To change the source name to “TV” and “TAPE,” repeat the
same procedure above.
Note:
Without changing the source name, you can still use the
connectedcomponents. However, there may be some inconvenience.
• For RX-8030VBK:
– “TAPE” or “TV” will appear on the display when you select the MD
recorder or DBS tuner.
– You cannot use the digital input (see pages 19 and 20) for the
MD recorder.
– You cannot use the COMPU LINK remote control system (see
pages 41) to operate the MD recorder.
• For RX-7030VBK:
– “TAPE” or “TV” will appear on the display when you select the CD
recorder or DBS tuner.
– You cannot use the digital input (see pages 19 and 20) for the
CD recorder.
VOLUME
LINEAR PCM
L
R
ANALOG
SPEAKERS 1
RX-8030V
ONLY
Remote
NOT
17-22_8030&7030[C]7.pm6
03.2.13, 2:52 PM
21