Operating jvc’s audio/video components, English – JVC RX-7030VBK User Manual
Page 105
44
English
Operating JVC’s Audio/Video Components
You can operate JVC’s audio and video components with this receiver’s remote control, since control signals for JVC’s
components are preset in the remote control.
Tuner
You can always perform the following operations:
FM/AM:
Alternate between FM and AM.
After pressing FM/AM, you can perform the following operations
on a tuner:
1 – 10/0, +10: Select a preset channel number directly.
For channel number 5, press 5.
For channel number 15, press +10, then 5.
For channel number 20, press +10, then 10/0.
TUNING UP/DOWN:
Tune into stations.
FM MODE:
Change the FM reception mode.
Sound control section (Amplifier)
You can always perform the following operations:
SURROUND:
Turn on and select Surround modes
DSP:
Turn on and select DSP modes.
SURR/DSP OFF: Turn off Surround and DSP modes.
After pressing SOUND, you can perform the following operations:
FRONT•L then LEVEL +/–:
Adjust the left front speaker output
level.
FRONT•R then LEVEL +/–: Adjust the right front speaker output
level.
CENTER then LEVEL +/–:
Adjust the center speaker output level.
SURR•L then LEVEL +/–:
Adjust the left surround speaker
output level.
SURR•R then LEVEL +/–:
Adjust the right surround speaker
output level.
SURR BACK:
Adjust the surround back speaker
output level.
SUBWOOFER then LEVEL +/–:
Adjust the subwoofer output level.
DIGITAL EQ then LEVEL+/–: Select the sound frequency bands
and adjust its level.
TEST:
Turn on or off test tone output.
BASS BOOST:
Turn on or off Bass Boost.
Note:
After adjusting sounds, press the corresponding source selection
button to operate your target source by using the 10 keys; otherwise,
the 10 keys cannot be used for operating your target source.
CD player
After pressing CD, you can perform the following operations on a
CD player:
3:
Start playing.
4:
Return to the beginning of the current (or previous)
track.
¢:
Skip to the beginning of the next track.
7:
Stop playing.
8:
Pause playing. To resume, press
3.
1 – 10/0, +10:
Select a track number directly.
For track number 5, press 5.
For track number 15, press +10, then 5.
For track number 20, press +10, then 10/0.
For track number 30, press +10, +10, then 10/0.
Operating Audio Components
IMPORTANT:
To operate JVC’s audio components using the supplied remote
control:
• You need to connect JVC’s audio components through the
COMPU LINK (SYNCHRO) jacks (see page 41) in addition to
the connections using cables with RCA pin plugs (see pages 11 to
13).
• Aim the remote control directly at the remote sensor on the
receiver.
• If you use the buttons on the front panel to choose a source, the
remote control will not operate that source. To operate a source
with the remote control, the source must be selected using source
selection buttons on the remote control.
• To operate the target component using the COMPU LINK remote
control system, set the source name correctly if required. (See
page 21.)
• Refer also to the manuals supplied with your components.
For RX-8030VBK:
• When you press one of the source selection
buttons, the remote operation mode appears on
the display window for about two hours.
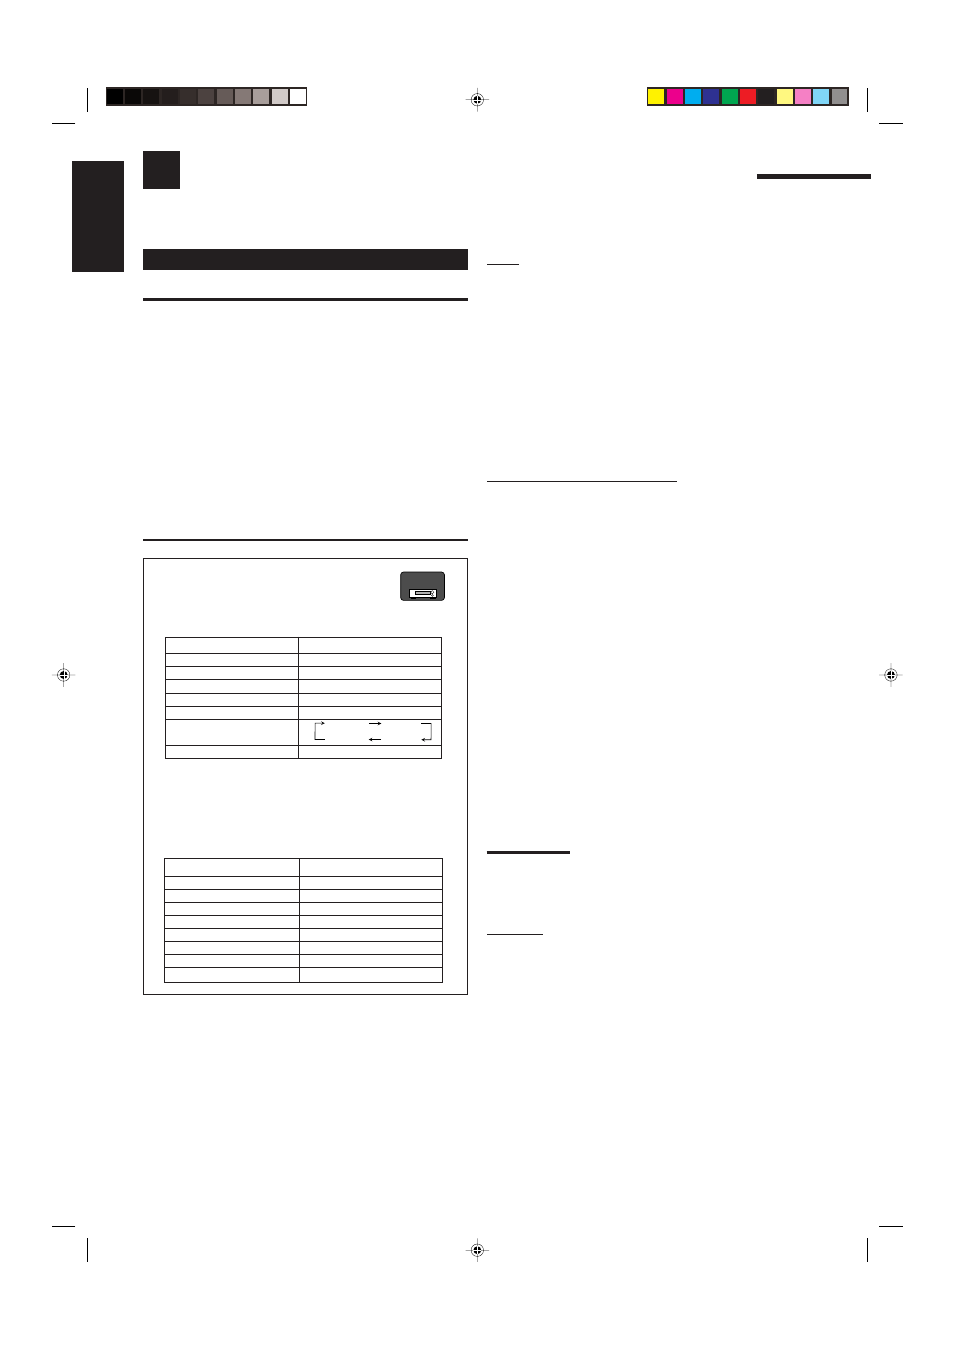
Buttons
Indications
FM/AM
TUNER
CD
CD
CDR
CDR
PHONO
PHONO
TAPE/MD
TAPE
CONTROL (repeatedly)*
SOUND
SOUND
* By pressing CONTROL repeatedly, you can select “VCR 1,”
“TAPE,” “CDR” or “CDDSC” as the source.
• When you press one of the following buttons, the remote
operation mode appears on the display window for about two
hours.
Buttons
Indications
FRONT•L
FRL
FRONT•R
FRR
CENTER
CTR
SURR•L
SURRL
SURR•R
SURRR
SURR BACK
SBK
SUBWOOFER
S-WFR
DIGITAL EQ
EQ
RX-8030V
ONLY
VCR 1
TAPE
CDR
CDDSC
42-52_8030&7030[C]7.pm6
03.2.13, 2:52 PM
44