The cooling fan, Control panel indicator neon(s), Condensation and steam – John Lewis JLBIDU712 User Manual
Page 7: Cookware, Setting the time, Initial cleaning
Important! There is a hot surface label on
the oven door which is mandatory for
Australia market only. This label can be
removed for the use of the appliance outside
Australia.
The cooling fan
The cooling fan comes on immediately the top
oven or grill is switched on. It may run on after
the ovens are switched off until the appliance
has cooled. During the cooling down period
the cooling fan may switch on and off.
Warning! Always allow the cooling
fan to cool the appliance down before
switching off the electrical supply to
carry out cleaning or maintenance.
Control panel indicator
neon(s)
The indicator neon will operate when the
oven(s) is switched on. The indicator neon will
glow. It may turn on and off during use to show
that the setting is being maintained. If the neon
does not operate as the instructions indicate
the controls have been incorrectly set. Return
all controls to zero and reset following the
instructions for the required setting.
Condensation and steam
When food is heated it produces steam
similar to a boiling kettle. The vents allow
some of this steam to escape. However,
always stand back from the appliance when
opening the door(s) to allow any build up of
steam or heat to release.
If the steam comes into contact with a cool
surface on the outside of the appliance, e.g. a
trim, it will condense and produce water
droplets. This is quite normal and is not
caused by a fault on the appliance.
To prevent discoloration, regularly wipe away
condensation and foodstuff from surfaces.
For your safety wall coverings at the rear of
the appliance should be securely fixed to the
wall.
Cookware
Baking trays, dishes etc., should not be placed
directly against the grid covering the fan at the
back of the oven.
Do not use baking trays larger than 30cm x
35cm (12” x 14”) as they will restrict the
circulation of heat and may affect
performance.
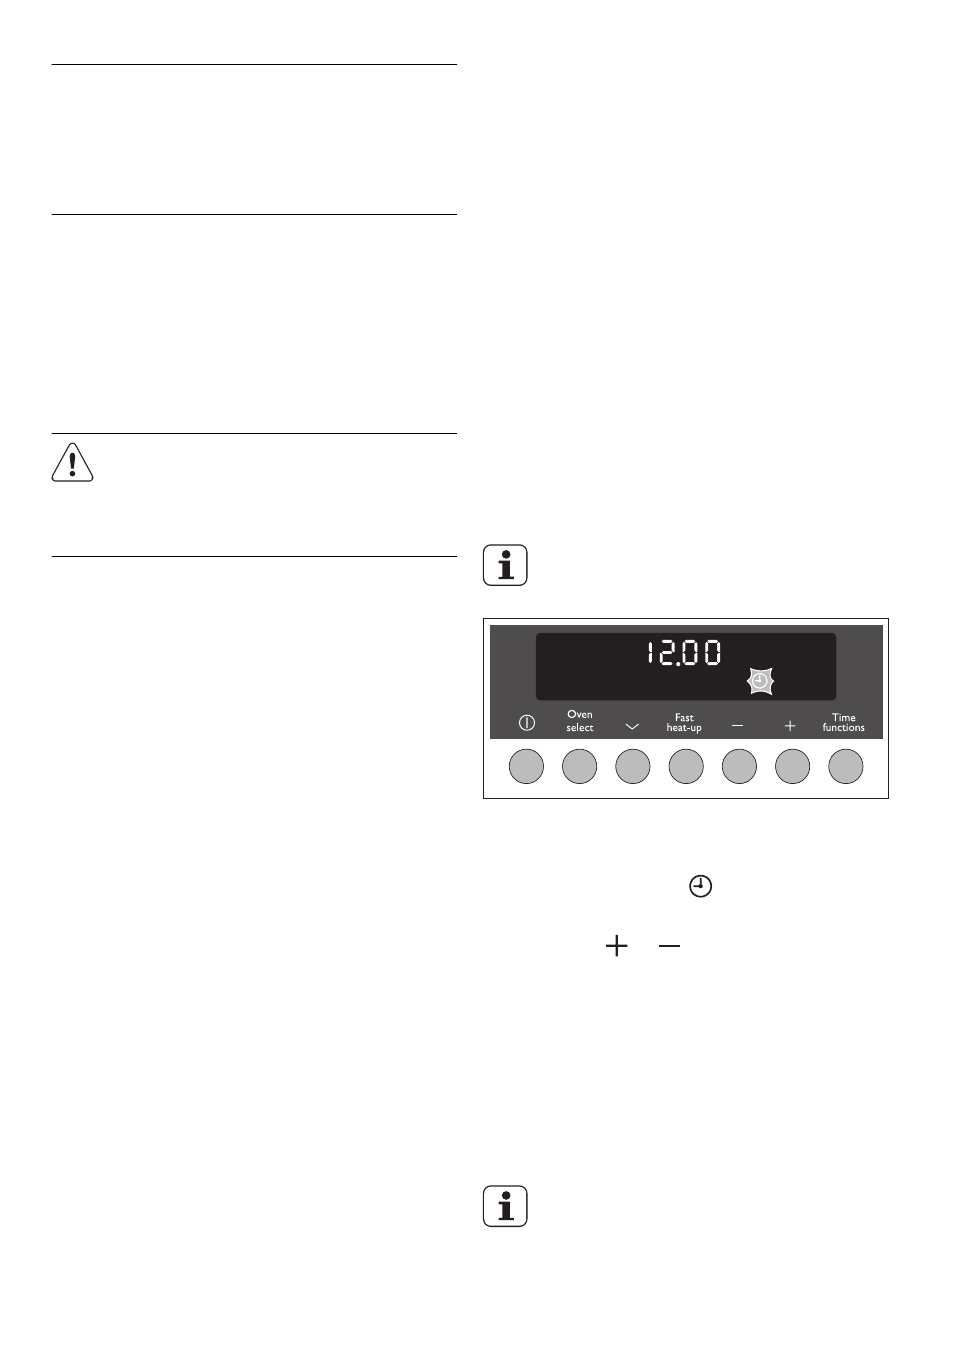
Setting the Time
The oven only operates when the time
has been set.
1. When the appliance is connected to the
electrical supply or when there has been
a power cut, Time flashes
automatically.
2. Using the or button, set the current
time.
3. After approx. 5 seconds, the clock stops
flashing and the clock displays the time of
day set.
The appliance is now ready to use.
Initial Cleaning
Before using the oven for the first time,
you must clean it.
7