Audio dubbing, Pg. 55), Pg. 55) and i – JVC GR-DF470 User Manual
Page 55
EN
55
EDITING
MasterPage: Start_Right
[A] Using USB cable
It is possible to do the following things:
● Transfer still images stored on a memory card
to a PC.
● Transfer still/moving images recorded on a
tape to a PC.
[B] Using DV cable
It is also possible to transfer still/moving images
to a PC with a DV connector by using the
provided software, software equipped with the
PC or commercially available software.
If you are using a Windows
®
XP, you can use
Windows
®
Messenger to conduct video
conferences over the Internet, using a
camcorder. For details, refer to the help for the
Windows
®
Messenger.
NOTES:
● Refer to “SOFTWARE INSTALLATION AND PC
CONNECTION GUIDE” for the bundled software
and drivers.
● It is recommended to use the AC Adapter as
the power supply instead of the battery pack.
(
● Never connect the USB cable and the DV
cable simultaneously to the camcorder.
Connect only the cable you wish to use to the
camcorder.
● When using a DV cable, be sure to use the
optional JVC VC-VDV206U or VC-VDV204U DV
cable depending on the type of DV connector
(4 or 6 pins) on the PC.
● If the PC connected to the camcorder via the USB
cable is not powered, the camcorder does not
enter the USB mode.
● The date/time information cannot be captured into
the PC.
● Refer to the instruction manuals of the PC and
Software.
● The still images can also be transferred to a PC
with a DV connector-equipped capture board.
● The system may not work properly depending on
the PC or capture board you are using.
The audio track can be customised only when
recorded in the 12-BIT and SP modes.
(
● Use the provided remote control.
1
Play back the tape to locate the point where
editing will start, then press PAUSE (9).
2
While holding A. DUB (D) on the remote
control, press PAUSE (9). The “9D” and “MIC”
indicators appear.
3
Press PLAY (U), then begin “narrating”.
Speak into the microphone.
● To pause dubbing, press PAUSE (9).
4
To end Audio Dubbing, press PAUSE (9),
then STOP (8).
When connecting the camcorder to a PC
using a DV cable, make sure to follow the
procedure below. Connecting the cable
incorrectly may cause malfunctions to the
camcorder and/or the PC.
● Connect the DV cable first to the PC, and then
to the camcorder.
● Connect the DV cable (plugs) correctly
according to the shape of the DV connector.
“USB” appears on the LCD monitor while the
PC is accessing data in the camcorder or the
camcorder is transferring a file to the PC.
NEVER disconnect the USB cable while
“USB” is displayed on the LCD monitor
since this can result in product damage.
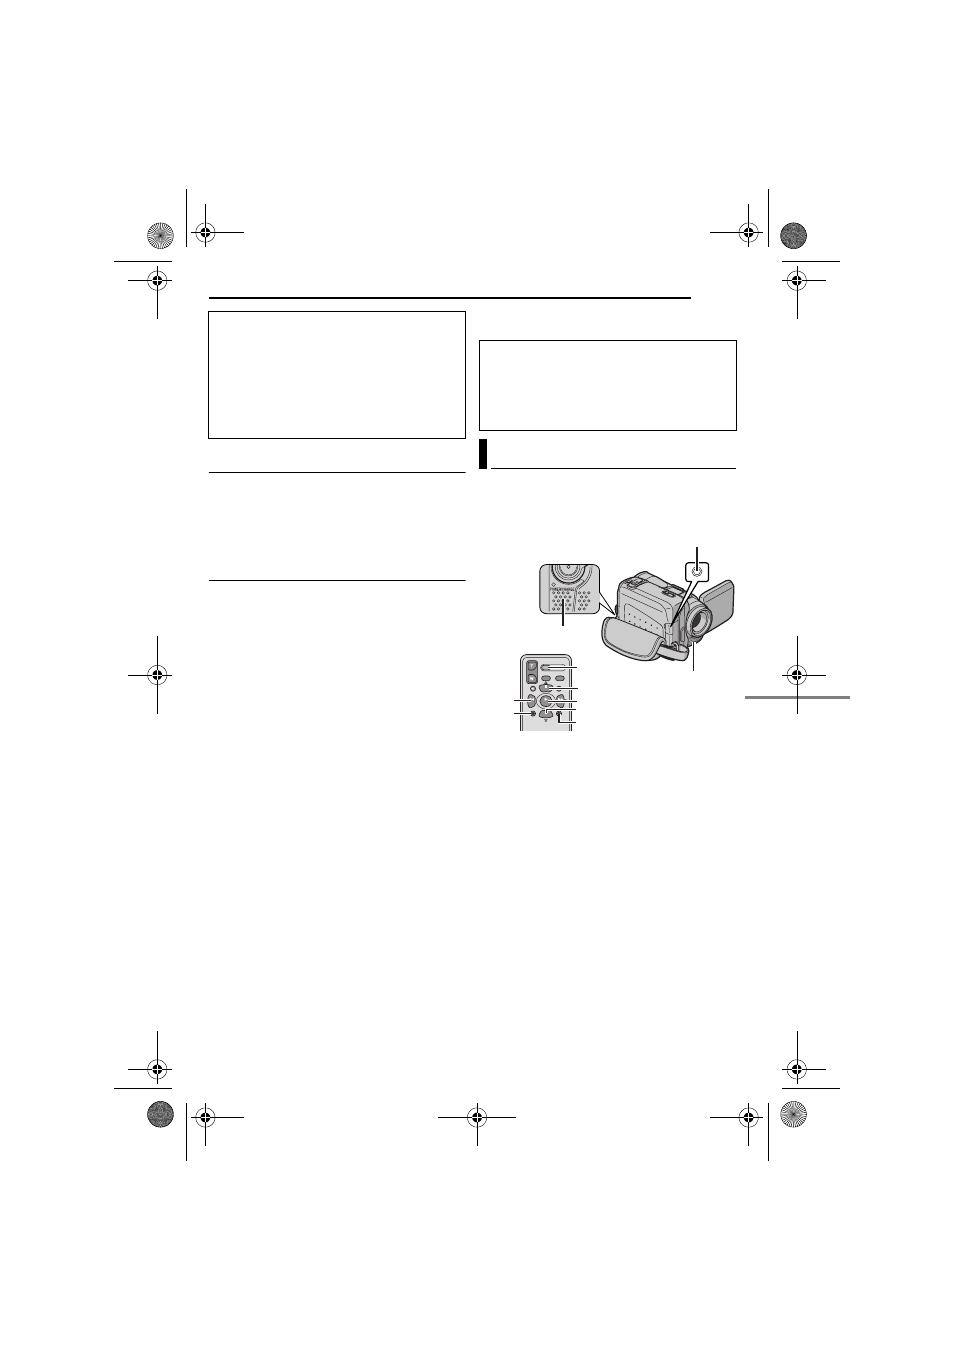
Audio Dubbing
PAUSE
PLAY
A.DUB
STOP
REW
INSERT
START/
STOP
Microphone Connector
Speaker
Stereo Microphone
CONTINUED ON NEXT PAGE
GR-DF570_470PAL.book Page 55 Monday, January 17, 2005 8:27 PM