Standard recording, English – JVC CA-MD9R User Manual
Page 59
55
English
If you are recording an AM (MW/LW) broadcast and you hear
interference, move the BEAT CUT switch on the back panel from
position 1 (the normal mode) to position 2.
1
2
BEAT
CUT
Standard Recording
You can record any sound source on the tape.
❏ You can also record the same source on the MD at the same time. (See page 34.)
Using the unit only
1.
Insert a blank or erasable tape into cassette holder.
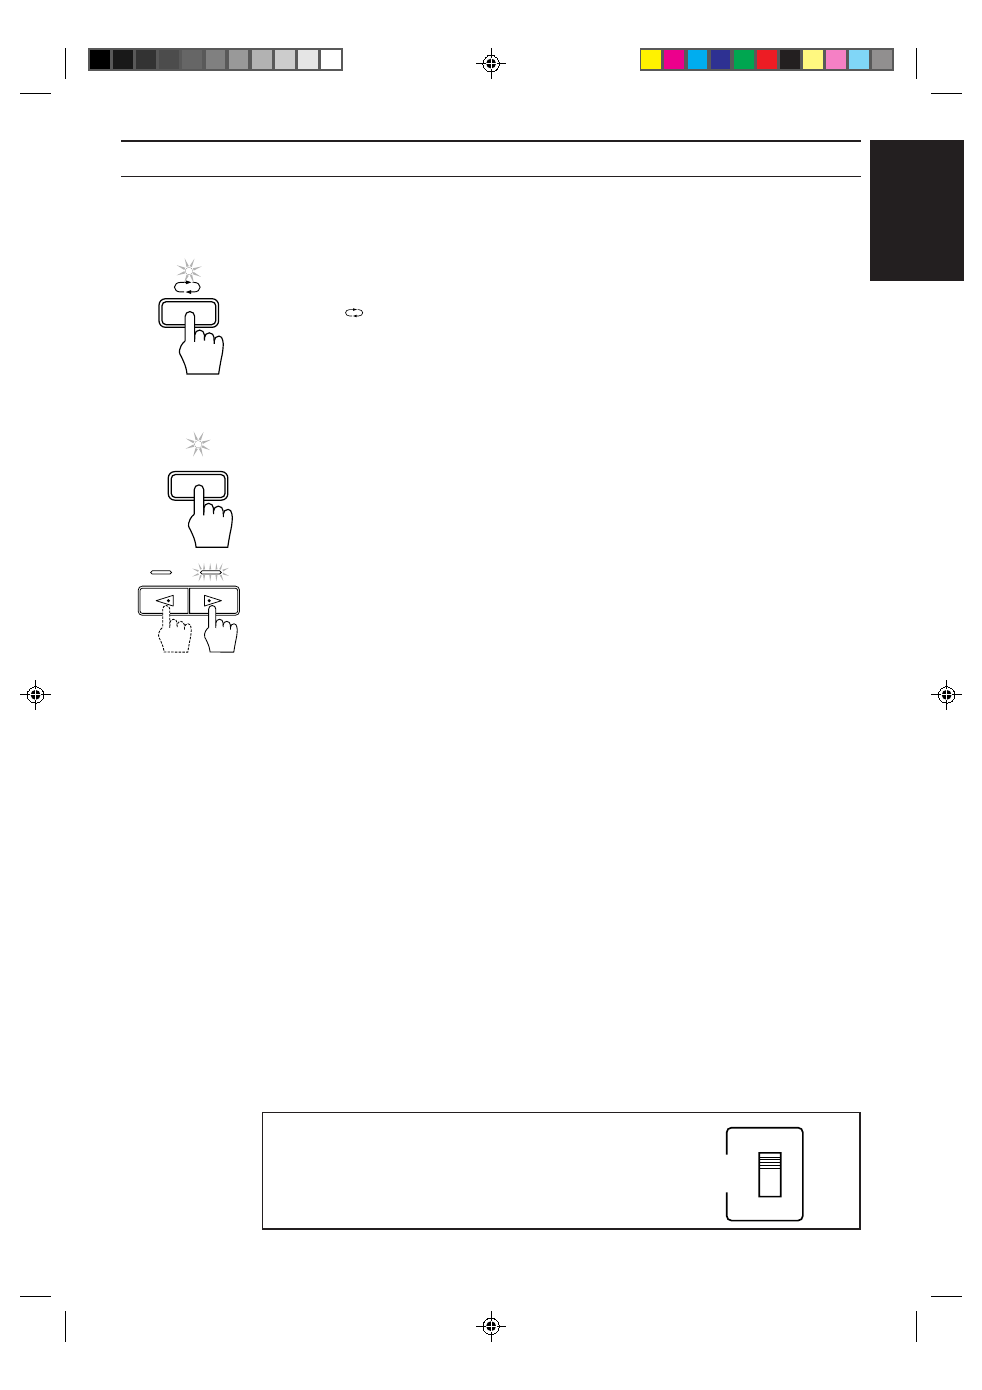
2.
Press the
button if you want to record on both sides of the tape.
The indicator above the button lights up.
❏ When using the auto reverse mode, press the
‹ button then the 7 button to start recording
in the forward (
‹) direction.
3.
Prepare the source, for example, by tuning in a radio station, loading CDs or MDs, or turning on
the external component.
4.
Press the REC PAUSE button.
The indicator above the button lights up and the CA-MD9R enters recording pause mode.
5.
Press the
‹ (or ¤) button to record the front side (or the reverse side).
❏ When using the auto reverse mode to record both sides of a tape, press the
‹ button to
begin the recording from the front side.
To pause, press the REC PAUSE button. Then press either the
¤ or ‹ button to restart recording.
To stop recording, press the
7 button.
To remove the tape, press down the
0 button after stopping the play.
REC PAUSE
EN.51-72.CA-MD9R[E]/F
6/16/98, 1:52 PM
55