Set up a client with leap network authentication, Leap – Intel 3945ABG User Manual
Page 77
Do not show this message again.
A user is able to avoid this step in subsequent sessions.
The choice selected is remembered for future sessions.
Set up a Client with LEAP Network Authentication
Cisco LEAP (Light Extensible Authentication Protocol) is an 802.1X authentication type that supports strong
mutual authentication between the client and a RADIUS server. The LEAP profiles settings include LEAP, CKIP
with Rogue AP detection integration. To set up a client with LEAP Authentication:
1. Click Profiles on the Intel PROSet/Wireless main window.
2. On the Profile page, click Add. The Create Wireless Profile General Settings opens.
3. Profile Name: Enter a descriptive profile name.
4. Wireless Network Name (SSID): Enter the network identifier.
5. Operating Mode: Click Network (Infrastructure).
6. Click Next to access the Security Settings.
7. Click Enterprise Security.
8. Network Authentication: Select WPA-Enterprise or WPA2-Enterprise.
9. Data Encryption: Select one of the following:
❍
TKIP provides per-packet key mixing, a message integrity check and a rekeying mechanism.
❍
AES-CCMP (Advanced Encryption Standard - Counter CBC-MAC Protocol) is used as the data
encryption method whenever strong data protection is important.
10. Enable 802.1x: Selected.
11. Authentication Type: Select LEAP to be used with this connection.
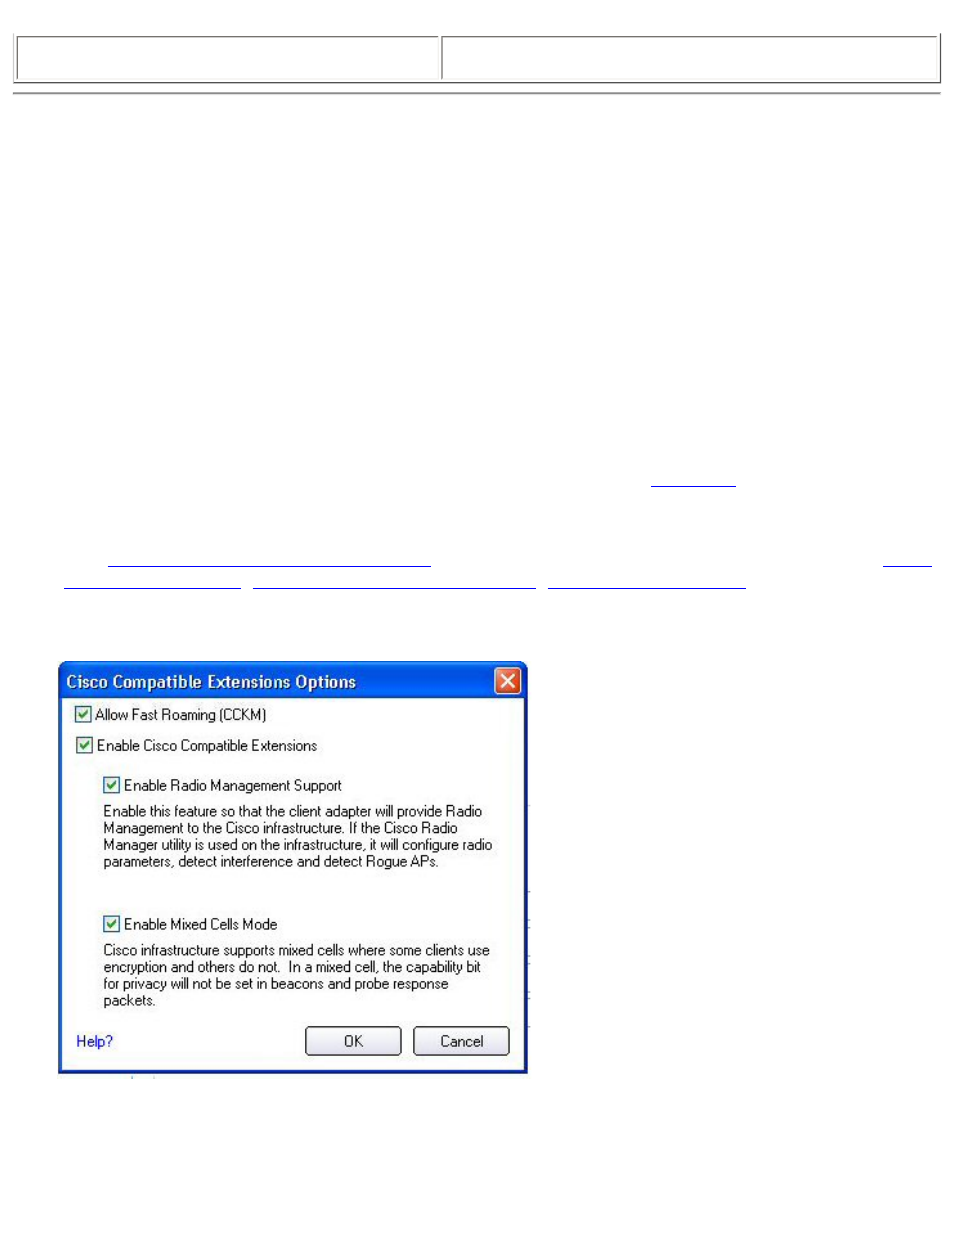
12. Click Cisco Options.
13. Click
Enable Cisco Compatible Extensions
to enable Cisco Compatible Extensions (CCX) security (
,
Enable Radio Management Support
,
.).
15. Click Enable Radio Management Support. Use Radio Management to detect rogue access points.
16. Click OK to return to the Security Settings.