Configuring dns – IBM Partner Pavilion Remote Supervisor Adapter User Manual
Page 99
7. Select a community option. A Community window opens.
You need to set up a community to define the administrative relationship
between SNMP agents and SNMP managers. You must define at least one
community. Each community definition consists of the following parameters:
v
Name
v
Host name or IP address
If these parameters are not correct, SNMP management access is not granted.
8. In the Name field, enter the name or authentication string to specify the
community.
9. In the corresponding Host Name1 or IP Address1 field for this community,
type the host name or IP addresses of this community.
10. Press F3 until you return to the Network Interfaces/Protocols window.
Configuring DNS
Use this option to specify whether you use a Domain Name System (DNS) server
on your network to translate host names into IP addresses.
Complete the following steps to use a DNS server on your network:
1. Log in to the Remote Supervisor Adapter. For more information, see “Accessing
the text-based interface through a Telnet connection” on page 65 or “Accessing
the text-based interface through a direct serial connection” on page 66.
2. In the Advanced System Management window, select Settings.
3. In the Settings window, select Network Interfaces/Protocols.
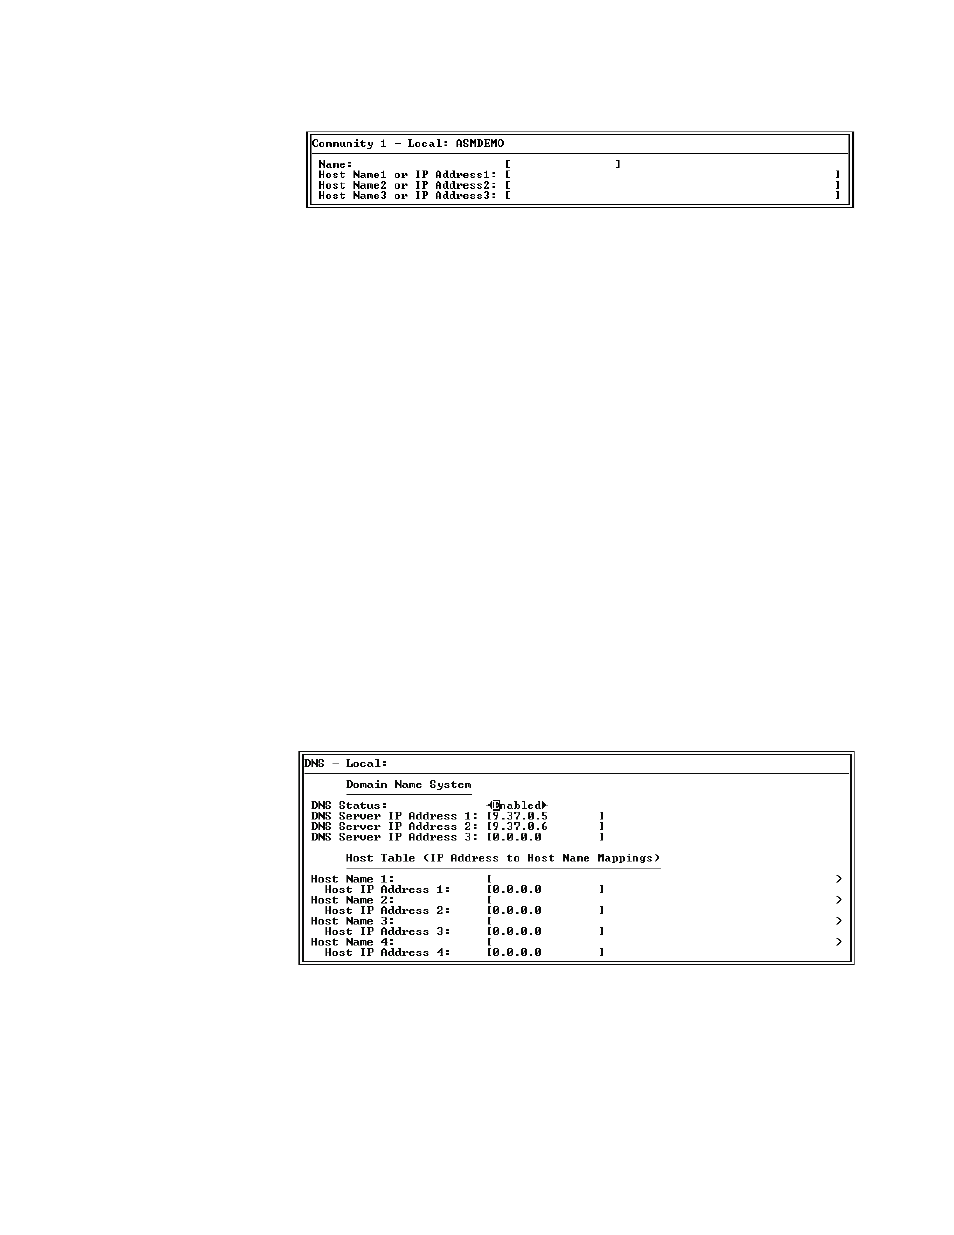
4. In the Network Interfaces/Protocols window, select DNS. A window similar to the
following opens.
ASMDEMO
5. Select Enabled in the DNS Status field to use a DNS server on your network to
translate host names into IP addresses.
6. In the DNS Server IP Address fields, enter the IP addresses of up to three
DNS servers on your network. You need to do this only if a quick lookup of a
host name IP address is required. Each IP address should contain integers from
0 through 255, separated by periods.
7. In the Host Table section, enter a host name and its corresponding IP address.
You can define four mappings.
Chapter 7. Configuring your Remote Supervisor Adapter using a text-based interface
93