Impex PL 200 User Manual
Pl-200, Marcy magnetic upright bike, Model pl 200
NOTE:
Please read all instructions
carefully before using this
product
Table of Contents
Safety Notice
Hardware Pack
Assembly Instruction
Parts List
Warranty
Ordering Parts
Model
PL 200
Retain This
Manual for
Reference
04-14-03
OWNER'S
MANUAL
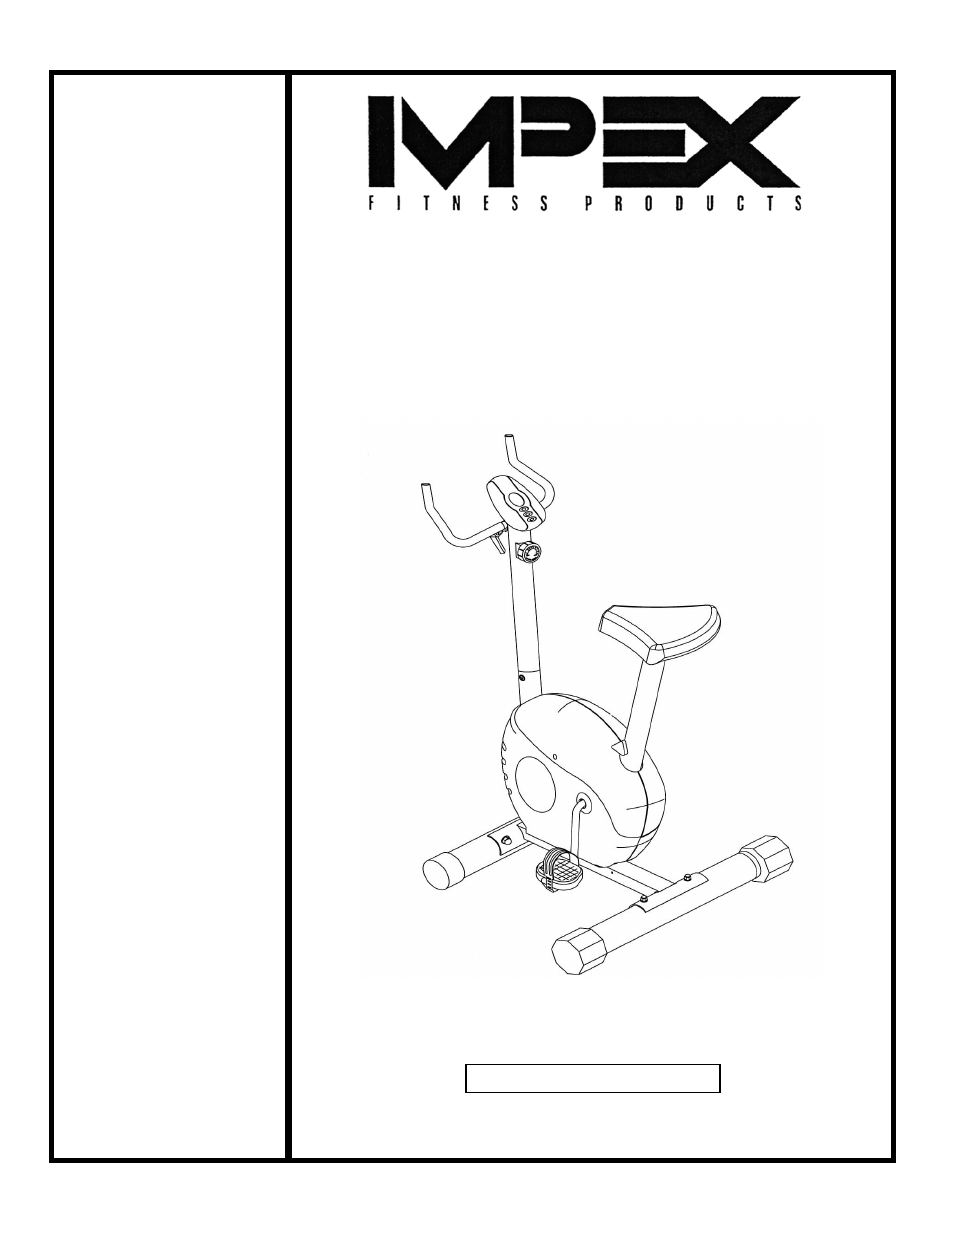
MARCY
Magnetic Upright Bike
PL-200
IMPEX FITNESS PRODUCTS
14777 DON JULIAN RD., CITY OF INDUSTRY, CA 91746
Tel: (800) 999-8899 Fax: (626) 961-9966
Table of contents
Document Outline
- BEFORE YOU BEGIN...................................................................................…. 1
- IMPORTANT SAFETY NOTICES..................................................................…. 2
- HARDWARE PACK……….....…....................................................................…. 3
- ASSEMBLY INSTRUCTIONS........................................................................…. 4
- EXPLODED DIAGRAM………………………………………………………………. 10
- PARTS LIST...................................................................................................…. 11 COMPUTER................................................................................................…… 12
- WARRANTY.................................................................................................…. 14
- ORDERING PARTS.......................................................................................… 14
- Part# Description Identifier
- ASSEMBLY INSTRUCTION
- A.) Insert the Handlebar (#7) halfway through the opening on the back of the Handlebar Post (#4). Adjust the position of the handlebar. Secure it with a L-shape Handlebar Adjustment Knob (#5) and Ø 5/8” Washer (#6).
- Attach the Seat (#8) to the top of the Seat Post (#10). Secure it with three Ø 5/16” Washers (#11), Ø 5/16” Spring Washers (#12), and M8 Nylon Nuts (#13).
- Insert the Seat Post into the top opening on Main Frame (#15). Adjust the height of the Seat. Lock the Seat Post with a Seat Post Lock Knob (#16).
- A.) Thread the Left Pedal (#27) counterclockwise onto the left Crank (#14). Thread the Right Pedal (#28) Clockwise onto the Crank on the other side.
- EXPLODED DIAGRAM
- ASSEMBLY INSTRUCTION