Installation, 3 charging the battery – Gardena Robotic Lawnmower R40Li User Manual
Page 20
20 - English
3. INSTALLATION
Installation and connecting the charging
station
1.
Position the charging station in a suitable spot.
2.
Connect the low voltage cable to the charging
station.
3.
Connect the transformer’s power cable to a 230V
wall socket. If the transformer is connected to an
electrical socket outdoors, this must be approved
for outdoor use.
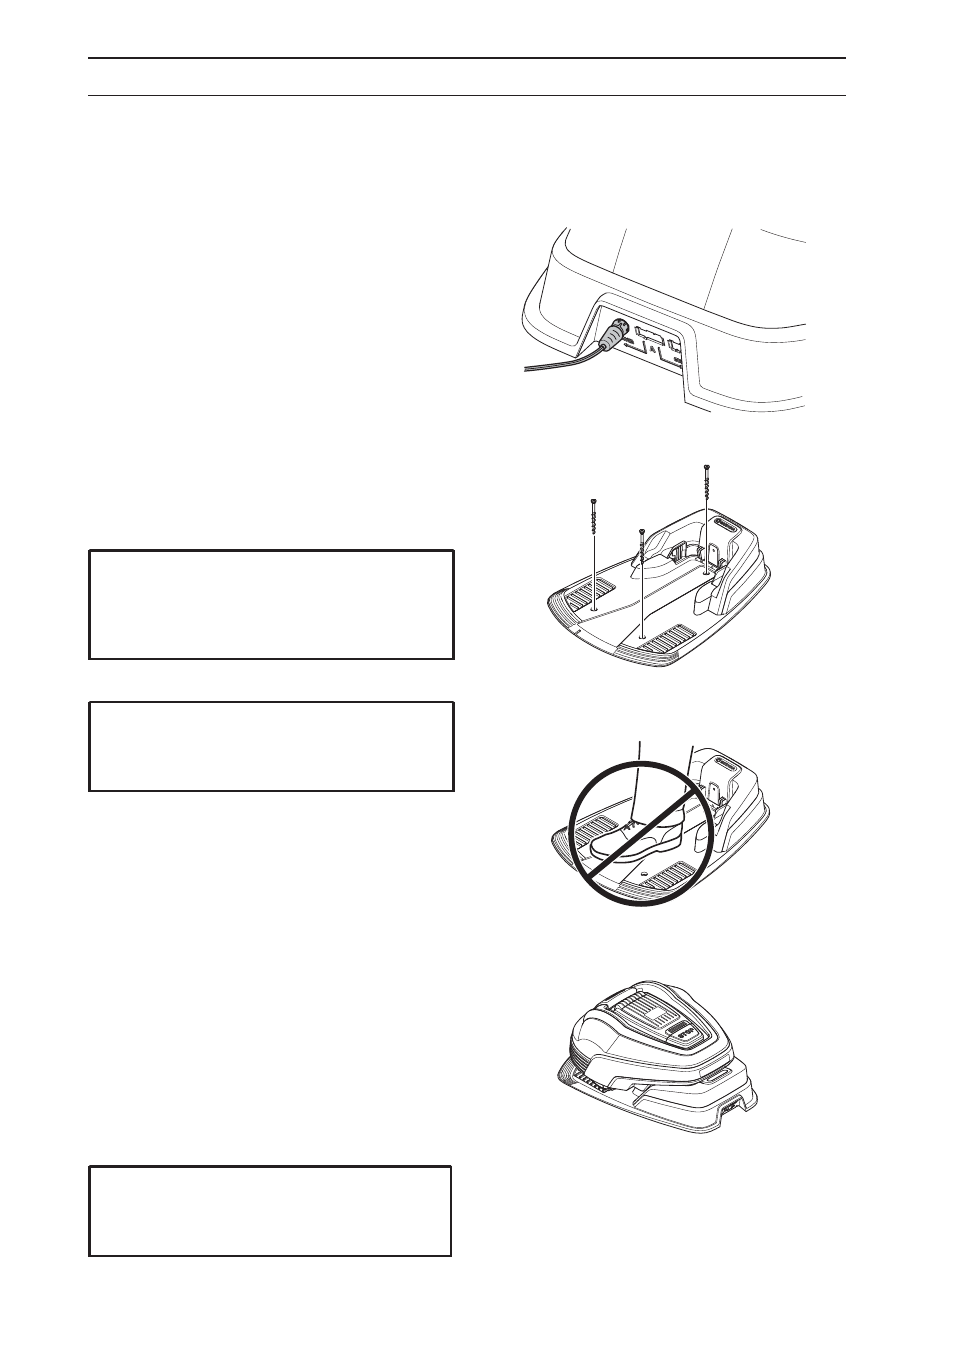
4.
Attach the charging station to the ground using
the supplied screws. Ensure the screws are
screwed all the way down in the countersink.
3.3 Charging the battery
As soon as the charging station is connected, it is
possible to charge the robotic lawnmower. Set the
main switch to position
1
.
Place the robotic lawnmower in the charging station
to charge the battery while the boundary and guide
wires are being laid.
If the battery is flat, it takes around 80 to 100 minutes
to fully charge it.
IMPORTANT INFORMATION
It is not permitted to make new holes in the
base plate Only the existing holes may be
used to secure the base plate to the ground.
IMPORTANT INFORMATION
Do not tread or walk on the charging station's
base plate.
IMPORTANT INFORMATION
The robotic lawnmower cannot be used
before the installation is complete.