Installation continued – Garland Salamander Broiler User Manual
Page 9
Part # 4523974 (11/07)
Page 9
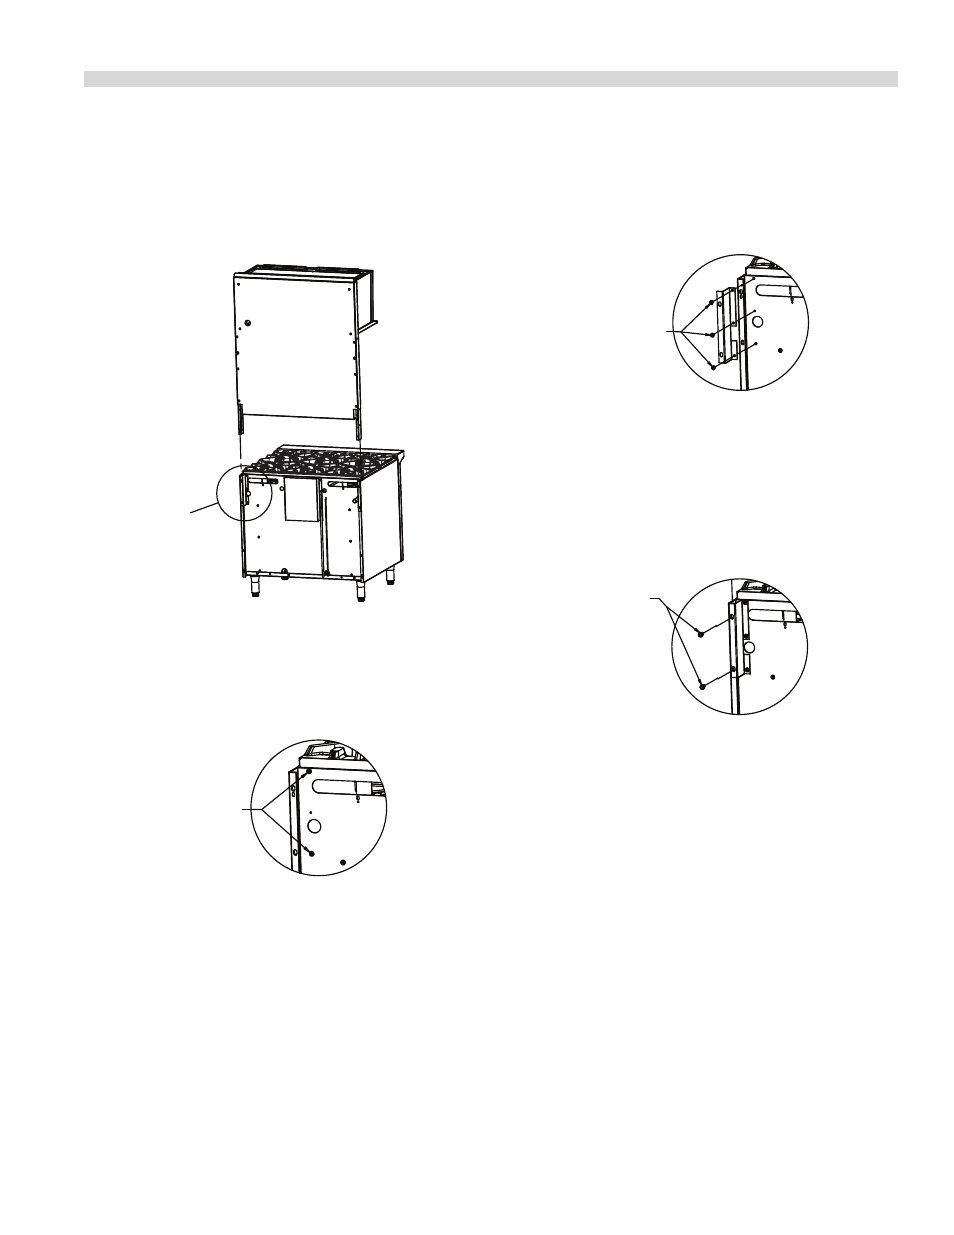
Installation Of A Salamander To A Range
NOTE: The back of the range must be easily accessible .
Model UIR36 – 36” Ranges
DETAIL
I
36" RANGE
Figure 1 – With area detail defined for 36 inch range .
1 . Remove screws from back of oven (on both sides of
range) as shown:
DETAIL I
REMOVE
2 SCREWS
(BOTH SIDES)
INSTALLATION Continued
2 . Install the left and right support brackets (part # 4523226
and 4523227) by re-inserting the 2 screws removed in
step 1 and one additional screw (on both sides of the
range) .
DETAIL I
INSERTED
SCREWS
3 . Slide the salamander down into the support brackets
installed in step 2, see figure 1 .
4 . Once the salamander is in place, fasten it to the unit on
both sides of the range with the provided #14B x 5/8 hex
washer head tapping screws .
DETAIL I
PROVIDED
#14B x 5/8 HEX
WASHER HEAD
TAPPING SCREWS