Using the parallel fence guide, Dust extraction, Using the redeye® system – Global Machinery Company LS236LS User Manual
Page 12
Note.
Since blade thickness varies, always make a trial
cut in scrap material along the guideline to determine
how much, if any, the guideline must be offset to get
an accurate cut.
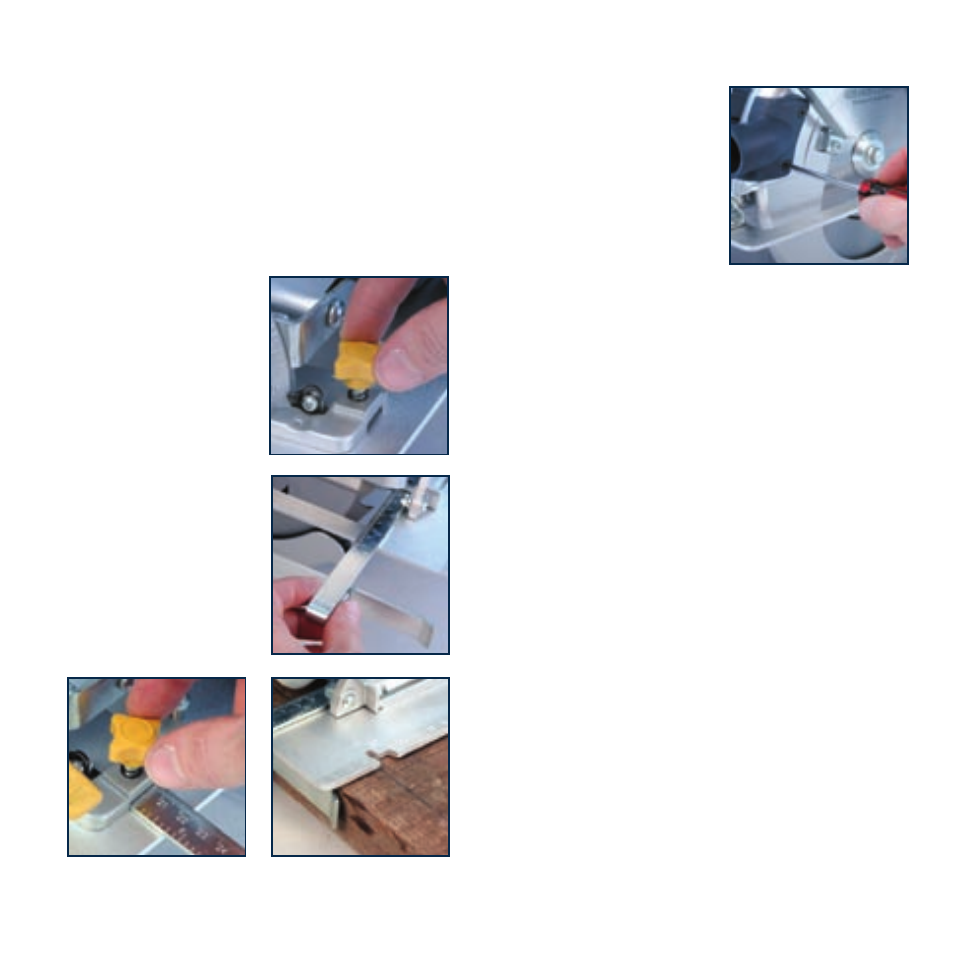
Using the parallel fence guide
The parallel fence allows you to make parallel cuts in
a sheet of wood, all at the same width.
CAUTION.
Always ensure that the saw is switched off
and unplugged from the power supply before making
any adjustments.
1. Loosen the parallel fence
locking knob (10)
2. Slide the parallel fence
(11) through the slots
in the base plate (14).
3. Adjust the parallel
fence to the
required width and
secure it in position with
the parallel fence locking
knob (10).
4. Ensure that the fence
rests against the wood
along its entire length
to give a consistent
parallel cut.
Dust extraction
The tool can be connected to a
dust extraction system via the
dust extraction adaptor (17).
1. Fit the dust extraction
adaptor (17) over the dust
extraction port (16).
2. Using the two phillips head
screws supplied secure the
dust extraction port onto
the saw.
3. Connect your dust extraction equipment onto the dust
extraction adaptor.
Using the REDEYE® system
WARNINGS.
Do not stare directly at the laser beam.
Never aim the beam at any person or an object other
than the work piece.
Do not deliberately aim the beam at personnel and ensure
that it is not directed towards the eye of a person for
longer than 0.25s.
Always ensure the laser beam is aimed at a sturdy work
piece without reflective surfaces. I.e. wood or rough
coated surfaces are acceptable. Bright shiny reflective
sheet steel or the like is not suitable for laser use as
the reflective surface could direct the beam back at the
operator.
Only turn laser beam on when tool is on work piece.
1. Mark the line of the cut on the work piece.
2. Adjust the depth of cut and bevel angle as required.
3. Rest the front edge of the base on the work piece.
4. Switch on the laser beam by pressing the laser light
on/off button (4).
5. Start the motor by squeezing the trigger switch (3).
12