Appendix 4 setting the position of the adf, Ap-9 – FUJITSU fi-5750C User Manual
Page 39
AP-9
Appendix 4 Setting the
position of the
ADF
As the factory default, ADF of fi-5750C is
fixed with ADF lock screws. Be sure to remove
the screws before changing the position of the
ADF.
ADF can be set to the following three posi-
tions:
•
Type 1: Traditional
-Traditional style of previous FUJITSU scanner
products
-For operators accustomed to previous FUJITSU
scanners
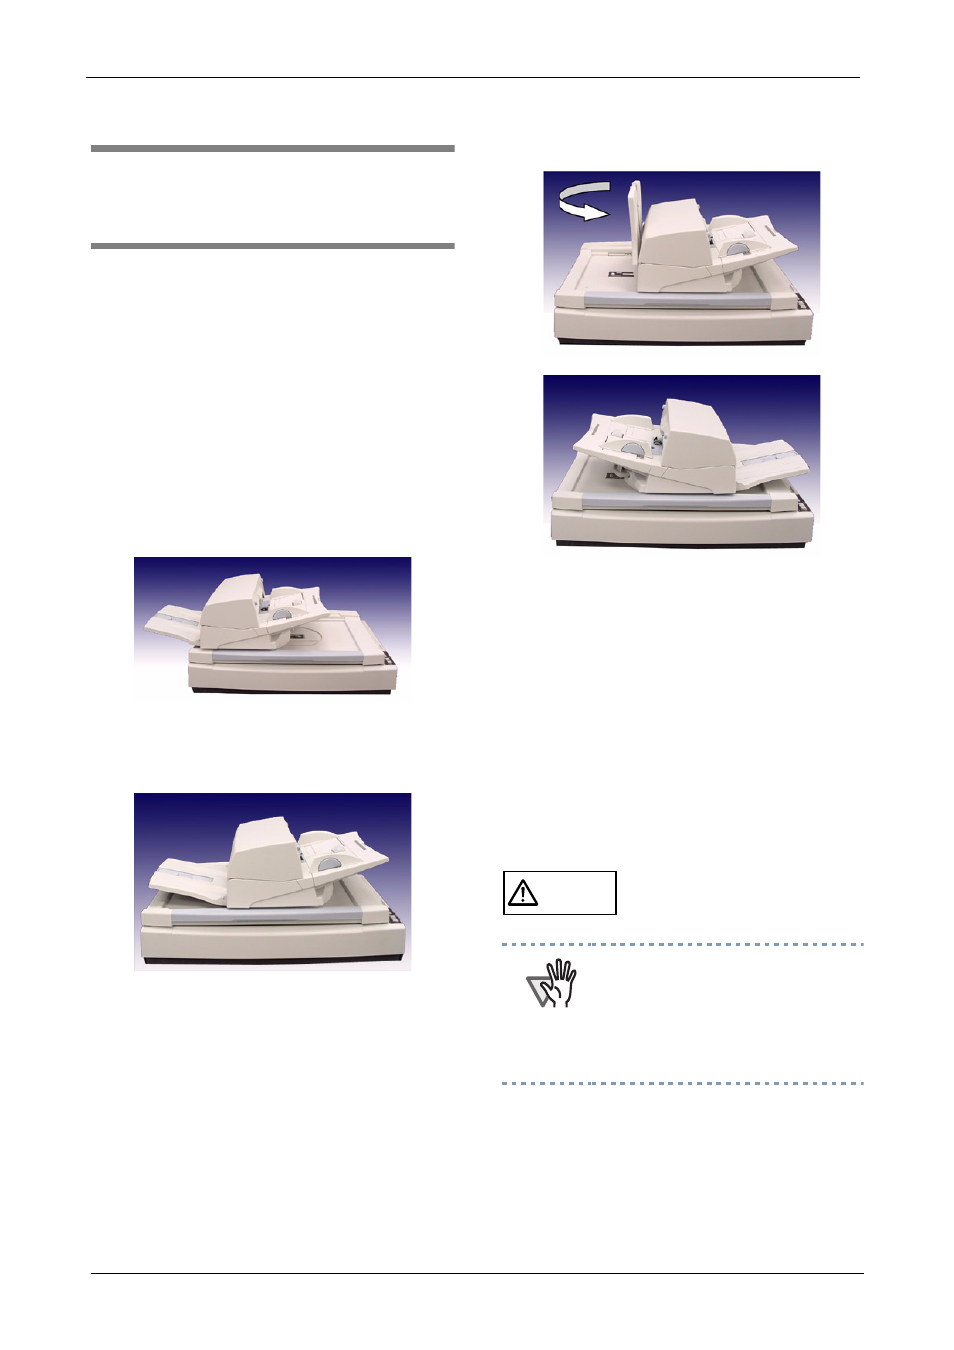
•
Type 2: Standard
- Small foot print
- For right-handed operators
•
Type 3: Reversed
- Small foot print
- For left-handed operators
Type 2 and 3 are available only when the ADF
is set to the center position. Before changing
the ADF position to Type 2 or 3, slide the ADF
to the center position. When the ADF is in
Type 2 position, you can change the position to
Type 3 by rotating the ADF in 180 degrees and
vice versa.
For details on setting the ADF, refer to 2.2
“Setting the ADF” of “fi-5750C Operator’s
Guide” on Manual CD-ROM.
CAUTION
Take care not to pinch your
fingers when rotating the ADF.
ATTENTION
• Please rotate the ADF after you set
the stacker upright.
• When you change the position of
the ADF, do not rotate it over 180
degrees, other wise the ADF may
be damaged.