Before you begin, Connecting the mediant 1000 to the network, Accessing the media gateway via browser – FaxBack AudioCodes Mediant 1000 - Configuration Guide User Manual
Page 3: Assign static ip addresses, Media gateway component
AudioCodes Mediant 1000 Configuration Guide — Page 3
Before You Begin
There are a few things you will need before you get started installing your new Mediant 1000.
• One Ethernet patch cable.
• A 19” rack or other place to mount the appliance. Rails may be needed depending on rack hardware.
• One static IP address on the same subnet as your fax server.
• Sufficient telephone and/or ISDN PRI cables to connect the telephony modules.
• If using T1 or PRI trunks, you will need the exact configuration specification from the trunk provider (telco).
• A PC connected to the same subnet the Mediant 1000 will be on. The PC will need a web browser to connect to the Web UI of
the Mediant 1000.
In addition, the following are recommended.
• An Uninterruptable Power Supply (UPS) with USB monitor interface.
Connecting the Mediant 1000 to the Network
Media Gateway: On the front of the appliance you will see two RJ45 Ethernet connections on the “CPU” module labeled “I”
and “II”. Connect “I” to your network using an Ethernet patch cable.
Plug the power cable in, the Mediant 1000 will power on after a short pause.
On the PC, configure its IP address:
IP Address 10.1.10.200
Subnet Mask 255.255.0.0
You will now be able to access and configure the Mediant 1000.
Accessing the Media Gateway via Browser
Media Gateway IP Address 10.1.10.10
Open a web browser, and navigate to
http://10.1.10.10/
You will see a login prompt. Enter
User Admin
Password Admin
Assign Static IP Addresses
The first step is to assign static IP addresses to the Mediant so you can configure it on the regular network.
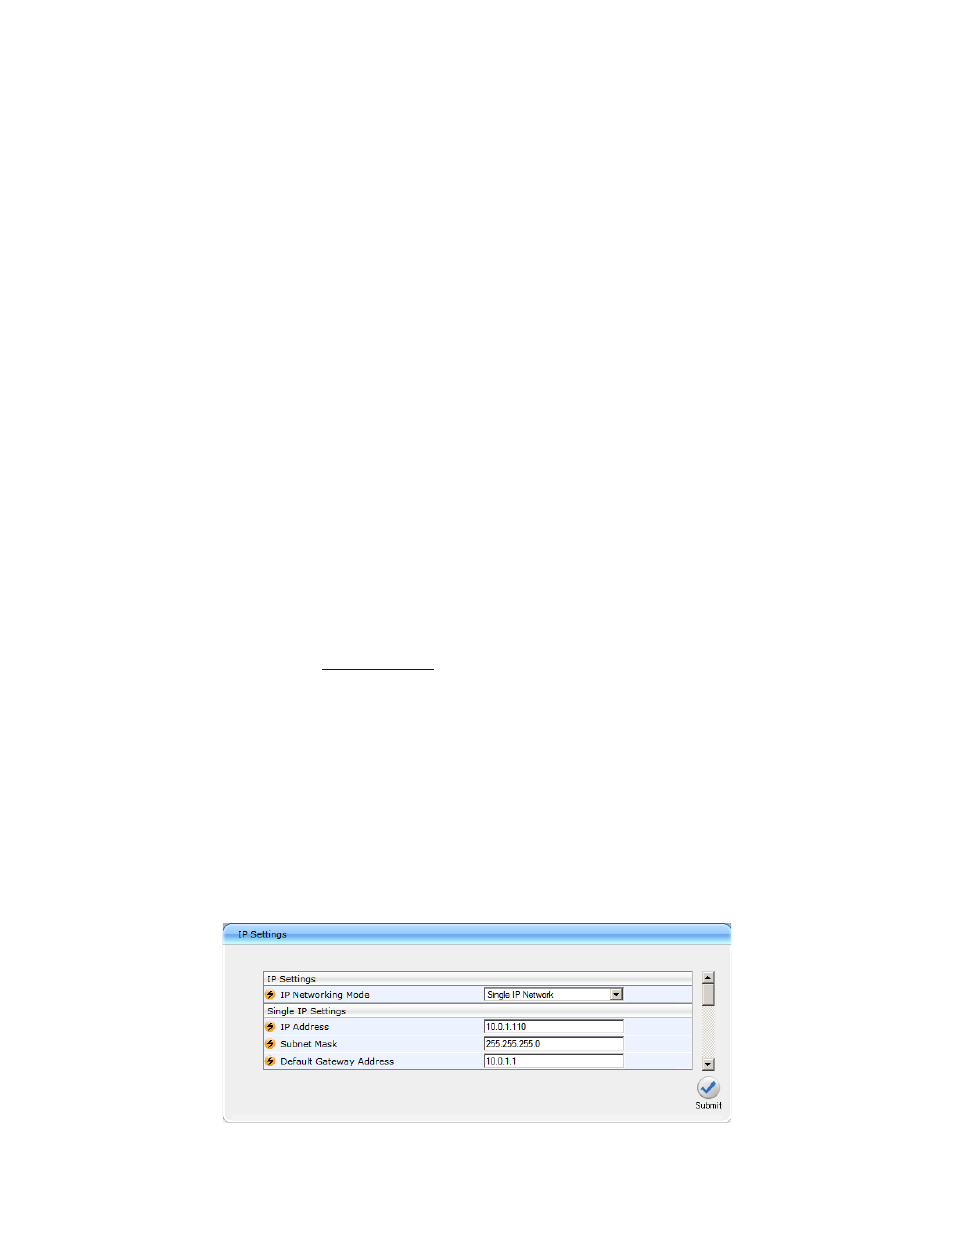
Media Gateway Component
Connect to the Media Gateway IP (10.1.10.10) via a web browser. Navigate to Network Settings > IP Settings, and enter the IP
Address, Subnet Mask and Default Gateway Address as appropriate for your network.
Click “Submit” at the bottom right corner of the page. You can now access the Media Gateway component at its assigned IP
address.