Playback / record on a tape connections, Playback / record on a tape – Panasonic PV-V4525S User Manual
Page 5
This video recorder, equipped with HQ
(High Quality) system, is compatible with
existing VHS equipment. Only use tapes
with the
mark. Only tapes tested and
inspected for use in 2, 4, 6, and 8 hour
machines are recommended.
*Important: If a remote control button does not work when pressed,
press the VCR button on the remote and try the button again.
- 5 -
1
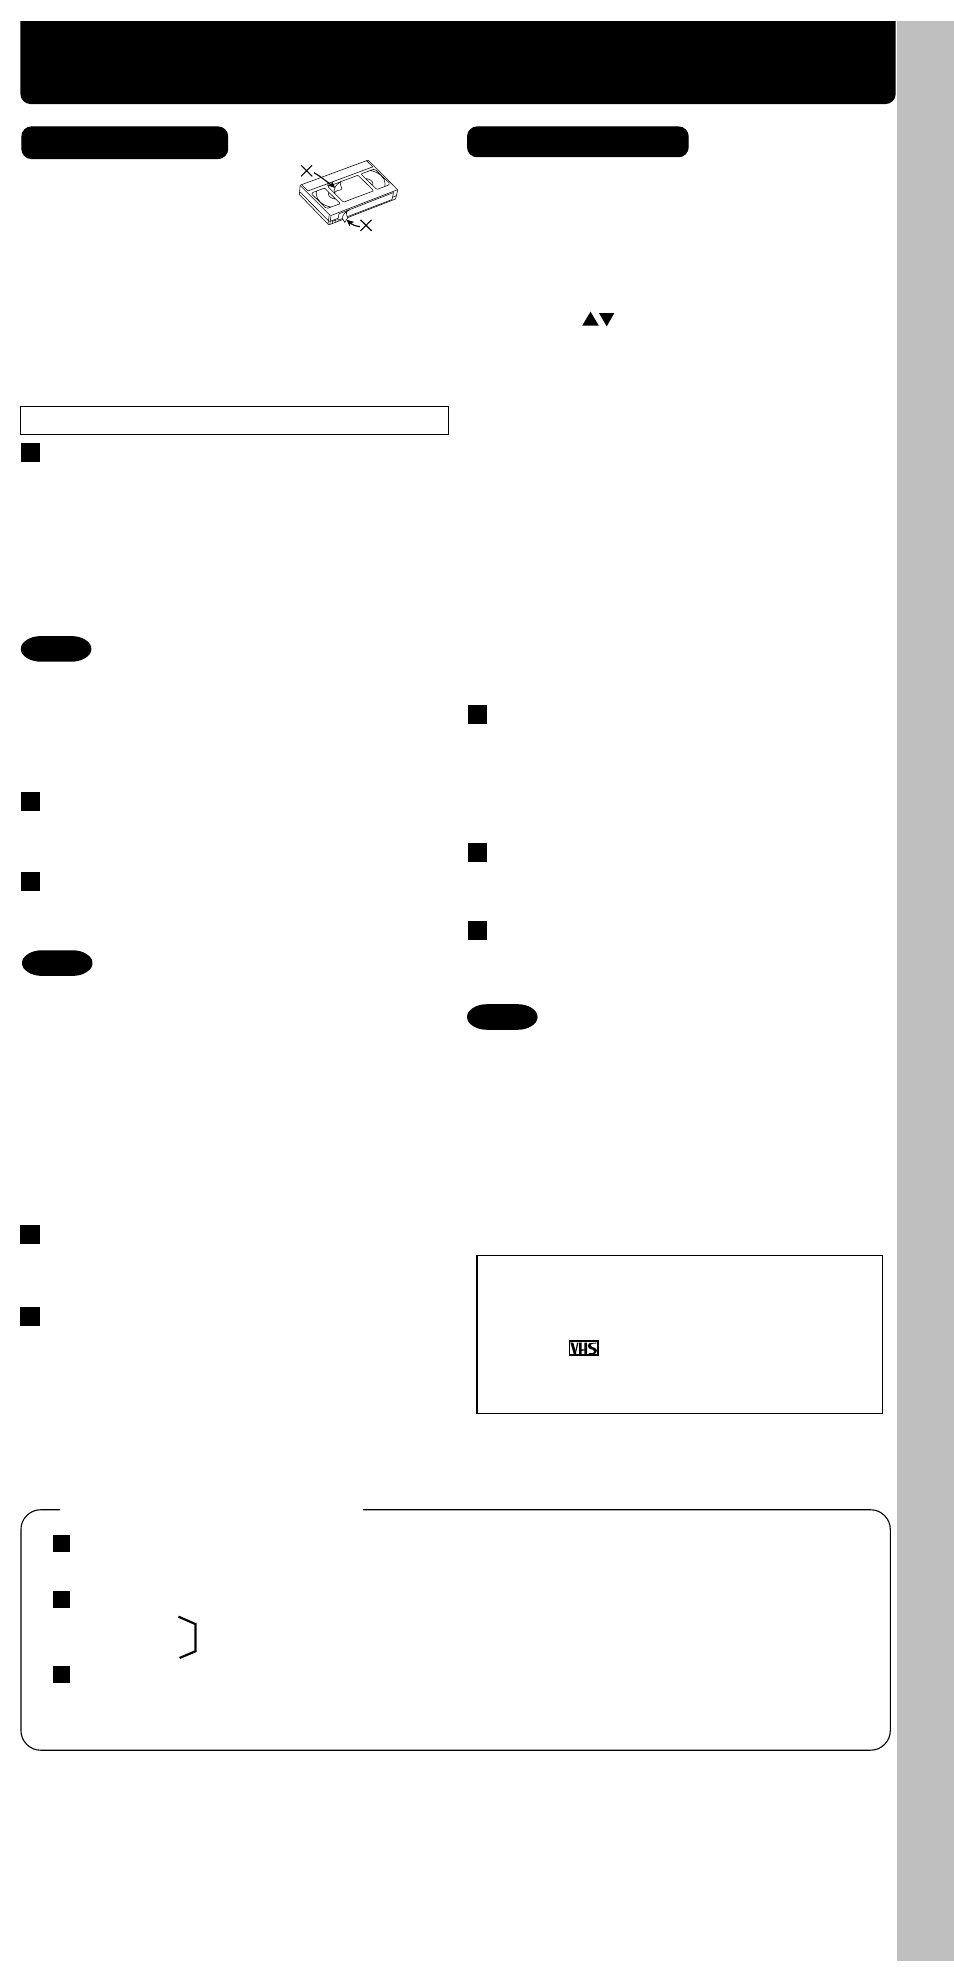
Insert a tape with a record tab (p. 3).
1
Insert a tape
.
Special Features During Play
2
Press PLAY to play tape.
• If tape has no rec. tab (p. 3), auto play begins.
Record on a Tape
Still (Freeze) Picture
➛ Press PAUSE/SLOW.
➛ Press PLAY to release.
Slow Motion Picture
➛ Hold down PAUSE/SLOW in Still mode.
➛ Press PLAY to release.
• Loose or peeling labels
may cause tape jam.
• VCR power comes on.
If Auto VCR/TV (see p. 10 of
Advanced Operations book) is set to
“OFF,” press VCR/TV.
• These features work best in SP or SLP mode.
• The sound will be muted.
• To reduce picture noise, see “Manual
Tracking Control” on p. 3.
• After 3 minutes in Still or Slow mode, VCR
stops to protect the tape and the video heads.
Rapid Rewind/FF
Press REW or FF in Stop mode to
rewind or fast forward tape.
Press EJECT on remote,
or STOP/EJECT on VCR to eject tape.
3
Press STOP to stop tape.
Playback a Tape
• Picture interruption may occur with some TVs.
• FF and REW search speed may vary depending
on current tape position.
• After 10 minutes in search mode, VCR returns to
Play mode to protect the tape and the video
heads.
Playback / Record on a Tape
Auto Play
Insert a tape
➛
Power comes on
➛
Play starts if there is no record tab (see p. 3).
Auto Rewind
Play
Fast Forward
Play Auto Eject
(Repeat Play must be off)
Play
➛
Tape end
➛
Rewind
➛
Stop
➛
Tape ejects if there is no record tab.
Auto Operation Functions
Notes
➛
Tape end
➛
Rewind
➛
Stop
2
Press CH
or NUMBER keys
to select the channel.
• If channel number is over 100, first press 100
key then the other 2 digits.
• For “LINE” input, see p. 9 of “Advanced
Operations” book.
3
Press SPEED to set record speed (p. 3).
4
Press REC to start recording.
• To edit, press PAUSE/SLOW to pause, and
again to resume recording.
5
Press STOP to stop recording.
One Touch Recording
(recording in progress)
Press REC repeatedly to set length as follows:
30 min.
➛
1 hr.
➛
1:30
➛
2:00
➛
3:00
➛
4:00
➛
exit.
The VCR shuts off at the length set.
Record one station, watch another
Press VCR/TV
➛
select channels on TV (recording continues).
Select channels on VCR
Press VCR/TV in Stop or Pause mode.
➛
select channels on VCR.
• Watching one channel and recording
another is not possible when using Cable
Box or DSS Receiver.
• After 5 minutes in Pause mode, VCR stops to
protect the tape and the video heads.
• VCR power comes on.
If Auto VCR/TV (see p. 10 of Advanced
Operations book) is set to “OFF,” press
VCR/TV.
Notes
Notes
• Rewinds a T-120 tape in approx. 1 minute.
•
Connections •
Initial Setup • Clock Set •
Select Channel • Playback
• Record
• A
uto Operation
• SP = Standard Play
• SLP = Super Long Play
Forward/Reverse Scene Search
➛ Press FF or REW.
➛ Press PLAY to release.
After search has begun, each additional
press of FF or REW changes speed as
shown below.
[SP] : Approx. 9X
↔
Approx. 13X
[SLP] : Approx. 27X
↔
Approx. 43X