Hard disk drives, Preinstallation steps – IBM xSeries 330 User Manual
Page 56
48
Hardware Maintenance Manual: xSeries 330
Attention:
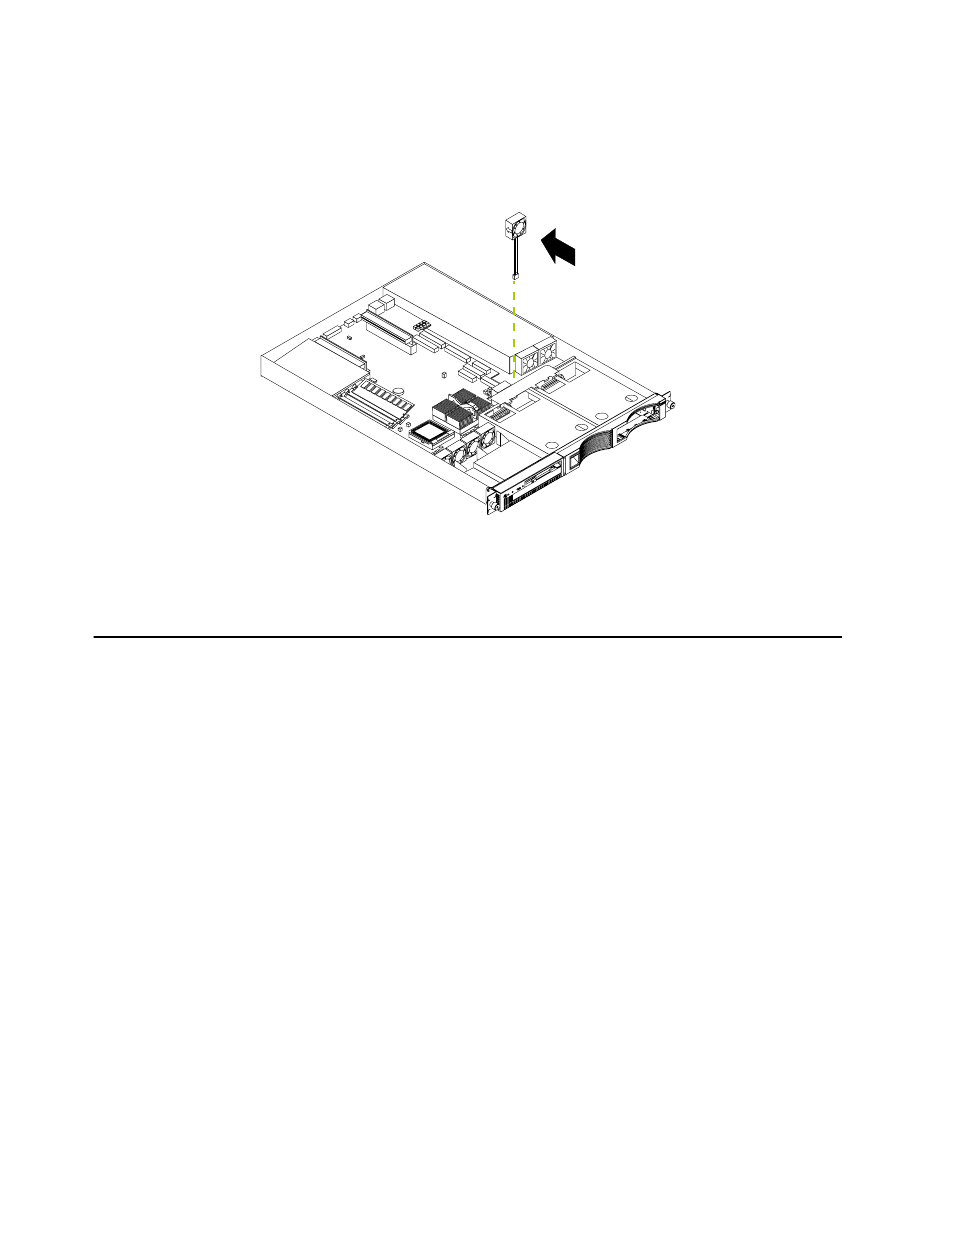
Route cables so that they do not block the flow of air from the fans.
Note:
When installing a ServeRAID adapter remove the cable from the SCSI
connector (J4) on the system board and attach it to the ServeRAID adapter.
10. Install the cover see “Removing the cover” on page 44.
11. Turn on the server.
Hard disk drives
The server supports two 1-inch (26 mm) slim 3.5-inch low voltage differential (LVD)
hard disk drives. If you can hot-swap hard disk drives.
Notes:
1.
You can hot-swap a hard disk drive only if a ServeRAID adapter configured as
RAID1 is installed in the system. If you use any other ServeRAID or SCSI
configuration, you cannot hot-swap the hard disk drive.
2.
For more information on hot-swap disk drives refer to “Hot-swap disk drives” on
page 50.
Each hard disk drive tray has a status and an activity light located on the upper-right
corner of tray (see “Server controls and indicators” on page 6 for the location of the
status and activity indicators). These lights are used to show when there is drive
activity or, in some cases, when there is a problem with your hard disk drive.
•
The drive must be a low voltage differential drive (LVD), and have a single
connector attached (SCA) connector.
•
The hard disk drive bays connect to a SCSI backplane. This backplane is the
printed circuit board behind the bay and is connected to J4 on the system board.
•
The backplane controls the SCSI IDs for the hard disk drives.
Preinstallation steps
Before you install a hard disk drive, review the following.
Air flow