Changing the setup menu, Video setting, Press [stop c ] if you are playing a disc – FUNAI SV2000 WV10D6 User Manual
Page 68
68
EN
Changing the Setup menu
Video setting
1
Proceed to steps 1 to 3 above.
2
Using [K / L], select “Still Mode”. Press [OK].
3
Using [K / L], select a setting. Press [OK].
Your setting will be activated.
Press [STOP C] if you are playing a disc.
Still Mode (Default : Auto)
Select “Auto” usually.
Note
• Frame is 1 completed video image made
up of 2 fields (There are 30 frame per
second of NTSC video).
Progressive Scan (Default : OFF)
This unit is compatible with the Progressive Scan System. The feature provides you with the higher definition images
than the traditional output system does. To utilize this feature, you must set Progressive Scan mode to “ON”.
1
Press [SETUP].
2
Using [K / L], select “Playback”. Press [OK].
3
Using [K / L], select “Video”. Press [OK].
4
Using [K / L], select “Progressive Scan”. Press [OK].
5
Using [K / L], select “ON”.
Press [OK].
Confirmation window will
appear.
6
Using [{ / B], select “Yes”. Press [OK].
7
Using [K / L], select “Yes” within 15 seconds. Press [OK].
Your setting will be activated.
8
Press [SETUP] to exit.
4
Press [SETUP] to exit.
Note
• If your TV is compatible with Progressive
Scan (525p / 480p), you must use the
Component video cable (commercially
available) to connect this unit to the TV. (See
Method 2 on page 13.) If not, use the video
cable and set the Progressive Scan to “OFF”
or press and hold [SETUP] for more than 3
seconds during DVD playback.
• When selecting “No” or not pressing any
keys on the unit or remote control within
15 seconds at step 7, Progressive Scan
remains to be “OFF” (interlace scan).
Video - Progressive Scan
Activating progressive scan:
Check your TV has progressive scan
and connect with component video cable.
NOTE: If there is no picture or picture is
distorted after selecting “Yes”,
Wait about 15 seconds for auto recovery.
Activate?
Yes
No
Auto: Optimum resolution setting (Field or Frame) will be selected.
Field: Images in the still mode will be stabilized.
Frame: Images in the still mode will be highly defined.
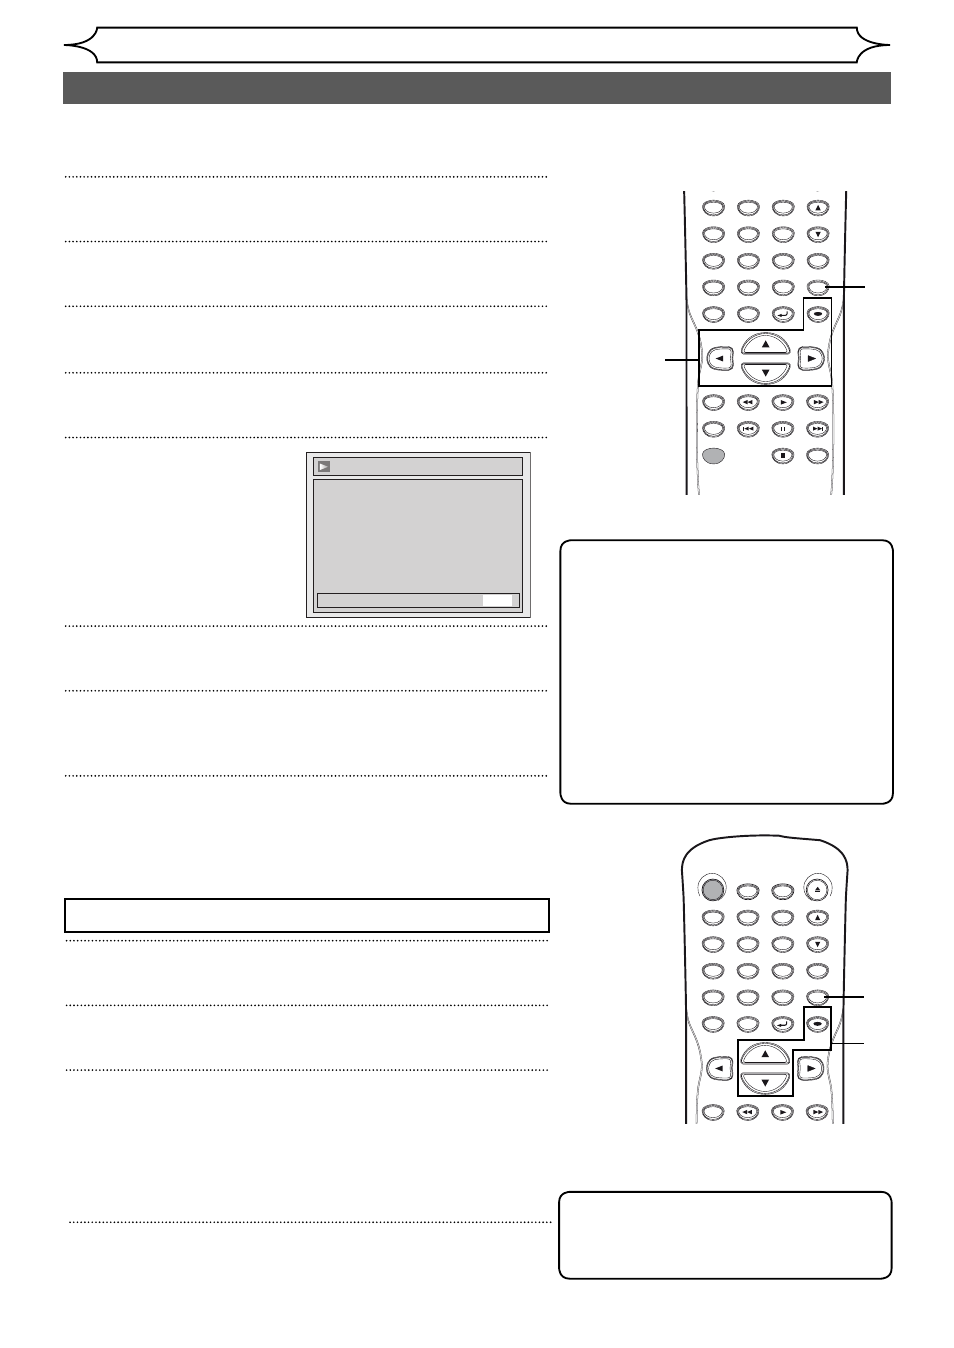
.@/: ABC
DEF
GHI
1
PQRS
4
DISPLAY
7
TITLE
REC MODE
RAPID PLAY
REC
REV
PREV
PLAY
PAUSE
STOP
FWD
NEXT
CM SKIP
JKL
2
TUV
5
SPACE
8
DISC MENU
0
MNO
3
WXYZ
6
CLEAR
9
RETURN
CH
REPEAT
SETUP
OK
2
3
4
5
6
7
1
8
STANDBY-ON
.@/: ABC
DEF
GHI
OPEN/CLOSE
ZOOM
TIMER
PROG.
1
PQRS
4
DISPLAY
7
TITLE
REC MODE
REV
PLAY
FWD
JKL
2
TUV
5
SPACE
8
DISC MENU
0
MNO
3
WXYZ
6
CLEAR
9
RETURN
CH
REPEAT
SETUP
OK
3
2
4