Operating instructions – Harbor Freight Tools 98233 User Manual
Page 13
SKU 98233
For technical questions, please call 1-800-444-3353.
Page 13
OperaTInG InSTrucTIOnS
wear protective
gear during use;
anSI-approved, shade
number level 14 eye
protection, a full face shield
(or welding mask), ear
protection, welding gloves
and apron, nIOSh-approved
respirator, and fire resistant
work clothes without pockets
should be worn when welding.
light from the arc can cause
permanent damage to the
eyes and skin. do not breathe
arc fumes.
Place the Welder on a level surface
1.
that can bear its weight near the work
area.
Connect a 12 AWG ground wire (not
2.
included) to the Ground Post on the
rear of the Welder (see page 12) and
route it to ground. If possible, ground
the workpiece independent of the
welder.
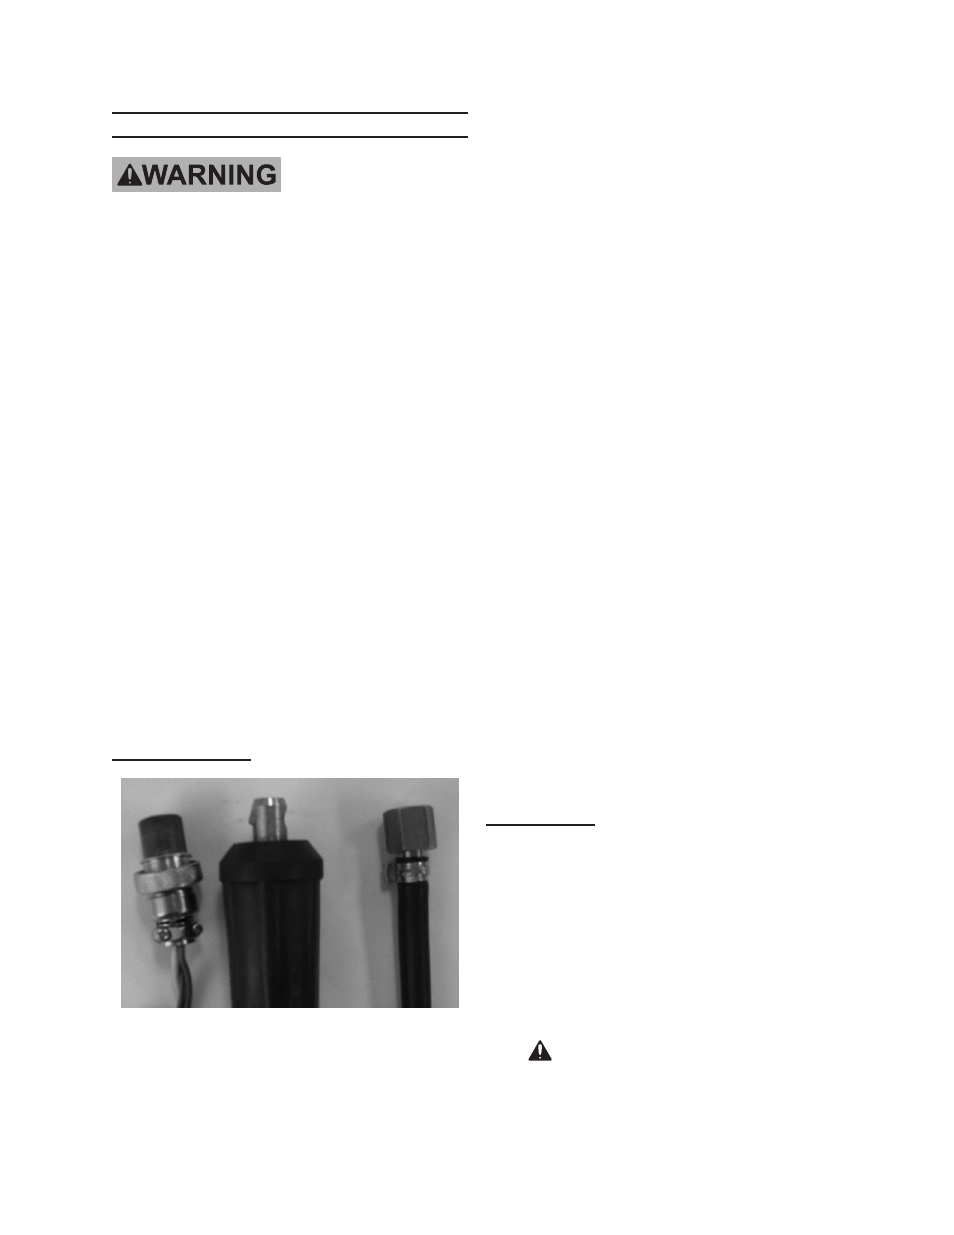
TIG connection
TIG Torch
control
cable
plug
Gas
Outlet
hose
1. Connect the TIG torch control, cable
plug, and gas outlet hose as shown
on page 12. Twist to lock in place.
Plug the cable of the Grounding
2.
Clamp (34) into the welder and se-
cure the clamp to a clean, exposed
metal part of the workpiece.
Assemble the desired accessories
3.
and rod inside the tip of the TIG Torch
handle.
Unscrew the Ceramic Nozzle (6A)
a.
on the Torch Handle (4A).
Unscrew the Collet Housing (5A).
b.
Place a 5/32” prepared tungsten
c.
welding rod (not included) into the
torch.
Screw the Collet Housing and Ce-
d.
ramic Nozzle back onto the Torch.
Connect a hose and coupling from
4.
the gas regulator on an Argon gas
tank (none included) to the Argon
Gas Inlet on the back of the unit. Fol-
low the gas cylinder manufacturer’s
instructions for set-up and use.
The Gas Flow Delay Switch allows
5.
control of how long the shielding gas
flows. To conserve shielding gas
switch it to “short”. If the welded sur-
face is being tarnished, change the
switch to “long”.
TIG welding
Turn the Current Adjustment Knob to
6.
meet the needs of the job.
Move the Stick or TIG Switch to “TIG”
7.
(bottom position).
Plug the power cord into a grounded
8.
230V electric socket and turn the
Welder on.
danGer! To prevent serious
injury and death: The TIG welder
will immediately turn on when the