Step 10: install globe, Step 11: operation of remote control, Step 12: mounting the remote holder – Hunter Fan 41675-01 User Manual
Page 6
41675-01 01/07/2004 5 © 2004 Hunter Fan Company™
41675-01 01/07/2004 6 © 2004 Hunter Fan Company™
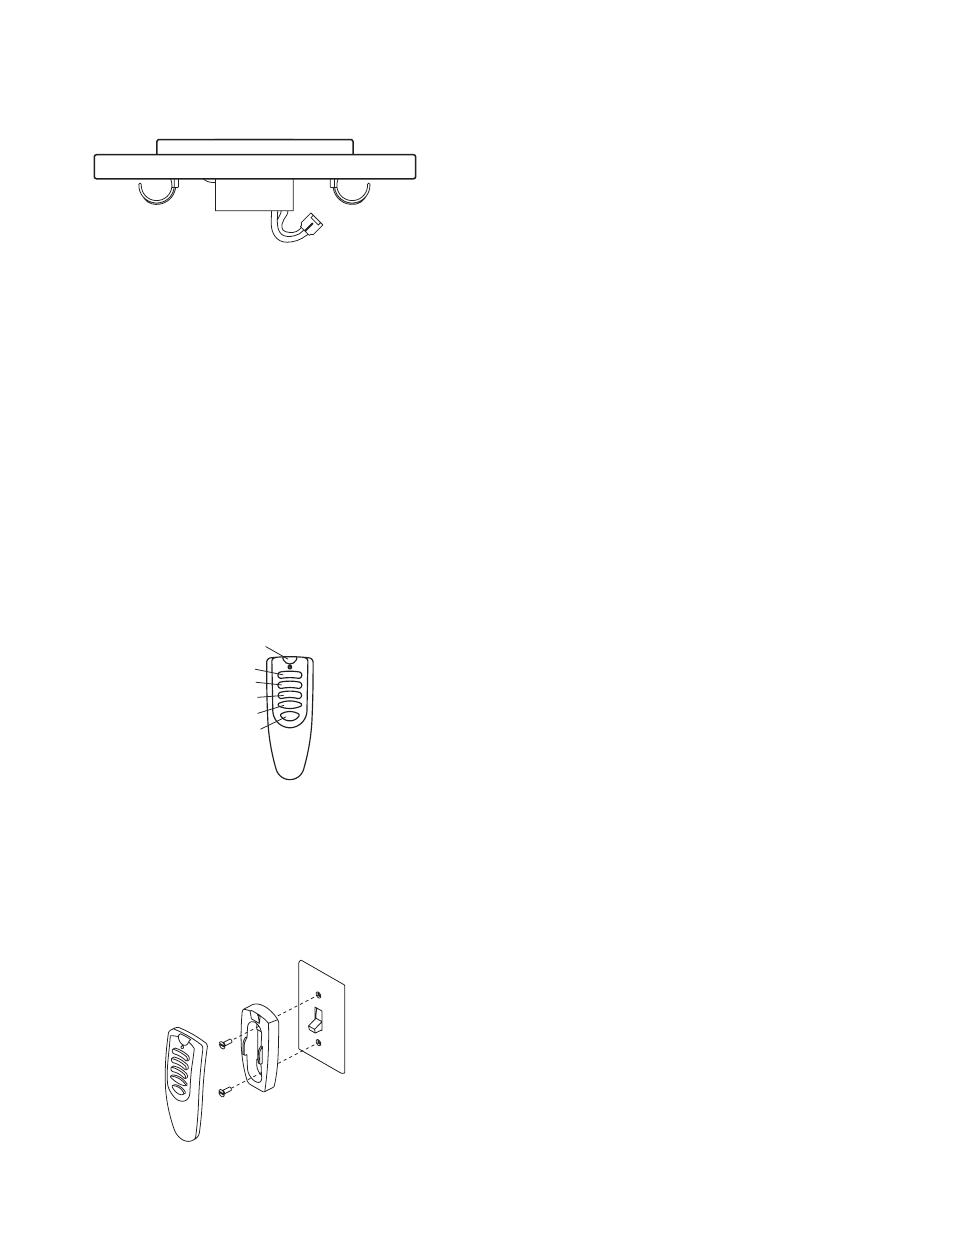
Step 10: Install Globe
A. Install the included bulb connecting the plug from the light
fixture to the bulb. Refer to Figure 10.
Figure 10
B. Carefully lift the glass shade up inside of the light fixture as
far as it will go. Rotate the shade in a clockwise direction until it
is held tightly in place by the three tabs.
Step 11: Operation of Remote Control
The hand-held transmitter has individual buttons for control of
the light, for controlling the fan speeds, for turning the fan off,
and for reversing. See Figure 11.
Pressing the “LIGHT” button will turn the light on to full bright-
ness. Holding the button will cause the light to dim slowly—
release the button at the desired brightness to hold the selected
brightness level. Pushing the button again will turn the light off.
The fan may be started by pressing the HIGH, MEDIUM, or
LOW speed buttons. For best operation, allow the fan to start on
HIGH, then select the desired speed. Press the fan OFF button
to turn the ceiling fan off. Press the REVERSE button to change
the fan’s direction while the fan is running.
NOTE: Replace 12-volt battery with type 23 A, MN-21 or
equivalent.
Figure 11
Step 12: Mounting the Remote Holder
A holder is supplied with the transmitter which can be mounted
to a existing toggle switch wall plate. The holder will help pre-
vent misplacement of your transmitter by providing a permanent
receptacle. See Figure 12.
If desired, the holder can be mounted to a convenient location on
a wall.
Figure 12
Fan High
Fan Medium
Fan Low
Fan OFF
Light Key
Reverse