Installation of fireplace – Hearth and Home Technologies EXCLAIM-36 User Manual
Page 21
21
7
7
Installation of Fireplace
CAUTION! Risk of Cuts/Abrasions. Wear protective
gloves and safety glasses during installation. Sheet metal
edges are sharp.
A. Things to Consider
• Location of chimney air kit
• Location(s) of outside air kit
• Electrical connections and/or wall switch
• Gas line piping
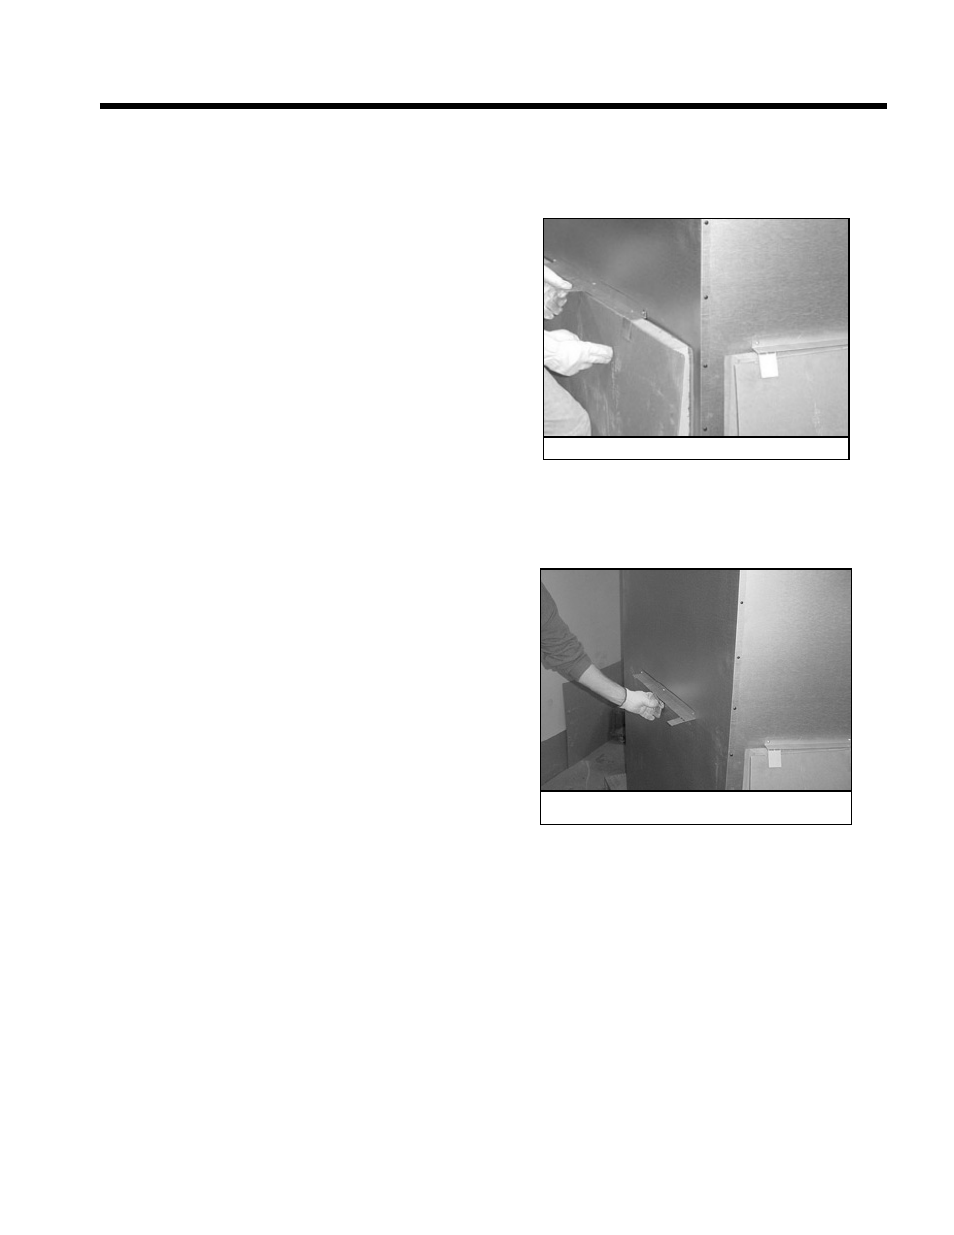
Figure 7.1 Unpacking Back Refractory
Figure 7.2 Bending Refractory Shipping Tabs
Back Down
• Remove back refractory from outside of fi replace by
bending tabs up and lifting refractory out of brackets.
See Figure 7.1.
• Bend tabs back down out of the way. See Figure 7.2. Do
not remove screws or brackets from fi replace. If brackets
are removed, fi ll holes in outer shell with screws.
• Repeat this process to remove side refractories.
D. Unpack the Fireplace (EXCLAIM-42 only)
C. Secure the Fireplace (EXCLAIM-36 only)
WARNING! Risk of Fire! Prevent contact with sagging,
loose insulation.
•
DO NOT install against vapor barriers or exposed
insulation.
• Secure insulation and vapor barriers.
• Provide minimum air space clearances at the sides
and back of the fireplace assembly as outlined in
Section 6.
• Place
the
fi replace on a continuous fl at surface.
• Follow framing instructions in Section 6.
• Slide
fi replace into position (brackets can be used to
anchor fi replace in position).
• Skip to Section 7.G. for further EXCLAIM-36
instructions.
B. Unpack the Fireplace (EXCLAIM-36 only)
• EXCLAIM-36 is shipped with refractory in place.
• Remove
packaging.
• Remove shipping brackets as shown in Figure 7.8.
Replace the screws removed from the fi replace.
• Remove EXCLAIM-36 from pallet and set in place.
Heat & Glo • EXCLAIM-36, EXCLAIM-42 • 4013-251 Rev C • 11/08