Setting the date and time – HP Photosmart 730 series User Manual
Page 19
Chapter 1: Getting started
19
Setting the date and time
The camera has a clock that records the date and time at which
you take each picture. This time stamp does not appear in the
image itself, but is recorded in the image properties, which you
can see when viewing the image on the computer.
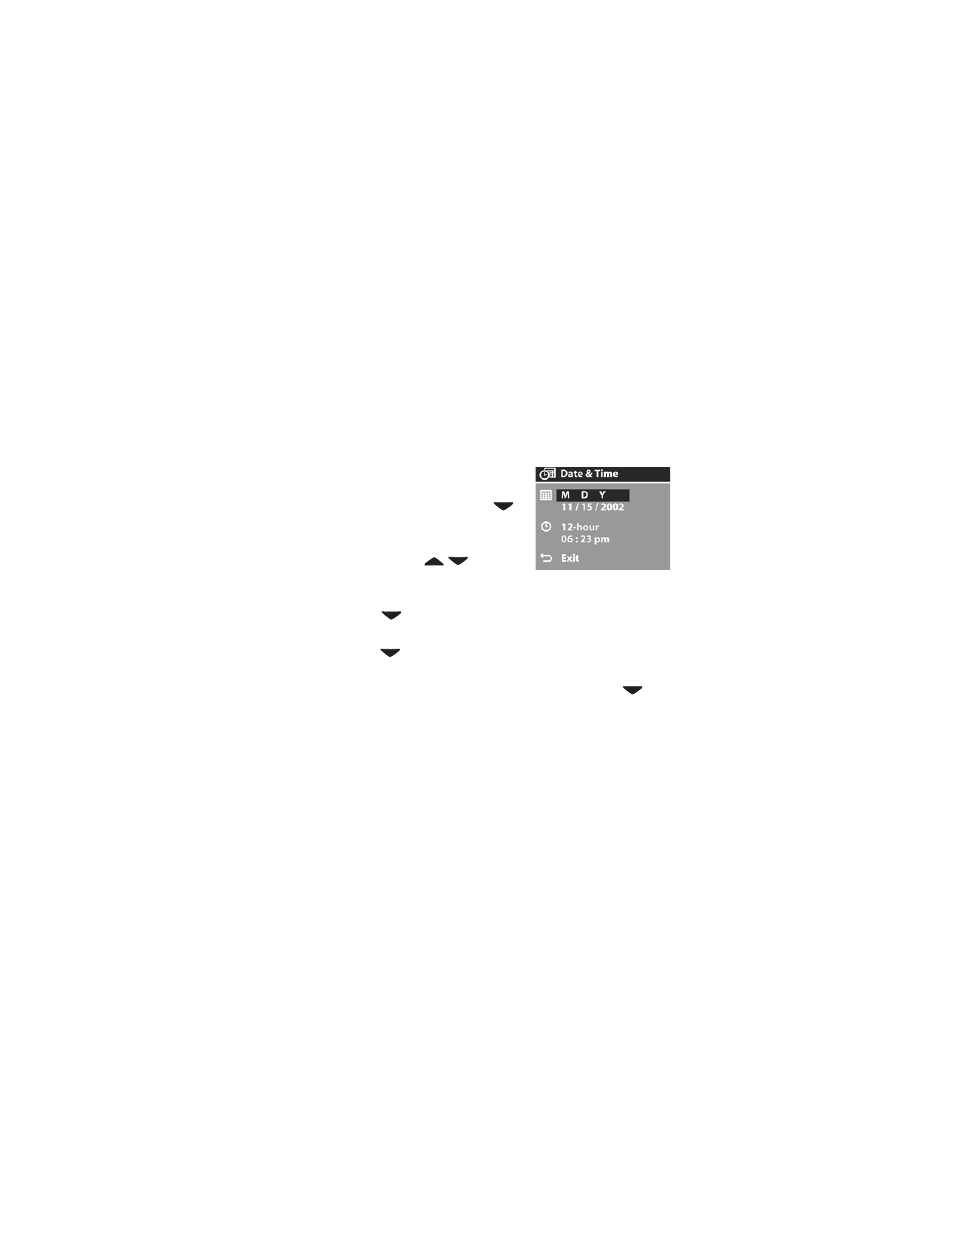
The first time you turn the camera on, the following screen
appears after you choose the language.
1
Press the
OK
button repeatedly
until the preferred date format
appears, and then press the
button to highlight the date.
2
Press
OK
to select the first value,
and then use the
buttons to
change it. Press
OK
to confirm. Set the remaining values in
the same way (M = Month, D = Day, Y = Year).
3
Press the
button to highlight the time format, and then
press
OK
if you want to change it.
4
Press the
button to highlight the time. Set the time values
in the same way you set the date values in step 2.
5
When finished setting the date and time, press the
button to highlight
Exit
, and then press
OK
.
NOTE
If you need to go back and change this setting later,
you can do this in the
Setup
menu. See