Installation, Transitional and professional cooktop, Cooktop installation – Wolf 36 Inch Cooktop Installation Guide User Manual
Page 10
10 | Wolf Customer Care 800.222.7820
Transitional and Professional Cooktop
STANDARD INSTALLATION
1
Lower the cooktop into the countertop cutout. Center
the cooktop in the opening with the front edge aligned
parallel to the front edge of the countertop. Using a
pencil, outline the rear edge of the cooktop on the
countertop. Remove the cooktop.
2
Apply the foam strip to the perimeter of the countertop
opening. Refer to the illustration below. Do not seal the
cooktop to the countertop.
3
Insert the cooktop into the opening, aligning the rear
edge with the pencil line. Verify the cooktop is aligned
with the front edge of the countertop.
4
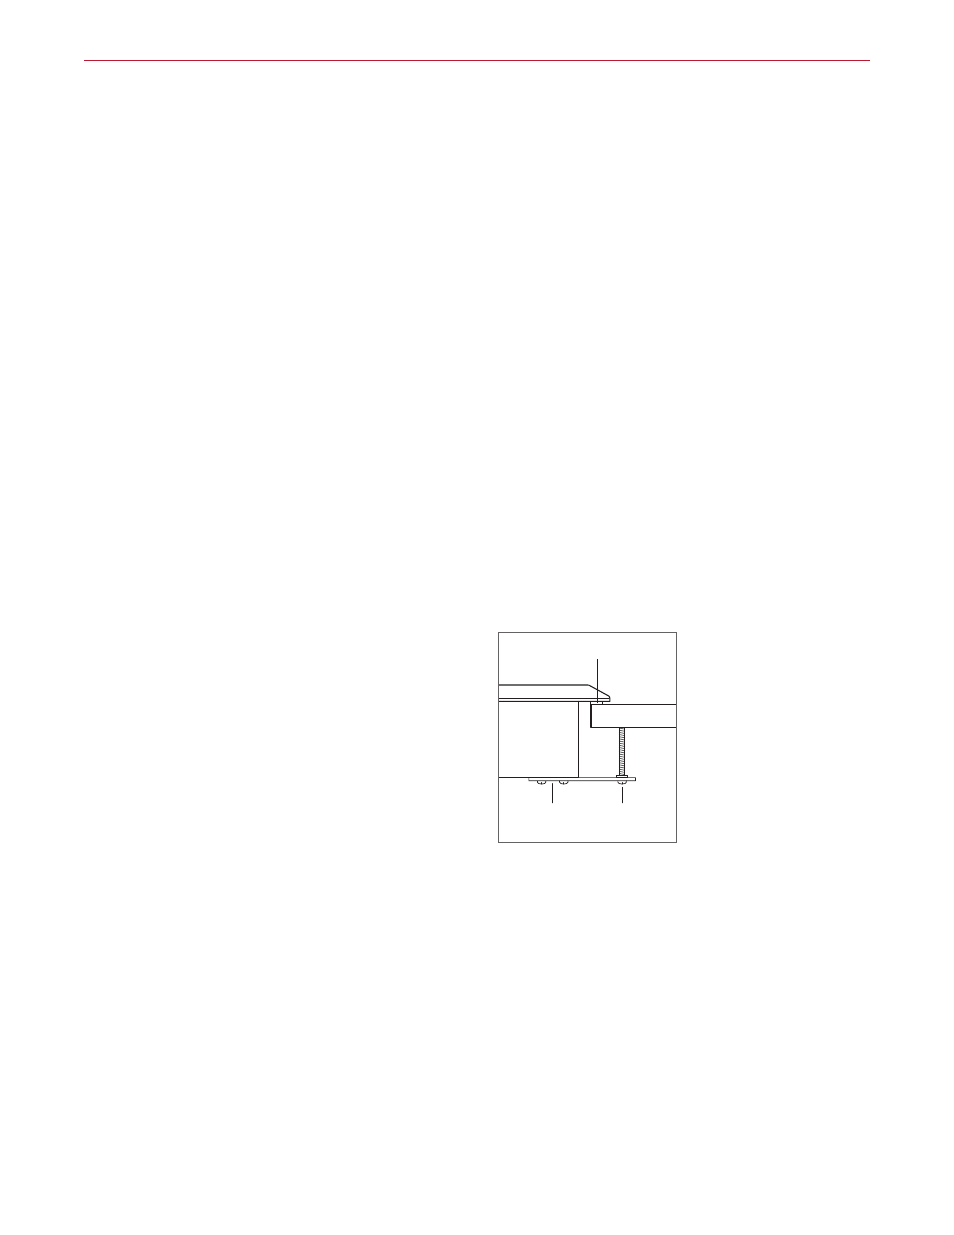
Attach the provided brackets to the bottom of the unit.
Insert the 3 1/2"
(89)
clamping screws into the brack-
ets. Use a screwdriver to tighten the clamping screws
against the bottom of the countertop. Do not over-
tighten screws. Refer to the illustration below.
Cooktop Installation
Remove the cooktop and components from the shipping
package and recycle packing materials.
Installation
FOAM STRIP
COUNTERTOP
BRACKET
CLAMPING
SCREW
Transitional and Professional
cooktop