Canceling copying – Epson AcuLaser CX11 User Manual
Page 10
Basic Copying
10
EPSON AcuLaser CX11 Series Basic Operation Guide
Follow the steps below to make a copy.
1. Make sure the product is turned on and
paper is loaded in the product. For
details, see the User’s Guide.
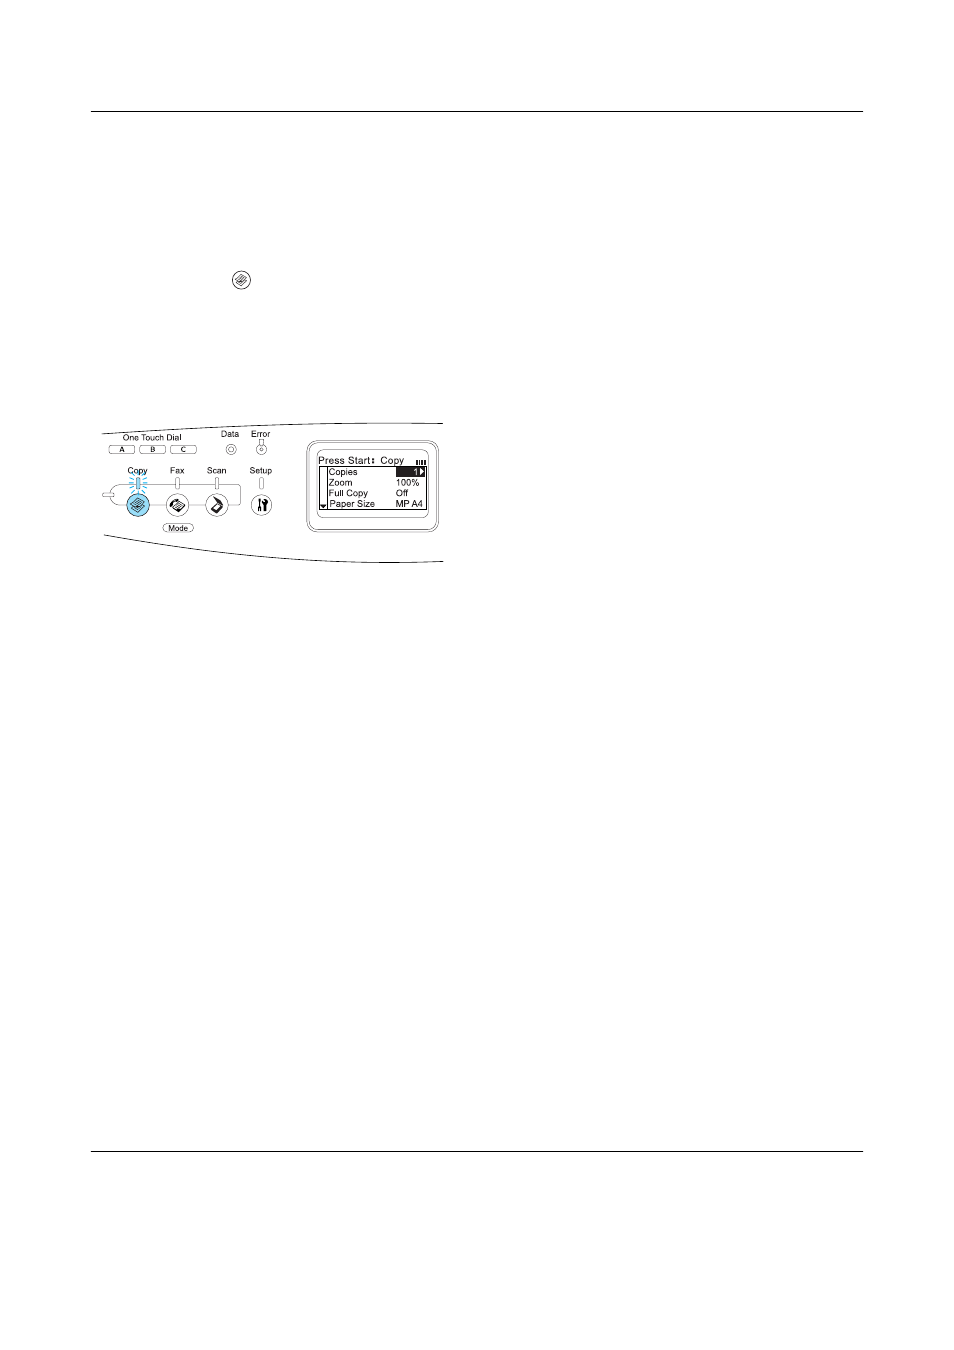
2. Press the
Copy button on the
control panel.
The Copy light is lit and the LCD panel
shows Copy Mode for a few seconds, and
then changes to the copy mode screen.
Note:
If no button is pressed for more than 3
minutes, any changes made are canceled and
the mode returns to the Print mode.
3. Place your original either on the
document table or in the Auto Document
Feeder (fax model only). For details, see
“Setting your originals.”
4. Specify the desired copy settings if
necessary. For details, see the User’s
Guide.
Note:
When you press the x B&W Start or
x
Color Start button without making any
settings here, copying starts with the
existing setting values.
5. Press the x B&W Start or x Color Start
button.
To make a black-and-white copy, press
the x B&W Start button. To make a color
copy, press the x Color Start button.
Copying starts.
Note:
❏ Do not turn off the power or press
another mode’s button while copying is
in progress, as copying may be
performed incorrectly.
❏ When you place multiple documents in
the Auto Document Feeder and make a
continuous high quality (600 dpi) color
copy with the default memory (128 MB),
the product may not work properly
because of insufficient memory. We
recommend adding an memory module
so that the total memory size is 256 MB
or higher.
Canceling copying
When the y Cancel button on the control
panel is pressed while a document is being
copied, the LCD panel shows Cancel Print
Job
and the copy job is canceled.